
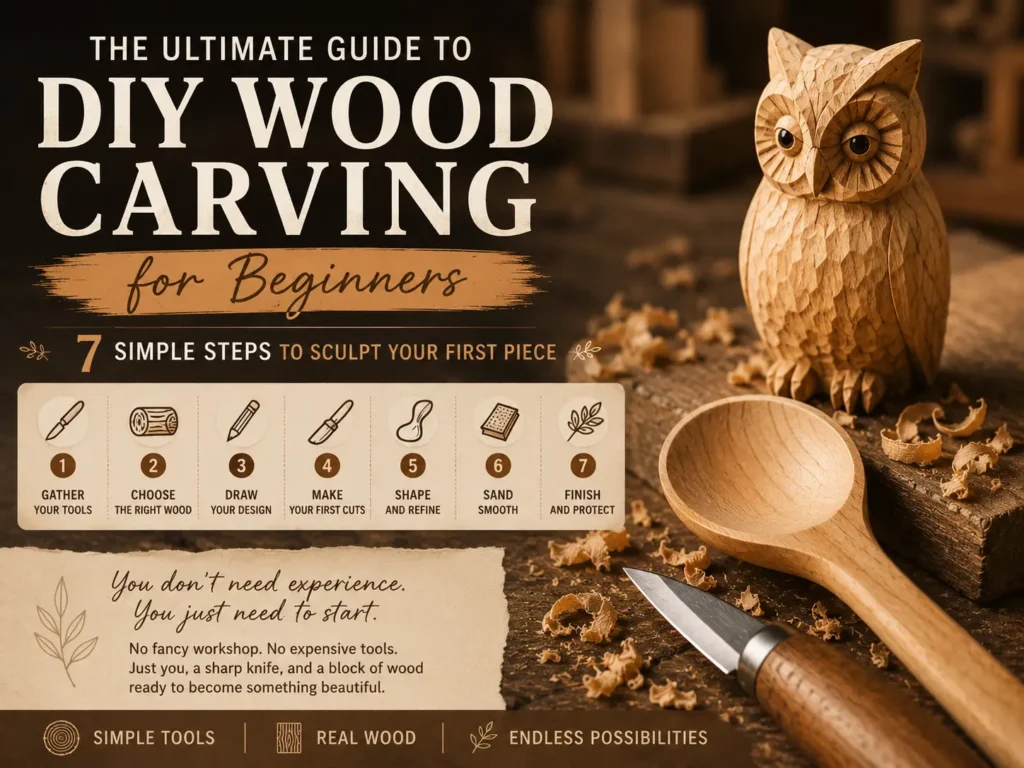
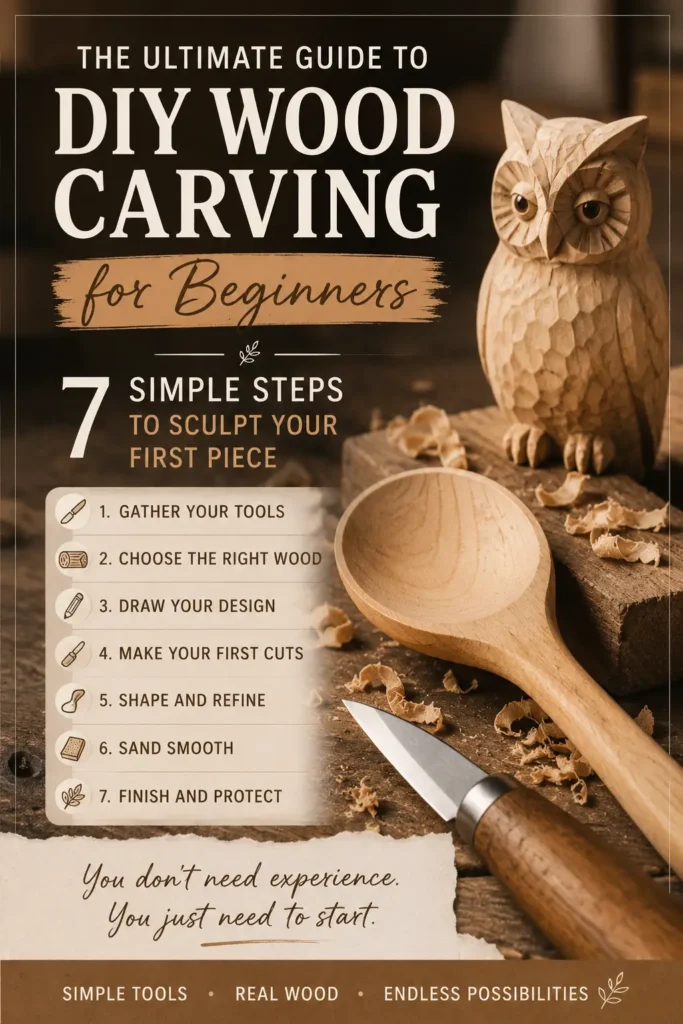
Have you ever looked at a beautifully carved wooden spoon or a whimsical little animal and thought, “I wish I could make that”? You’re not alone. Most people assume wood carving requires years of training or a garage full of expensive power tools. The truth? DIY Wood Carving for Beginners is far more approachable than you think.
In this guide, I’ll walk you through exactly what you need to know to make your first cuts with confidence. No fancy workshop. No intimidating jargon. Just you, a sharp knife, and a block of wood ready to become something beautiful.
Let’s start sculpting.
1. The Beginner’s Toolkit: What You Really Need
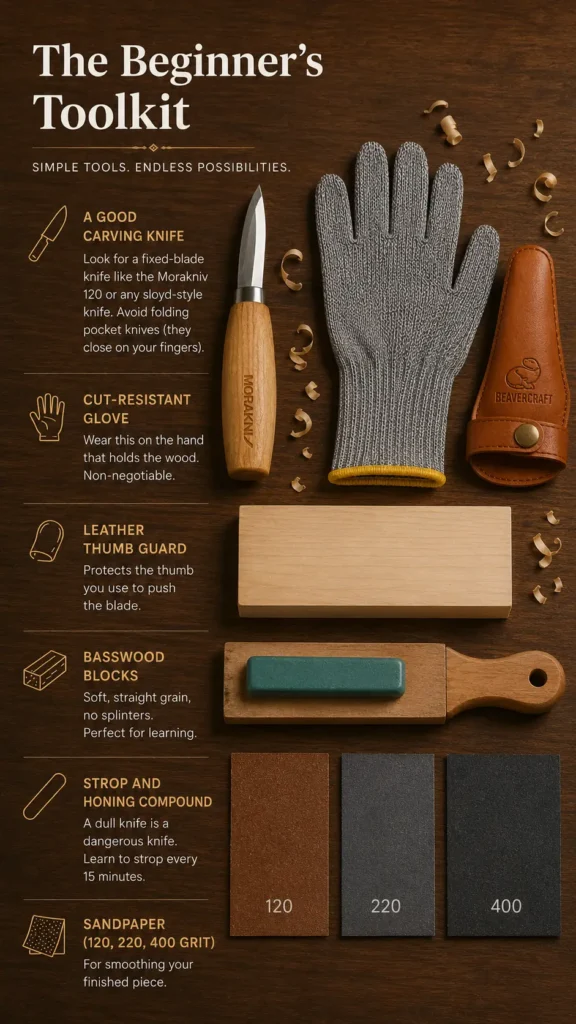
You don’t need a hundred tools to begin. In fact, buying too much stuff upfront is the fastest way to feel overwhelmed. Stick with The Beginner’s Toolkit – a short list of essentials that will get you carving safely and joyfully.
Here’s what I recommend:
- A good carving knife – Look for a fixed-blade knife like the Morakniv 120 or any sloyd-style knife. Avoid folding pocket knives (they close on your fingers).
- Cut-resistant glove – Wear this on the hand that holds the wood. Non-negotiable.
- Leather thumb guard – Protects the thumb you use to push the blade.
- Basswood blocks – Soft, straight grain, no splinters. Perfect for learning.
- Strop and honing compound – A dull knife is a dangerous knife. Learn to strop every 15 minutes.
- Sandpaper (120, 220, 400 grit) – For smoothing your finished piece.
Worthy tip: “Start with one good knife, not a 20‑piece set. Your future fingers will thank you.”
You can find most of these items for under $50 total. That’s less than a fancy dinner out – and the spoon you carve will last a lifetime.
2. Safety First: Carve Smart, Not Sorry
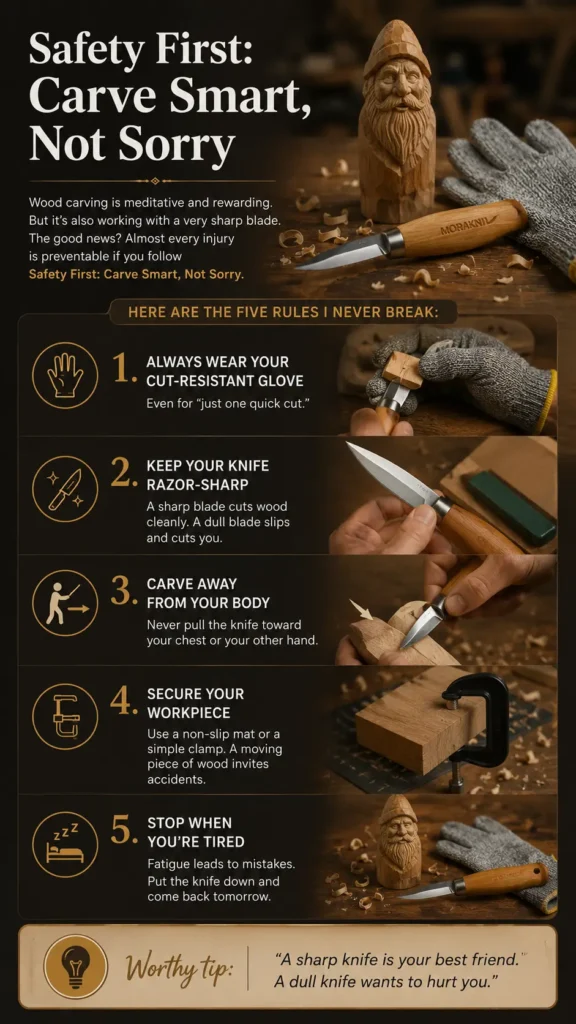
Wood carving is meditative and rewarding. But it’s also working with a very sharp blade. The good news? Almost every injury is preventable if you follow Safety First: Carve Smart, Not Sorry.
Here are the five rules I never break:
- Always wear your cut‑resistant glove – Even for “just one quick cut.”
- Keep your knife razor‑sharp – A sharp blade cuts wood cleanly. A dull blade slips and cuts you.
- Carve away from your body – Never pull the knife toward your chest or your other hand.
- Secure your workpiece – Use a non‑slip mat or a simple clamp. A moving piece of wood invites accidents.
- Stop when you’re tired – Fatigue leads to mistakes. Put the knife down and come back tomorrow.
Worthy tip: “A sharp knife is your best friend. A dull knife wants to hurt you.”
If you’re looking for a deeper dive into workshop safety, check out our [Sculptor’s Safety Guide] (link to that article when published). For now, memorize these five rules – they’ll save you from stitches.
3. Basic Cuts Every Beginner Should Master
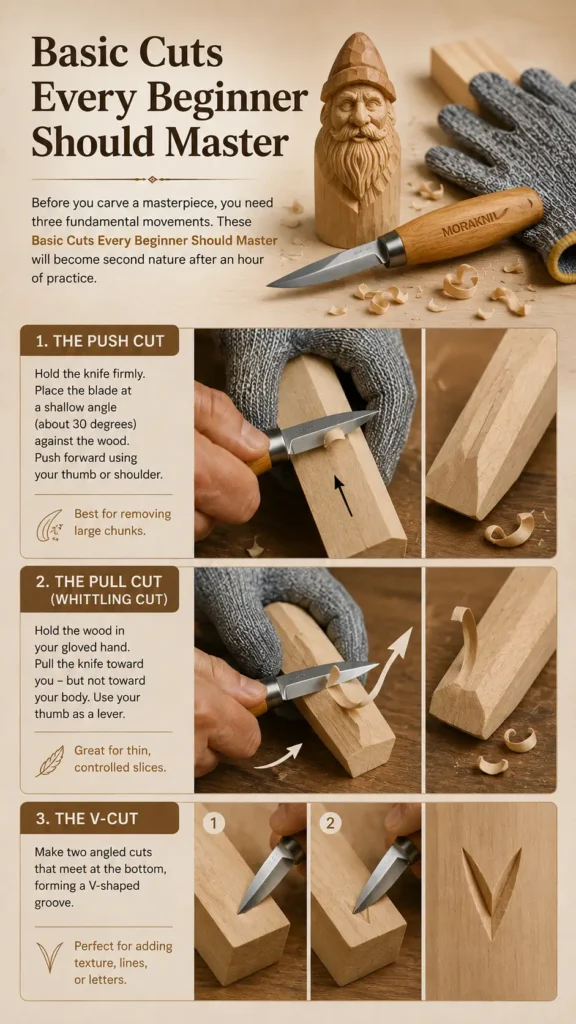
Before you carve a masterpiece, you need three fundamental movements. These Basic Cuts Every Beginner Should Master will become second nature after an hour of practice.
The Push Cut – Hold the knife firmly. Place the blade at a shallow angle (about 30 degrees) against the wood. Push forward using your thumb or shoulder. Best for removing large chunks.
The Pull Cut (Whittling Cut) – Hold the wood in your gloved hand. Pull the knife toward you – but not toward your body. Use your thumb as a lever. Great for thin, controlled slices.
The V‑Cut – Make two angled cuts that meet at the bottom, forming a V‑shaped groove. Perfect for adding texture, lines, or letters.
Worthy tip: “Practice these three cuts on scrap wood for 10 minutes. You’ll improve more than in an hour of ‘following along’ with a video.”
Start with basswood scraps. Don’t aim for perfection – aim for muscle memory. In one afternoon, your hands will learn the motions.
4. Choosing the Right Wood for Your First Project
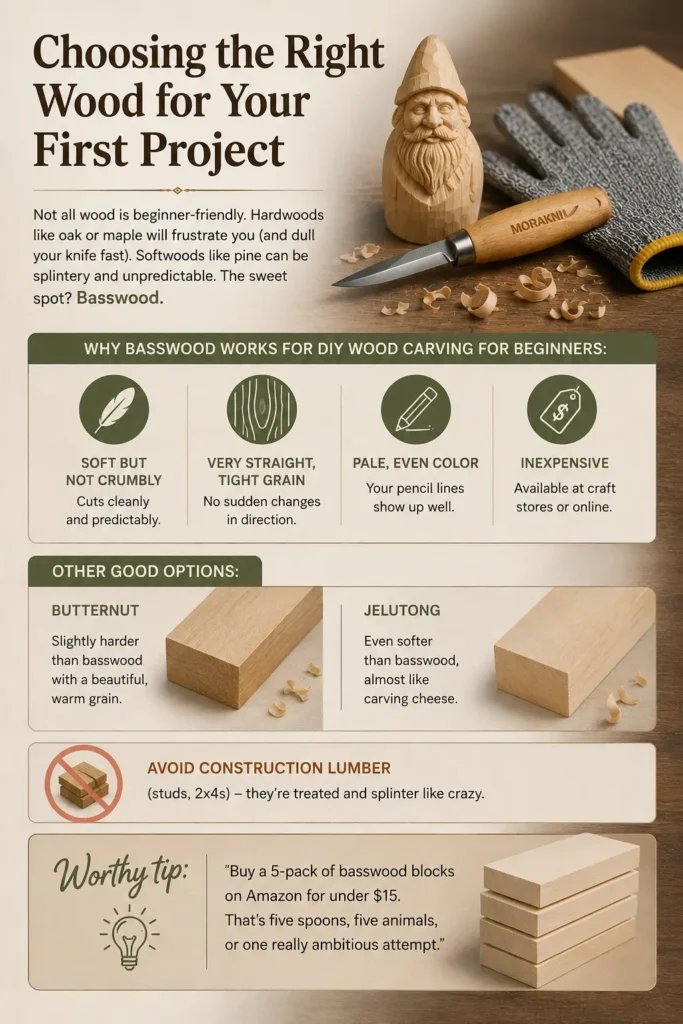
Not all wood is beginner-friendly. Hardwoods like oak or maple will frustrate you (and dull your knife fast). Softwoods like pine can be splintery and unpredictable. The sweet spot? Basswood.
Why basswood works for DIY Wood Carving for Beginners:
- Soft but not crumbly – cuts cleanly
- Very straight, tight grain – no sudden changes in direction
- Pale, even color – your pencil lines show up well
- Inexpensive – available at craft stores or online
Other good options: butternut (slightly harder, beautiful grain) or jelutong (even softer, almost like carving cheese). Avoid construction lumber (studs, 2x4s) – they’re treated and splinter like crazy.
Worthy tip: “Buy a 5‑pack of basswood blocks on Amazon for under $15. That’s five spoons, five animals, or one really ambitious attempt.”
Once you’ve finished a few projects, experiment with black walnut or cherry. But for now? Basswood is your best friend.
5. Your First Project: A Simple Wooden Spoon
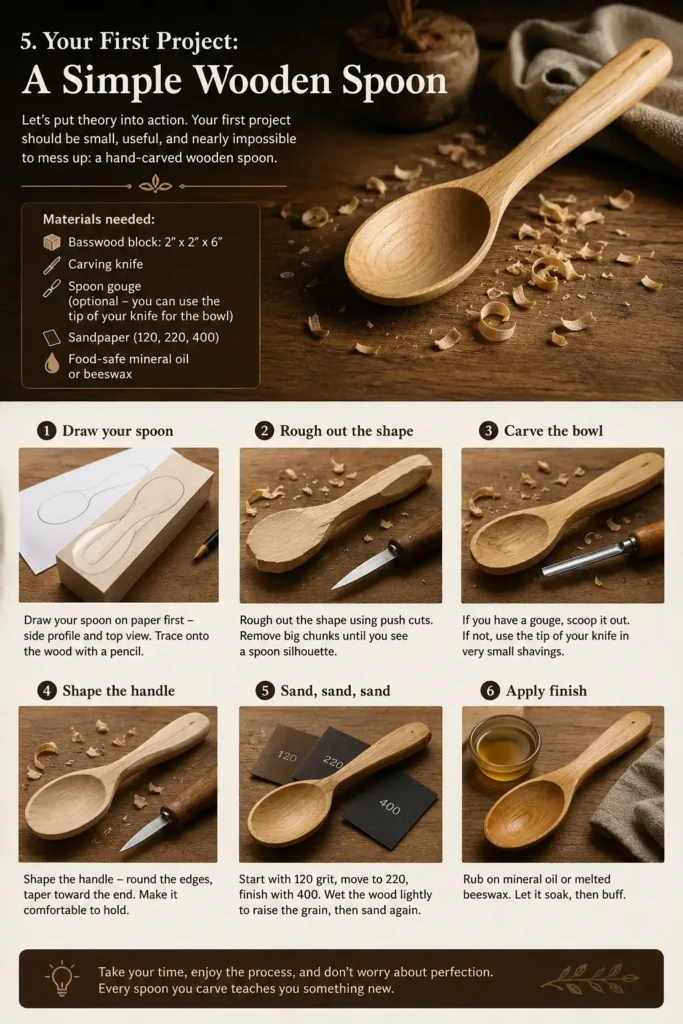
Let’s put theory into action. Your first project should be small, useful, and nearly impossible to mess up: a hand‑carved wooden spoon.
Materials needed:
- Basswood block: 2” x 2” x 6”
- Carving knife
- Spoon gouge (optional – you can use the tip of your knife for the bowl)
- Sandpaper (120, 220, 400)
- Food‑safe mineral oil or beeswax
Step‑by‑step:
- Draw your spoon on paper first – side profile and top view. Trace onto the wood with a pencil.
- Rough out the shape using push cuts. Remove big chunks until you see a spoon silhouette.
- Carve the bowl – if you have a gouge, scoop it out. If not, use the tip of your knife in very small shavings.
- Shape the handle – round the edges, taper toward the end. Make it comfortable to hold.
- Sand, sand, sand – Start with 120 grit, move to 220, finish with 400. Wet the wood lightly to raise the grain, then sand again.
- Apply finish – Rub on mineral oil or melted beeswax. Let it soak, then buff.
For a more detailed walkthrough, read our related article: DIY Wood Carving for Beginners: Your First Step into Sculpting Wood – it includes a video tutorial for the spoon.
Worthy tip: “Your first spoon will be lumpy and imperfect. Keep it anyway. Ten years from now, you’ll look at it and smile.”
6. Common Beginner Mistakes (And How to Fix Them)
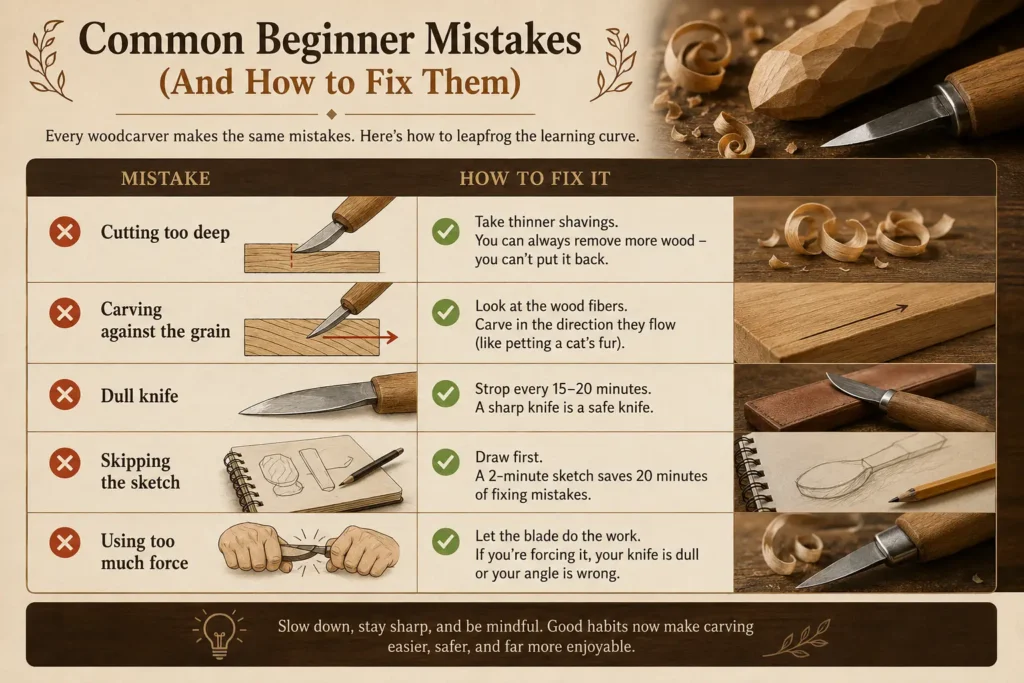
Every woodcarver makes the same mistakes. Here’s how to leapfrog the learning curve.
| Mistake | How to Fix It |
|---|---|
| Cutting too deep | Take thinner shavings. You can always remove more wood – you can’t put it back. |
| Carving against the grain | Look at the wood fibers. Carve in the direction they flow (like petting a cat’s fur). |
| Dull knife | Strop every 15–20 minutes. A sharp knife is a safe knife. |
| Skipping the sketch | Draw first. A 2‑minute sketch saves 20 minutes of fixing mistakes. |
| Using too much force | Let the blade do the work. If you’re forcing it, your knife is dull or your angle is wrong. |
Worthy tip: “If you feel resistance, check your knife sharpness and your grain direction. Never force a cut.”
Remember: every mistake is a lesson. I still make them after 12 years of carving. The difference is I now know how to fix them without frustration.
7. From Spoon to Sculpture: What’s Next?
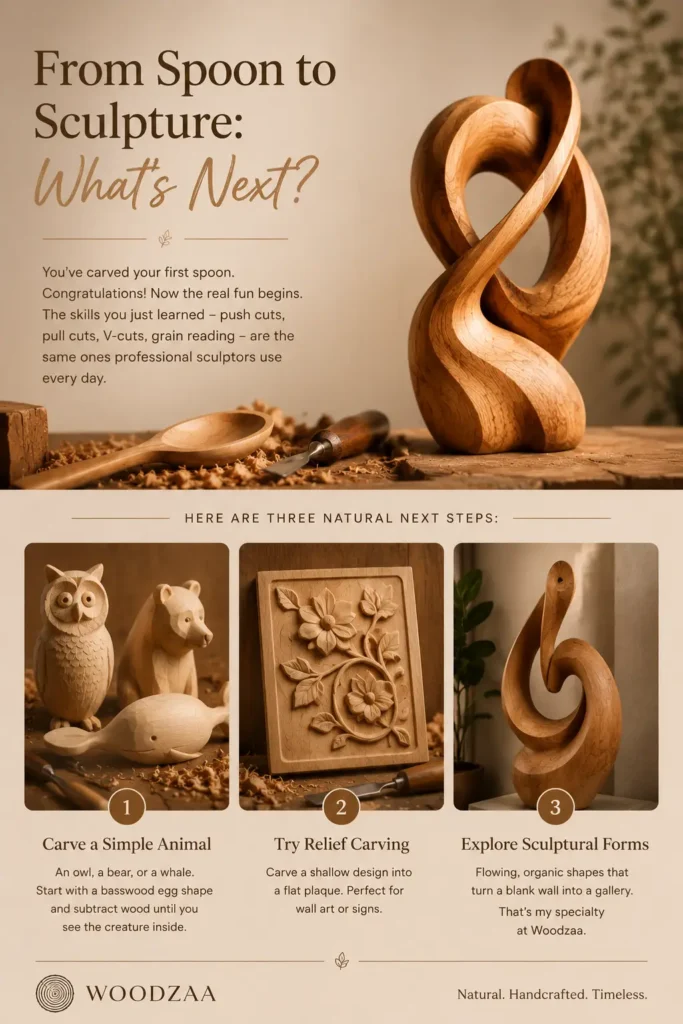
You’ve carved your first spoon. Congratulations! Now the real fun begins. The skills you just learned – push cuts, pull cuts, V‑cuts, grain reading – are the same ones professional sculptors use every day.
Here are three natural next steps:
- Carve a simple animal – an owl, a bear, or a whale. Start with a basswood egg shape and subtract wood until you see the creature inside.
- Try relief carving – carve a shallow design into a flat plaque. Perfect for wall art or signs.
- Explore sculptural forms – flowing, organic shapes that turn a blank wall into a gallery. That’s my specialty at Woodzaa.
Worthy tip: “The only difference between a beginner and a sculptor is about ten spoons’ worth of practice.”
Take your time. Enjoy the process. And when you’re ready to show off your work, tag @Woodzaa on Pinterest – I love reposting beginner wins.
Table of Contents
Call to Action (CTA)
Now it’s your turn. Grab a basswood block, your knife, and a glove. Carve that first spoon – even if it’s uneven. Then come back and tell me about it.
📧 Email me directly: admin@woodzaa.com – I reply to every beginner who shares their first project.
Or drop a comment below (if comments are enabled on this post). I’d love to know: What’s the first thing you want to carve?
Happy carving, friend.
– Sheila

Pingback: Stunning Wood Sculpture Art That Will Transform Your Space - Woodzaa
Pingback: DIY Wood Carving for Beginners: Your First Step into Sculpting Wood - Woodzaa
Your article on DIY wood carving for beginners is very informative, engaging, and easy to understand. I really appreciate how you explained every step in such a simple way, especially for people who are completely new to carving. The article feels friendly and motivating instead of technical or difficult. I also liked how you focused on safety, proper tools, and beginner mistakes because many tutorials often ignore these important topics.
The section about the wooden spoon project is especially helpful because beginners need a simple first project to build confidence. The “Worthy Tips” throughout the article also make the guide feel more personal and practical. The flow from beginner basics to advanced sculptural forms is very smooth and inspiring.
As someone who is also interested in this field, I would love to see even more content like this in the future. You could add a small section about how to maintain carving tools properly, different wood finishes, and how beginners can practice carving daily to improve faster. Adding a few recommendations for online carving communities, YouTube channels, or books for beginners would also make the guide even more valuable.
I also think adding more real-life examples or photos of beginner projects could encourage readers who may feel nervous about starting. Overall, this article is inspiring, beginner-friendly, and very well structured. It not only teaches carving skills but also motivates readers to enjoy the creative process. I’m excited to see more wood carving and sculpting content from you in the future.
Thank you so much for your kind words and detailed feedback! It truly means a lot to hear that the article felt beginner-friendly, motivating, and easy to follow. My goal was to make wood carving feel approachable for anyone who wants to start creating, even if they’ve never held a carving knife before.
I’m especially happy that you enjoyed the wooden spoon project and the “Worthy Tips” sections. I believe beginners learn best when the process feels practical, encouraging, and creative rather than overly technical. Building confidence with simple projects is such an important first step in wood carving.
You also shared some fantastic suggestions. Tool maintenance, wood finishes, and daily practice habits are all incredibly valuable topics, and I definitely plan to explore them in future articles. I also love your idea about including beginner-friendly carving communities, YouTube channels, and book recommendations because learning from others can make the journey much more enjoyable and inspiring.
Adding more real-life beginner examples and project photos is another wonderful suggestion. Seeing imperfect but genuine beginner work can really help new carvers feel more confident about starting their own creative journey.
Thank you again for taking the time to share such meaningful feedback and support. Comments like yours inspire me to continue creating more helpful wood carving and sculpting content for creative people around the world. I’m excited to share more tutorials, techniques, and artistic inspiration very soon!