
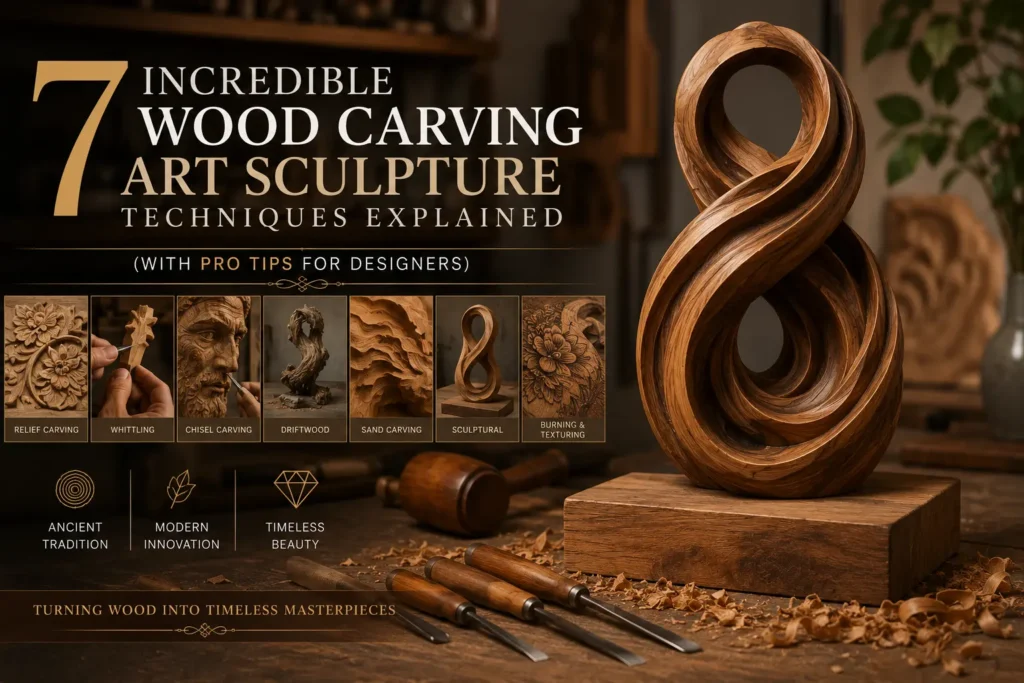

You’ve seen stunning wood sculptures in galleries and high-end homes. But have you ever wondered how artists transform a rough log into a flowing masterpiece? If you’re an interior designer or home stager, understanding the craft behind the art helps you communicate value to clients – and spot true quality.
Let me walk you through incredible wood carving art sculpture techniques explained in plain, friendly language. From relief carving methods to chip carving patterns, texturing wood surfaces, hollowing out wood sculpture, and the best chisels for detail work – you’ll learn exactly what goes into each breathtaking piece.
By the end, you’ll never look at a wood sculpture the same way again.
1. Relief Carving Methods: Adding Depth to Flat Panels
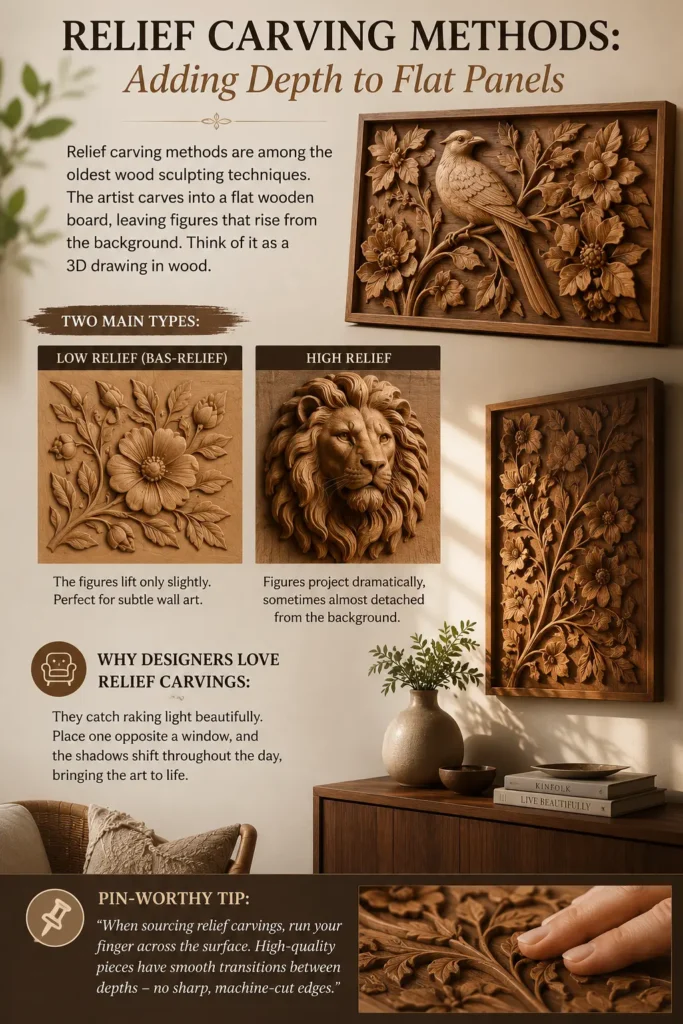
Relief carving methods are among the oldest wood sculpting techniques. The artist carves into a flat wooden board, leaving figures that rise from the background. Think of it as a 3D drawing in wood.
Two main types:
- Low relief (bas‑relief) – The figures lift only slightly. Perfect for subtle wall art.
- High relief – Figures project dramatically, sometimes almost detached from the background.
Why designers love relief carvings:
They catch raking light beautifully. Place one opposite a window, and the shadows shift throughout the day, bringing the art to life.
Worthy tip: “When sourcing relief carvings, run your finger across the surface. High‑quality pieces have smooth transitions between depths – no sharp, machine‑cut edges.”
For more on incorporating sculpture into luxury spaces, see our related article: Incredible Wood Carving Art Sculpture Techniques Explained: Fine Art Collectors (Mid to High Net Worth)
2. Chip Carving Patterns: Geometric Beauty in Repetition
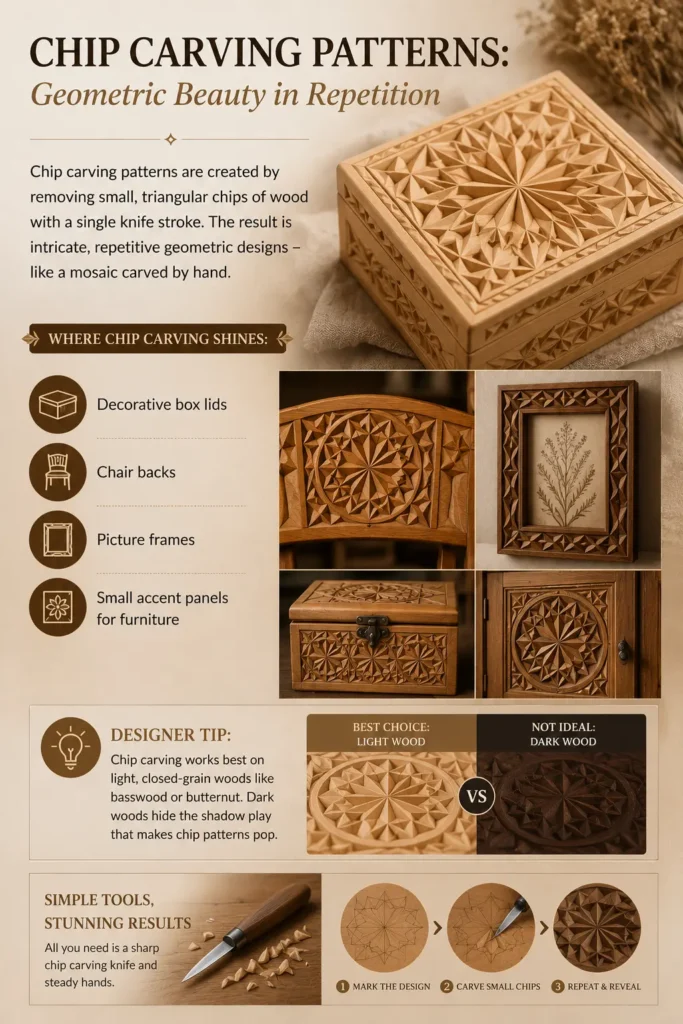
Chip carving patterns are created by removing small, triangular chips of wood with a single knife stroke. The result is intricate, repetitive geometric designs – like a mosaic carved by hand.
Where chip carving shines:
- Decorative box lids
- Chair backs
- Picture frames
- Small accent panels for furniture
Designer tip:
Chip carving works best on light, closed‑grain woods like basswood or butternut. Dark woods hide the shadow play that makes chip patterns pop.
Worthy tip: “Commission a chip‑carved tray for a coffee table. It’s functional sculpture – guests will admire the pattern even when it’s empty.”
3. Texturing Wood Surfaces for Tactile Appeal
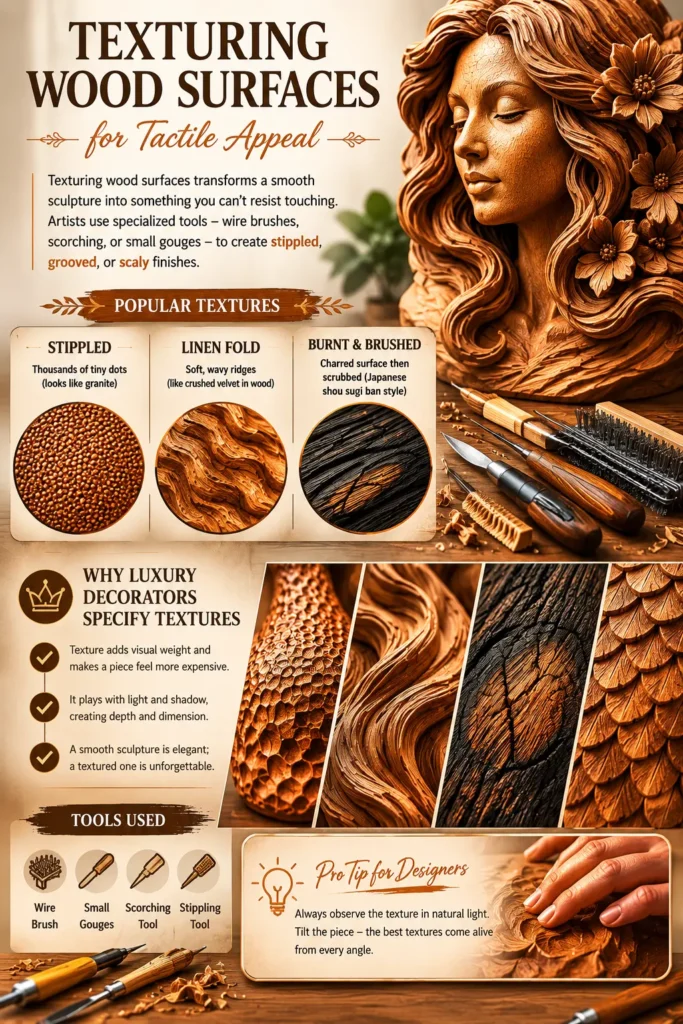
Texturing wood surfaces transforms a smooth sculpture into something you can’t resist touching. Artists use specialized tools – wire brushes, scorching, or small gouges – to create stippled, grooved, or scaly finishes.
Popular textures:
- Stippled – Thousands of tiny dots (looks like granite)
- Linen fold – Soft, wavy ridges (like crushed velvet in wood)
- Burnt and brushed – Charred surface then scrubbed (Japanese shou sugi ban style)
Why luxury decorators specify textures:
Texture adds visual weight and makes a piece feel more expensive. A smooth sculpture is elegant; a textured one is unforgettable.
Worthy tip: “Run your hand over a textured wood sculpture before buying. If it feels good to you, your clients will love it too.”
4. Hollowing Out Wood Sculpture: Lightweight and Dramatic
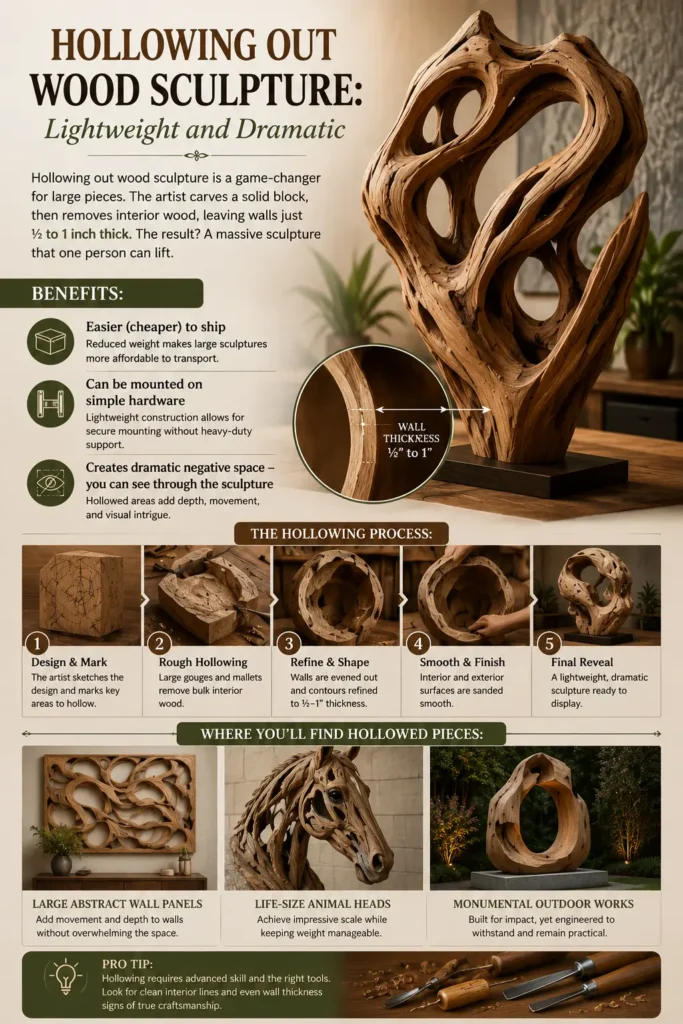
Hollowing out wood sculpture is a game‑changer for large pieces. The artist carves a solid block, then removes interior wood, leaving walls just ½ to 1 inch thick. The result? A massive sculpture that one person can lift.
Benefits:
- Easier (cheaper) to ship
- Can be mounted on simple hardware
- Creates dramatic negative space – you can see through the sculpture
Where you’ll find hollowed pieces:
Large abstract wall panels, life‑size animal heads, and monumental outdoor works often use this technique.
Worthy tip: “For a dramatic installation, back‑light a hollowed sculpture. Light glowing through thin wood creates an ethereal, almost magical effect.”
5. Best Chisels for Detail Work: The Tools of the Trade

Artists can only achieve fine detail with the right steel. The best chisels for detail work are small, precise, and razor‑sharp. If you’re commissioning or collecting, knowing these tools helps you appreciate the skill involved.
Essential detail chisels:
- V‑tool (parting tool) – Cuts sharp lines and deep grooves
- U‑gouge (fluter) – Carves rounded channels, like leaf veins or hair
- Backbent gouge – Reaches into undercuts that straight tools can’t access
- Micro chisels – As small as 1mm wide, for eyelashes or fish scales
What to ask an artist:
“Do you use Pfeil or Two Cherries tools?” Both are top brands. If they nod, you know they’re serious.
Worthy tip: “A single high‑quality V‑tool can cost $60. A set of 10 cheap chisels costs the same – but won’t hold an edge. Respect the craft.”
6. How to Spot Quality Craftsmanship (For Your Clients)

Now that you know incredible wood carving art sculpture techniques explained, you can confidently evaluate pieces for high‑end projects.
Red flags to avoid:
- Laser‑engraved “carving” (look for tool marks – they’re a good sign!)
- Glued‑together scraps disguised as solid wood
- Sharp, uncomfortable edges (quality artists ease every corner)
Green flags to seek:
- Consistent depth in relief carving methods
- No torn grain (sign of a sharp chisel)
- A finish that feels like silk, not plastic
Worthy tip: “Ask the artist for in‑progress photos. Seeing the hollowing out or texturing stages proves it’s handmade – and gives you great content for your own portfolio.”
You Might Like : 15 Beautiful Wood Sculpture Ideas Every Art Lover Needs to See (And Where to Put Them)
From Technique to Treasure
You now understand the craft behind the art: relief carving methods, chip carving patterns, texturing wood surfaces, hollowing out wood sculpture, and the best chisels for detail work. Next time you specify a wood sculpture, you’ll know exactly why one piece costs $500 and another $5,000.
And when your client asks, “How did they make that?” – you’ll have the answer.
Table of Contents
Call to Action (CTA)
Which technique surprises you most? I’d love to hear your thoughts. Reply below or email me at admin@woodzaa.com.
If you’re looking for a custom piece that showcases these techniques – whether a textured wall panel or a hollowed abstract form – let’s collaborate. Send me your project dimensions and inspiration images. I’ll reply with a sketch and material samples.
Let’s turn wood into wonder.
– Sheila


Pingback: 7 Carved Wood Sculptures That Prove Wood Is the Ultimate Medium (And Why Designers Agree) - Woodzaa