
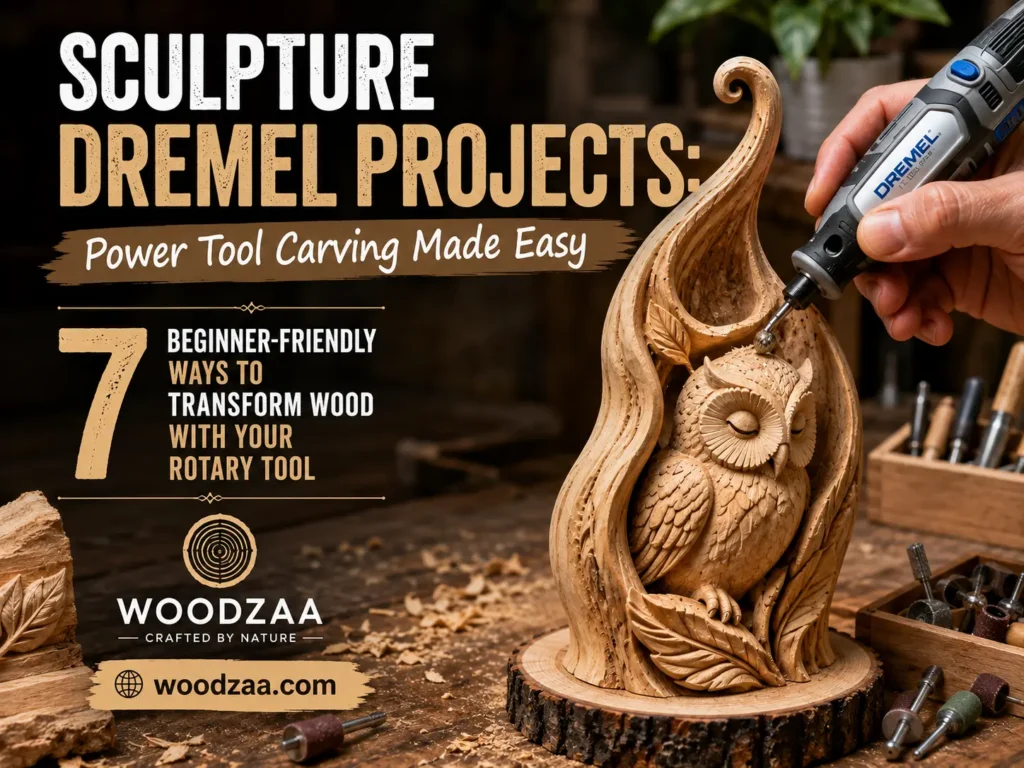
You’ve seen those incredible wood sculptures – the flowing lines, the intricate details, the kind of craftsmanship that looks like it took years of training to achieve. You’ve wondered, “Could I ever do something like that?” The answer might surprise you. With a Dremel rotary tool in your hands, you’re not just holding a power tool – you’re holding a gateway to a whole new world of creative possibility. Let me show you how sculpture Dremel projects: power tool carving made easy can turn you from a curious beginner into a confident wood artist.
In this guide, you’ll discover everything you need to start carving with your Dremel. We’ll explore power carving for beginners with essential techniques, dive into relief carving with Dremel to add depth to your projects, uncover the best Dremel bits for wood carving, and build your Dremel wood carving kit essentials. You’ll master wood engraving with rotary tool techniques, learn how to carve letters in wood, and get comfortable with a flexible shaft Dremel attachment for precision work. By the end, you’ll have the confidence to tackle your own Dremel wood carving projects and create beautiful pieces you’ll be proud to display.
1. Why a Dremel? The Ultimate Power Carving Companion
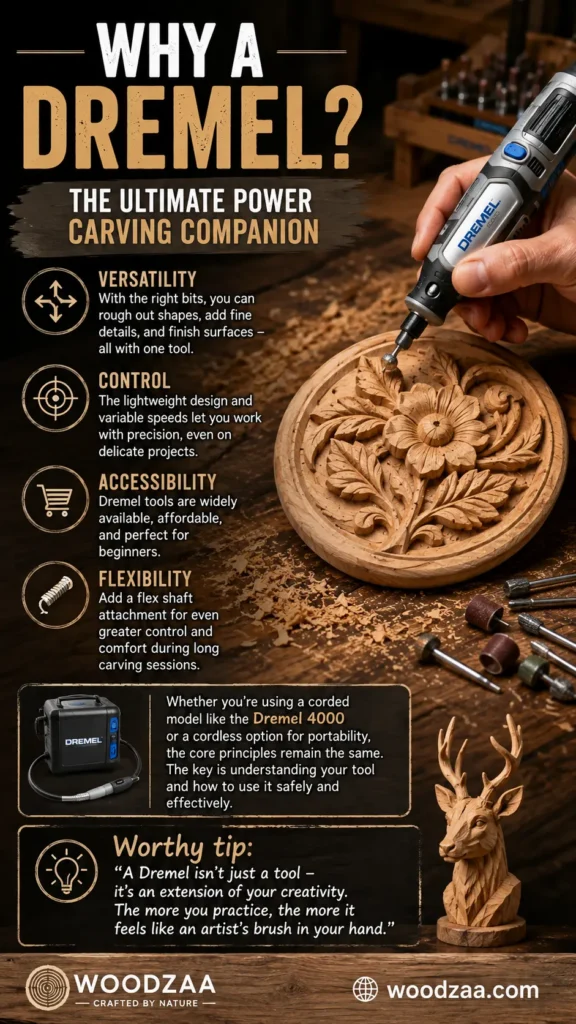
A Dremel rotary tool is one of the most versatile tools you can own. It spins at speeds up to 35,000 RPM, allowing you to carve, engrave, sand, and polish with incredible precision. For wood carving, it offers a level of control that larger power tools simply can’t match.
Why choose a Dremel for wood carving:
- Versatility: With the right bits, you can rough out shapes, add fine details, and finish surfaces – all with one tool.
- Control: The lightweight design and variable speeds let you work with precision, even on delicate projects.
- Accessibility: Dremel tools are widely available, affordable, and perfect for beginners.
- Flexibility: Add a flex shaft attachment for even greater control and comfort during long carving sessions.
Whether you’re using a corded model like the Dremel 4000 or a cordless option for portability, the core principles remain the same. The key is understanding your tool and how to use it safely and effectively.
Worthy tip: “A Dremel isn’t just a tool – it’s an extension of your creativity. The more you practice, the more it feels like an artist’s brush in your hand.”
2. Essential Bits: Your Carving Toolkit
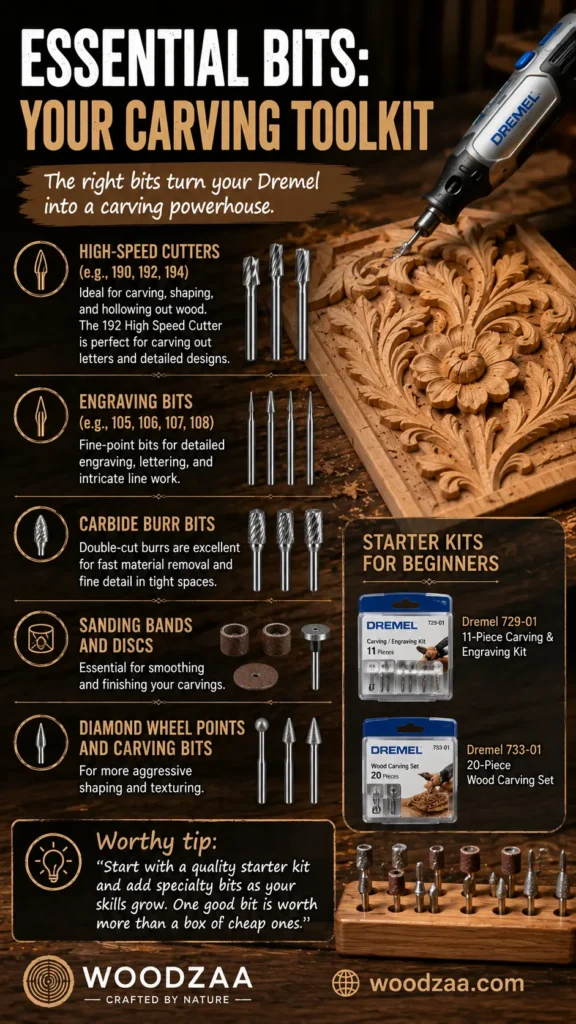
The Dremel itself is only half the story. The bits you choose determine what you can create. With the right selection, you can move from rough shaping to fine detailing without changing tools mid-project.
Must-have bits for wood carving:
- High-Speed Cutters (e.g., 190, 192, 194): Ideal for carving, shaping, and hollowing out wood. The 192 High Speed Cutter is perfect for carving out letters and detailed designs.
- Engraving Bits (e.g., 105, 106, 107, 108): Fine-point bits for detailed engraving, lettering, and intricate line work.
- Carbide Burr Bits: Double-cut burrs are excellent for fast material removal and fine detail in tight spaces.
- Sanding Bands and Discs: Essential for smoothing and finishing your carvings.
- Diamond Wheel Points and Carving Bits: For more aggressive shaping and texturing.
For beginners, a starter kit like the Dremel 729-01 11-Piece Carving & Engraving Kit or the Dremel 733-01 20-Piece Wood Carving Set provides a solid foundation. These kits typically include a mix of high-speed cutters, engraving bits, and sanding accessories – everything you need to start your first project.
Worthy tip: “Start with a quality starter kit and add specialty bits as your skills grow. One good bit is worth more than a box of cheap ones.”
You Might Like : Metal and Wood Sculpture: When Two Materials Become One
3. Safety First: Protecting Yourself and Your Work

Power carving is incredibly rewarding, but it comes with risks. Wood dust, flying chips, and high-speed spinning bits demand respect. A few simple precautions will keep you safe and your projects on track.
Essential safety practices:
- Always wear safety glasses: Flying chips can blind you in seconds.
- Wear a dust mask: Dremel dust is fine and can irritate your lungs.
- Skip the gloves: While gloves protect against cuts, they can get caught in the spinning bit. Instead, focus on a secure grip and controlled movements.
- Secure your workpiece: Use clamps or a vise to keep your wood steady.
- Work in a well-ventilated area: Wood dust can accumulate quickly.
Before you start your project, take a moment to prepare your workspace. A clean, well-lit area with a stable work surface makes a world of difference. And remember: plan your project before you start cutting.
Worthy tip: “The best carvers are the ones who take safety seriously. A few seconds of preparation can save you hours of regret.”
4. Mastering the Basics: Techniques for Clean Carving
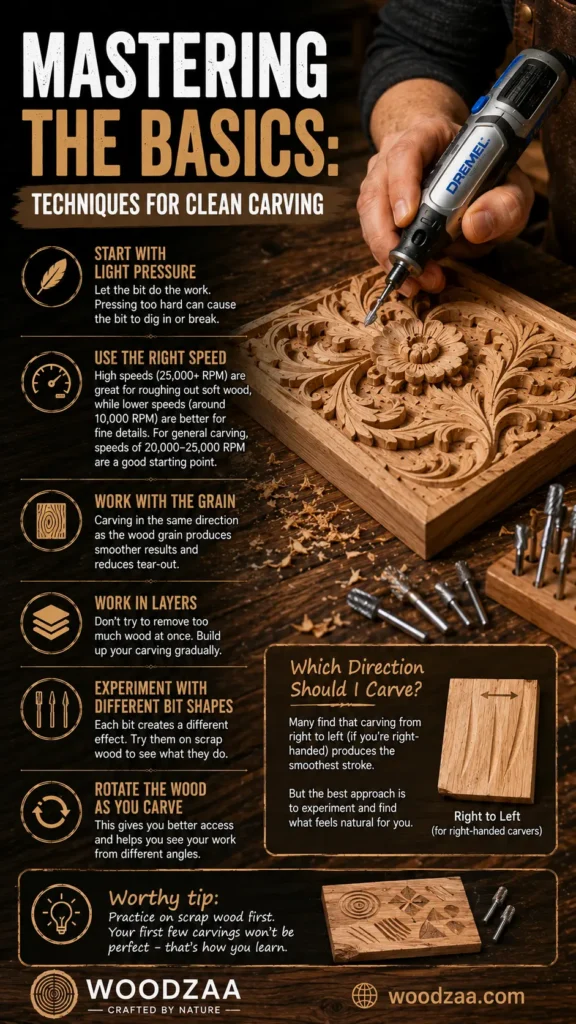
Once you’ve got your tool and bits ready, it’s time to start carving. The key to beautiful results isn’t speed – it’s control, patience, and understanding how your tool interacts with the wood.
Fundamental carving techniques:
- Start with light pressure: Let the bit do the work. Pressing too hard can cause the bit to dig in or break.
- Use the right speed: High speeds (25,000+ RPM) are great for roughing out soft wood, while lower speeds (around 10,000 RPM) are better for fine details. For general carving, speeds of 20,000-25,000 RPM are a good starting point.
- Work with the grain: Carving in the same direction as the wood grain produces smoother results and reduces tear-out.
- Work in layers: Don’t try to remove too much wood at once. Build up your carving gradually.
- Experiment with different bit shapes: Each bit creates a different effect. Try them on scrap wood to see what they do.
- Rotate the wood as you carve: This gives you better access and helps you see your work from different angles.
For beginners, a common question is: “Which direction should I carve?” Many find that carving from right to left (if you’re right-handed) produces the smoothest stroke. But the best approach is to experiment and find what feels natural for you.
Worthy tip: “Practice on scrap wood first. Your first few carvings won’t be perfect – that’s how you learn.”
5. Relief Carving: Adding Depth and Dimension
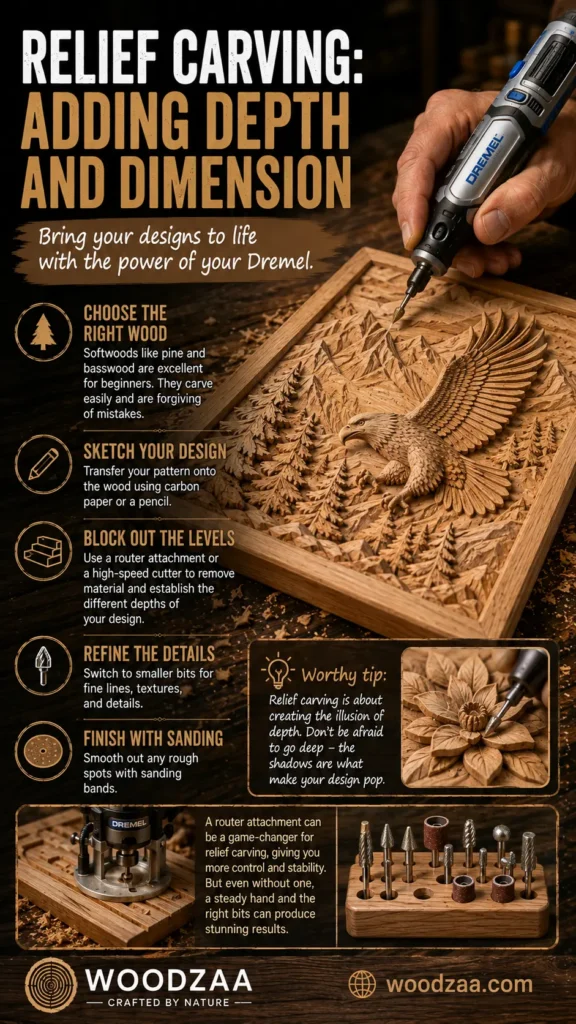
Relief carving is one of the most popular applications for a Dremel. It involves carving a design into a flat piece of wood so that the subject appears to rise from the surface. With a rotary tool, you can achieve results that would take hours with traditional chisels.
Getting started with relief carving:
- Choose the right wood: Softwoods like pine and basswood are excellent for beginners. They carve easily and are forgiving of mistakes.
- Sketch your design: Transfer your pattern onto the wood using carbon paper or a pencil.
- Block out the levels: Use a router attachment or a high-speed cutter to remove material and establish the different depths of your design.
- Refine the details: Switch to smaller bits for fine lines, textures, and details.
- Finish with sanding: Smooth out any rough spots with sanding bands.
A router attachment can be a game-changer for relief carving, giving you more control and stability. But even without one, a steady hand and the right bits can produce stunning results.
Worthy tip: “Relief carving is about creating the illusion of depth. Don’t be afraid to go deep – the shadows are what make your design pop.”
6. Carving Letters and Signs: Personalised Projects
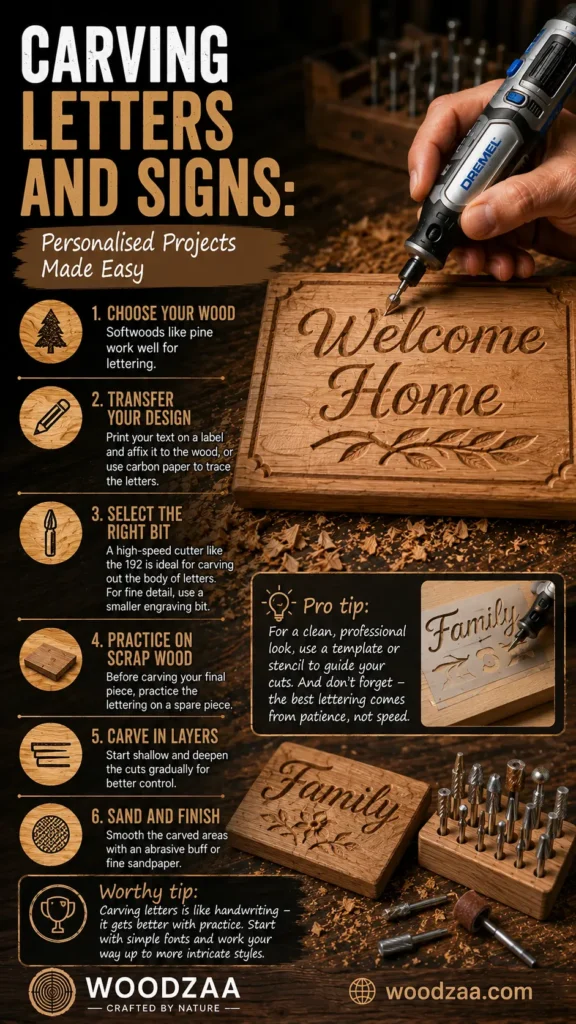
Carving letters into wood is one of the most satisfying Dremel projects. Whether you’re making a custom sign, a personalised gift, or a rustic address plaque, lettering adds a personal touch that’s always appreciated.
Step-by-step guide to carving letters:
- Choose your wood: Softwoods like pine work well for lettering.
- Transfer your design: Print your text on a label and affix it to the wood, or use carbon paper to trace the letters.
- Select the right bit: A high-speed cutter like the 192 is ideal for carving out the body of letters. For fine detail, use a smaller engraving bit.
- Practice on scrap wood: Before carving your final piece, practice the lettering on a spare piece.
- Carve in layers: Start shallow and deepen the cuts gradually for better control.
- Sand and finish: Smooth the carved areas with an abrasive buff or fine sandpaper.
Pro tip: For a clean, professional look, use a template or stencil to guide your cuts. And don’t forget – the best lettering comes from patience, not speed.
Worthy tip: “Carving letters is like handwriting – it gets better with practice. Start with simple fonts and work your way up to more intricate styles.”
7. Beginner-Friendly Projects to Get You Started
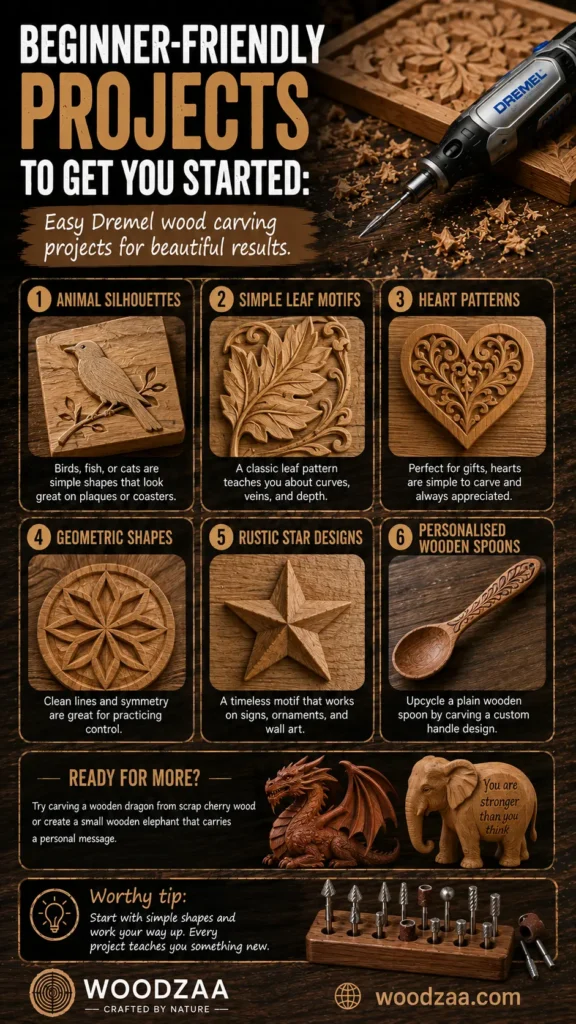
Ready to put your skills to the test? Here are some beginner-friendly projects that will build your confidence and give you beautiful results.
Easy Dremel wood carving projects:
- Animal silhouettes: Birds, fish, or cats are simple shapes that look great on plaques or coasters.
- Simple leaf motifs: A classic leaf pattern teaches you about curves, veins, and depth.
- Heart patterns: Perfect for gifts, hearts are simple to carve and always appreciated.
- Geometric shapes: Clean lines and symmetry are great for practicing control.
- Rustic star designs: A timeless motif that works on signs, ornaments, and wall art.
- Personalised wooden spoons: Upcycle a plain wooden spoon by carving a custom handle design.
For a more ambitious project, try carving a wooden dragon from a piece of scrap cherry wood. Or, for a deeply meaningful project, create a small wooden elephant that carries a personal message.
Worthy tip: “Start with simple shapes and work your way up. Every project teaches you something new.”
8. Advanced Techniques: Taking Your Carving Further
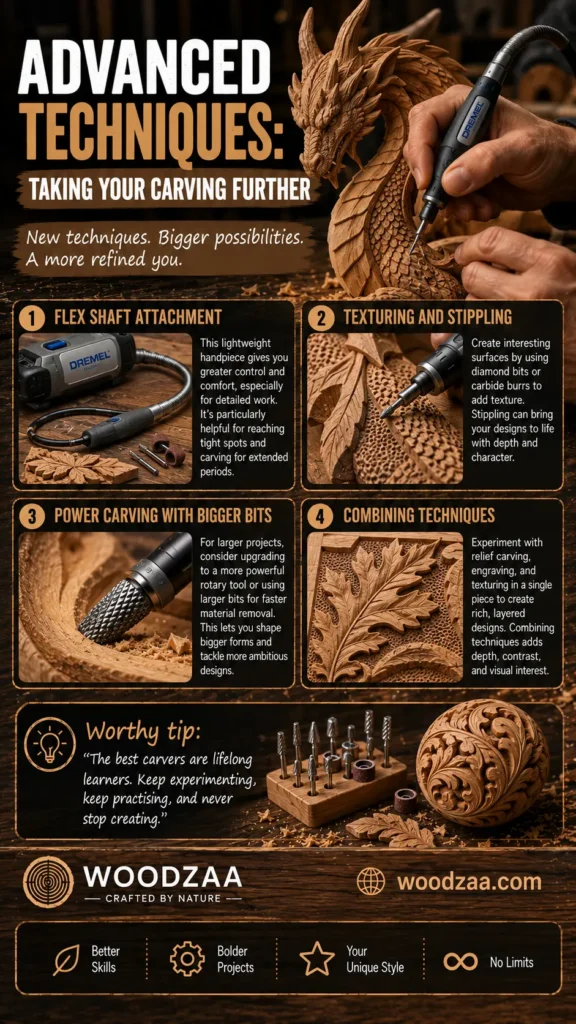
Once you’ve mastered the basics, you can explore more advanced techniques that will elevate your carving to the next level.
Techniques to explore:
- Flex shaft attachment: This lightweight handpiece gives you greater control and comfort, especially for detailed work. It’s particularly helpful for reaching tight spots and carving for extended periods.
- Texturing and stippling: Create interesting surfaces by using diamond bits or carbide burrs to add texture.
- Power carving with bigger bits: For larger projects, consider upgrading to a more powerful rotary tool or using larger bits for faster material removal.
- Combining techniques: Experiment with relief carving, engraving, and texturing in a single piece to create rich, layered designs.
The beauty of Dremel carving is that there’s always more to learn. Each project builds on the last, and with practice, you’ll develop your own unique style.
Worthy tip: “The best carvers are lifelong learners. Keep experimenting, keep practising, and never stop creating.”
From Beginner to Carver – Your Journey Starts Here
You now have everything you need to start your journey into sculpture Dremel projects: power tool carving made easy. From understanding power carving for beginners to mastering relief carving with Dremel, from choosing the best Dremel bits for wood carving to building your Dremel wood carving kit essentials, from learning wood engraving with rotary tool techniques to mastering how to carve letters in wood, and discovering the benefits of a flexible shaft Dremel attachment – you’re ready to transform wood with your rotary tool.
The only thing standing between you and your first carved masterpiece is the first cut. Grab your Dremel, pick a project, and start making chips. Whether you’re carving a simple leaf or a detailed dragon, every project will teach you something new. And who knows? The piece you carve today might just become a cherished heirloom tomorrow.
Table of Contents
Call to Action (CTA)
Ready to start your first Dremel carving project? I’d love to hear what you’re planning to make! Email me at admin@woodzaa.com with “Dremel Carving” in the subject line and tell me about your project. I’ll share some personalised tips to help you get started.
Now go make some sawdust!
– Sheila

