
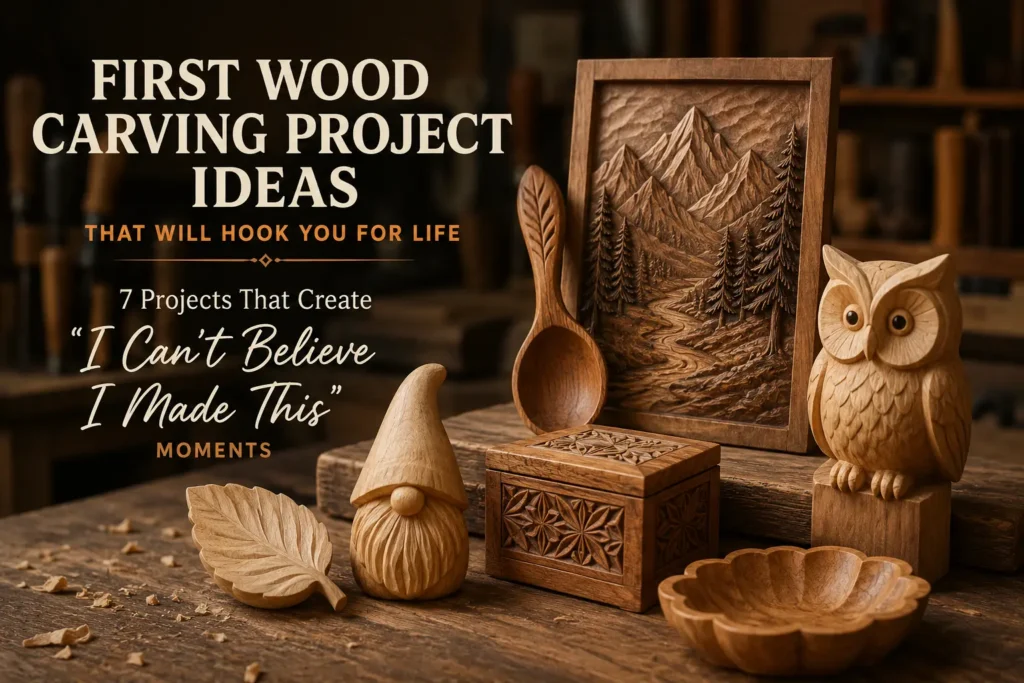
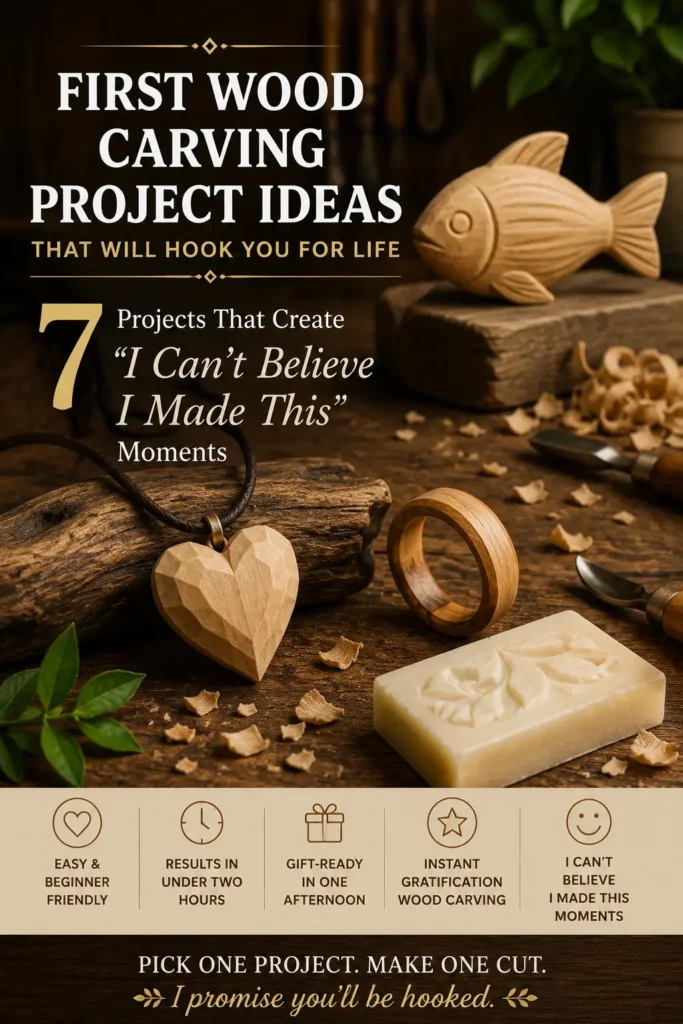
You’ve seen those beautiful hand‑carved wooden objects on Pinterest. You’ve thought, “I’d love to make something like that, but I’m not an artist.” Here’s the truth: you don’t need talent. You just need the right first project – one that delivers that magical “I can’t believe I made this” moment.
Let me share the first wood carving project ideas that will hook you for life. These projects are designed to give you instant gratification, with wood carving, results in under two hours that you’ll be proud to show off. You’ll learn to make a carved heart pendant as a keepsake, a wooden ring from a branch, try soap carving practice before wood, create a one‑block fish silhouette, experience the pride of making something by hand, enjoy instant gratification wood carving, practice seeing a shape emerge from a block, finish a gift‑ready carving in one afternoon, and collect those priceless “I can’t believe I made this” moments.
Pick one project. Make one cut. I promise you’ll be hooked.
1. Carved Heart Pendant as a Keepsake – Your First Gift
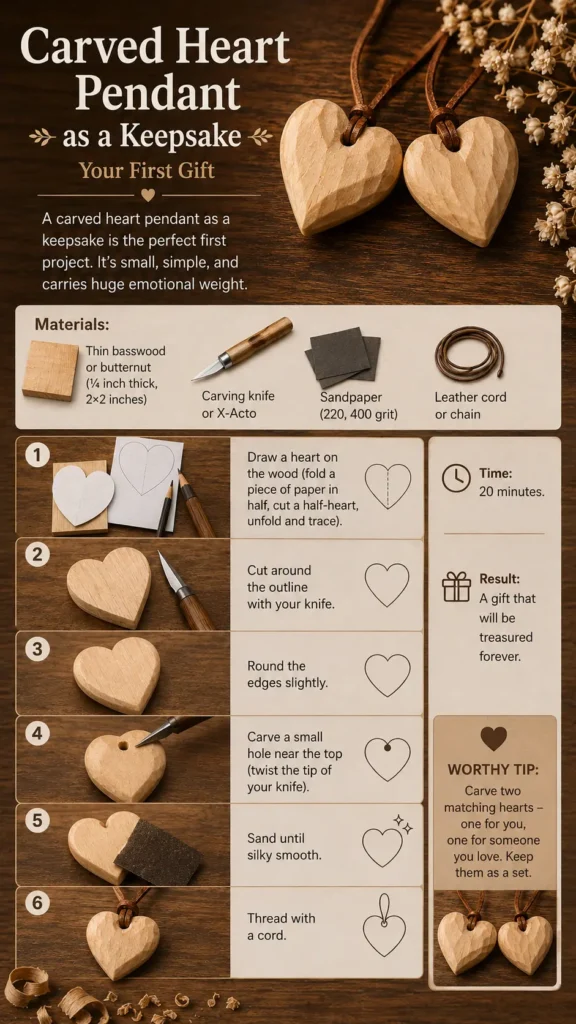
A carved heart pendant as a keepsake is the perfect first project. It’s small, simple, and carries huge emotional weight. You can make one for yourself, a partner, or a best friend in under 30 minutes.
Materials:
- Thin basswood or butternut (¼ inch thick, 2×2 inches)
- Carving knife or X‑Acto
- Sandpaper (220, 400 grit)
- Leather cord or chain
Steps:
- Draw a heart on the wood (fold a piece of paper in half, cut a half‑heart, unfold and trace).
- Cut around the outline with your knife.
- Round the edges slightly.
- Carve a small hole near the top (twist the tip of your knife).
- Sand until silky smooth.
- Thread with a cord.
Time: 20 minutes.
Result: A gift that will be treasured forever.
Worthy tip: “Carve two matching hearts – one for you, one for someone you love. Keep them as a set.”
For more projects that build confidence, check out our related article: First Wood Carving Project Ideas That Will Hook You for Life (Mid to High Net Worth)
2. Wooden Ring from a Branch – Wearable Pride
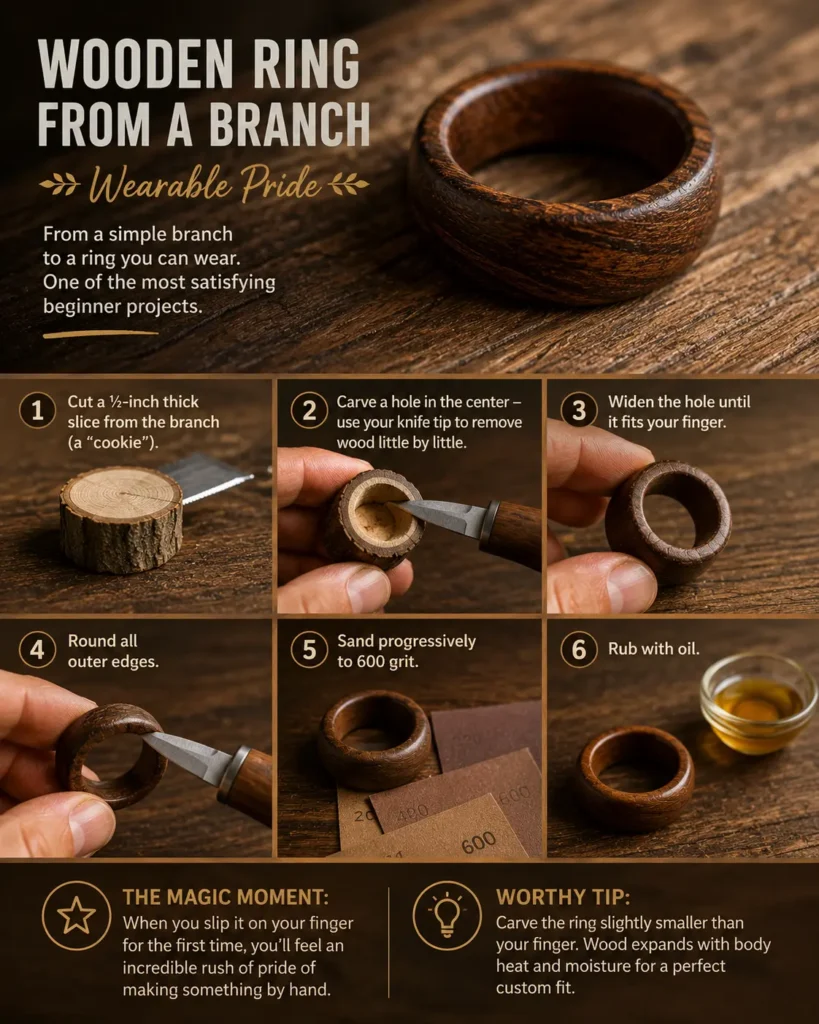
A wooden ring from a branch sounds impossible, but it’s one of the most satisfying beginner projects. You’ll go from a stick in your yard to a piece of jewelry you can wear.
What you need:
- A dry branch (about 1 inch thick, cherry or birch is best)
- Carving knife
- Sandpaper (220, 400, 600 grit)
- Walnut oil or beeswax
Steps:
- Cut a ½‑inch thick slice from the branch (a “cookie”).
- Carve a hole in the center – use your knife tip to remove wood little by little.
- Widen the hole until it fits your finger.
- Round all outer edges.
- Sand progressively to 600 grit.
- Rub with oil.
The magic moment:
When you slip it on your finger for the first time, you’ll feel an incredible rush of pride of making something by hand.
Worthy tip: “Carve the ring slightly smaller than your finger. Wood expands with body heat and moisture for a perfect custom fit.”
You might Like : Do You Want Custom Wood Sculpture Click This…
3. Soap Carving Practice Before Wood – Zero Risk
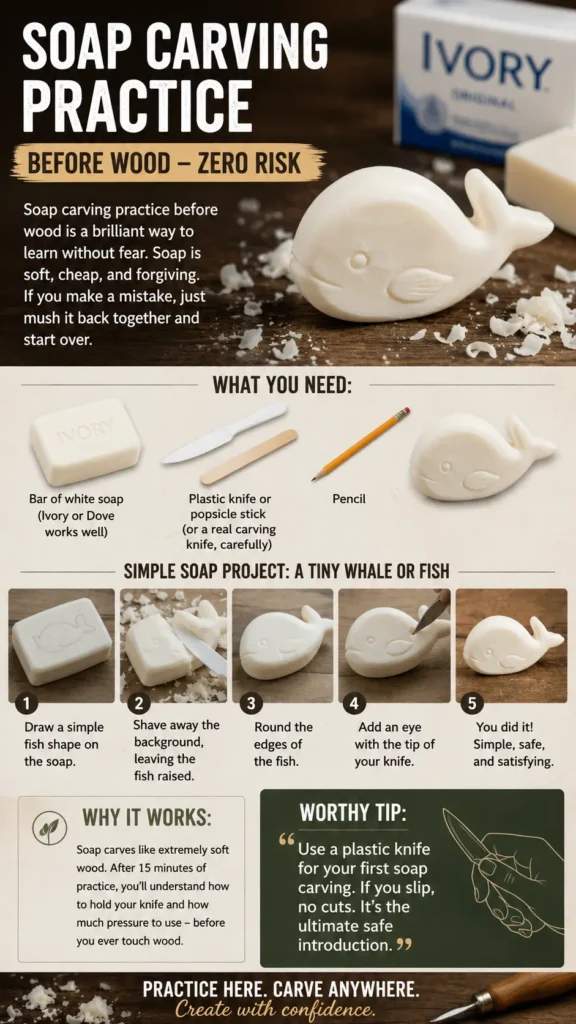
Soap carving practice before wood is a brilliant way to learn without fear. Soap is soft, cheap, and forgiving. If you make a mistake, just mush it back together and start over.
What you need:
- Bar of white soap (Ivory or Dove works well)
- Plastic knife or popsicle stick (or a real carving knife, carefully)
- Pencil
Simple soap project:
A tiny whale or fish.
Steps:
- Draw a simple fish shape on the soap.
- Shave away the background, leaving the fish raised.
- Round the edges of the fish.
- Add an eye with the tip of your knife.
Why it works:
Soap carves like extremely soft wood. After 15 minutes of practice, you’ll understand how to hold your knife and how much pressure to use – before you ever touch wood.
Worthy tip: “Use a plastic knife for your first soap carving. If you slip, no cuts. It’s the ultimate safe introduction.”
4. One‑Block Fish Silhouette – Instant Gratification
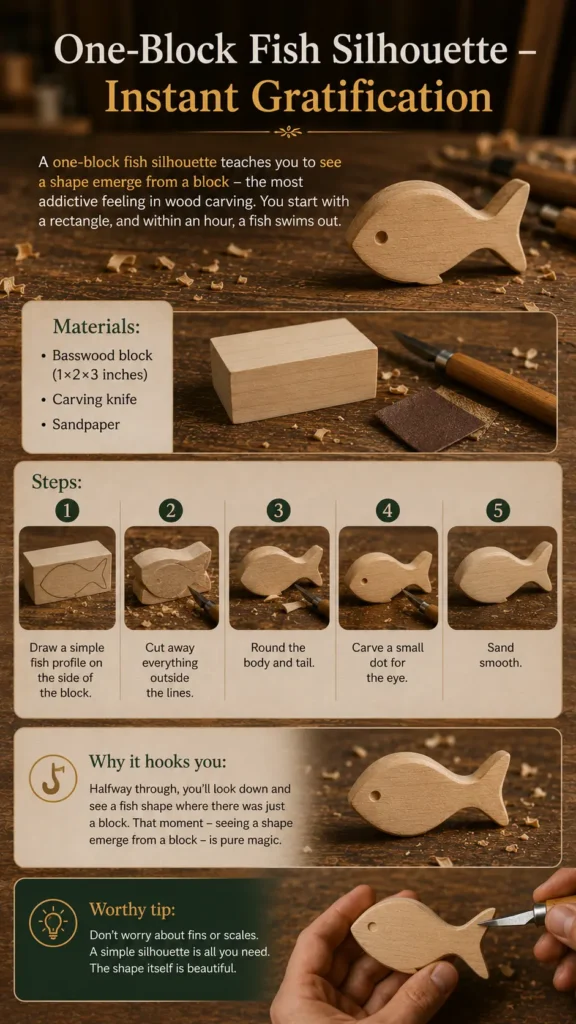
A one‑block fish silhouette teaches you to see a shape emerge from a block – the most addictive feeling in wood carving. You start with a rectangle, and within an hour, a fish swims out.
Materials:
- Basswood block (1×2×3 inches)
- Carving knife
- Sandpaper
Steps:
- Draw a simple fish profile on the side of the block.
- Cut away everything outside the lines.
- Round the body and tail.
- Carve a small dot for the eye.
- Sand smooth.
Why it hooks you:
Halfway through, you’ll look down and see a fish shape where there was just a block. That moment – seeing a shape emerge from a block – is pure magic.
Worthy tip: “Don’t worry about fins or scales. A simple silhouette is all you need. The shape itself is beautiful.”
5. Instant Gratification Wood Carving – Projects Under 45 Minutes
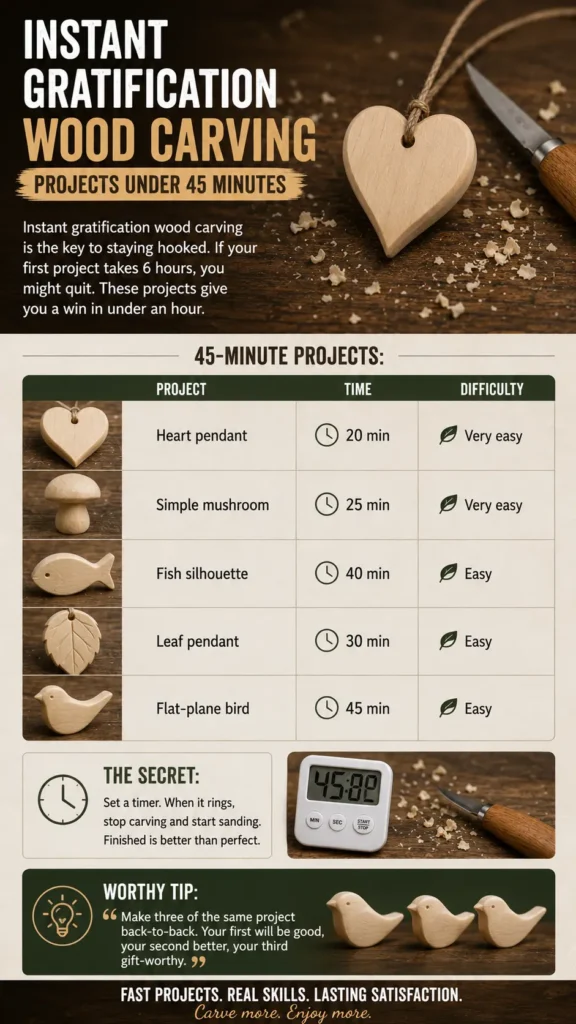
Instant gratification wood carving is the key to staying hooked. If your first project takes 6 hours, you might quit. These projects give you a win in under an hour.
45‑minute projects:
| Project | Time | Difficulty |
|---|---|---|
| Heart pendant | 20 min | Very easy |
| Simple mushroom | 25 min | Very easy |
| Fish silhouette | 40 min | Easy |
| Leaf pendant | 30 min | Easy |
| Flat‑plane bird | 45 min | Easy |
The secret:
Set a timer. When it rings, stop carving and start sanding. Finished is better than perfect.
Worthy tip: “Make three of the same project back‑to‑back. Your first will be good, your second better, your third gift‑worthy.”
6. Gift‑Ready Carving in One Afternoon – Impress Someone You Love

Imagine giving a handmade wooden gift that someone will keep forever. A gift‑ready carving in one afternoon is absolutely possible.
Perfect gift projects:
- For a partner: Two interlocking hearts (carve two, then nest them together).
- For a parent: A carved initial pendant (their first initial, sanded to silk).
- For a child: A tiny smooth whale or bear (no sharp edges).
- For a friend: A set of three coasters with simple leaf carvings.
One‑afternoon timeline:
- 1 hour: Rough shape
- 1 hour: Details and rounding
- 1 hour: Sanding (220 → 400 → 600 grit)
- 30 minutes: Oil and buff
Worthy tip: “Wrap your finished carving in a soft cloth and tie with twine. The rustic presentation doubles the handmade charm.”
7. “I Can’t Believe I Made This” Moments – What to Expect
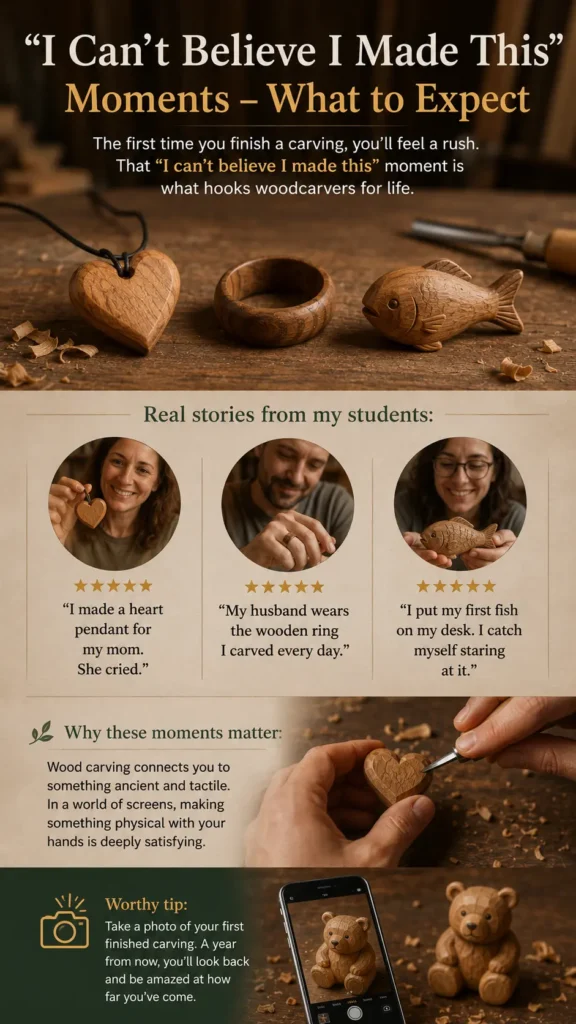
The first time you finish a carving, you’ll feel a rush. That “I can’t believe I made this” moment is what hooks woodcarvers for life.
Real stories from my students:
- “I made a heart pendant for my mom. She cried.”
- “My husband wears the wooden ring I carved every day.”
- “I put my first fish on my desk. I catch myself staring at it.”
Why these moments matter:
Wood carving connects you to something ancient and tactile. In a world of screens, making something physical with your hands is deeply satisfying.
Worthy tip: “Take a photo of your first finished carving. A year from now, you’ll look back and be amazed at how far you’ve come.”
Your First Weekend: A Complete Plan

Here’s a zero‑pressure plan to get hooked this weekend.
Saturday morning: Try soap carving practice before wood–carving a simple fish or heart in soap.
Saturday afternoon: Make a wooden ring from a branch or a carved heart pendant.
Sunday morning: Carve a one‑block fish silhouette.
Sunday afternoon: Sand and oil all your pieces. Lay them out. Take a photo.
By Sunday night: You’ll have three finished carvings, a huge smile, and a new hobby.
From First Cut to Forever Hobby
You now have first wood carving project ideas that will hook you for life – from a carved heart pendant as a keepsake and wooden ring from a branch to soap carving practice before wood, a one‑block fish silhouette, the pride of making something by hand, instant gratification wood carving, seeing a shape emerge from a block, a gift‑ready carving in one afternoon, and the unforgettable “I can’t believe I made this” moments.
The hardest part is making the first cut. After that, you’ll be looking for excuses to carve more.
Table of Contents
Call to Action (CTA)
Ready to get hooked? Email me at admin@woodzaa.com with “First Project” in the subject line. I’ll send you a free printable PDF of 10 simple patterns (hearts, fish, leaves, birds) – trace them directly onto your wood.
And when you finish your first carving and have that “I can’t believe I made this” moment, send a photo. I’d love to celebrate with you.
– Sheila


Pingback: 7 Abstract Wood Carving That Pushes the Boundaries of Art – Gallery‑Worthy Ideas for Modern Interiors - Woodzaa