
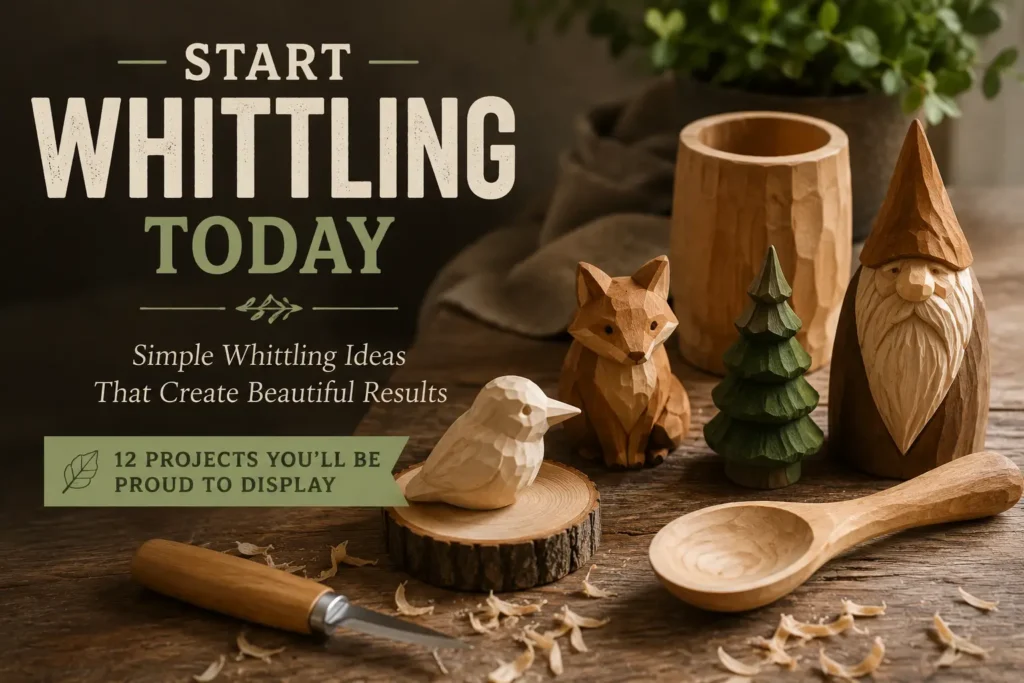
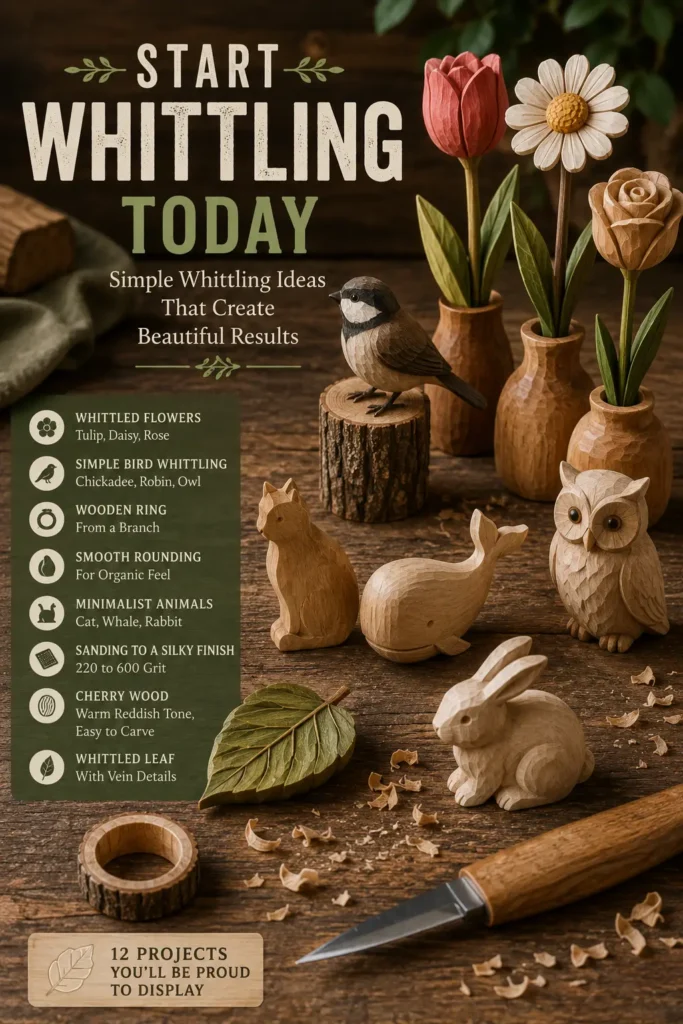
You don’t need a workshop full of tools to make wood art that stops people mid‑step. A sharp knife, a small block of wood, and a quiet hour can produce something so lovely that guests will ask, “Where did you buy that?” The secret isn’t skill – it’s choosing the right projects.
Let me share simple whittling ideas that create beautiful results. In this guide, you’ll learn how to carve a whittled wooden flower (tulip, daisy, rose), master simple bird whittling (chickadee, robin, owl), craft a wooden ring from a branch, understand smooth rounding for organic feel, create minimalist animal silhouettes (cat, whale, rabbit), achieve sanding to a silky finish (220 to 600 grit), work with cherry (warm reddish tone, easy to carve), and add a whittled leaf with vein details.
These projects look impressive but are surprisingly beginner‑friendly. Grab your knife. Let’s make something beautiful.
1. Whittled Wooden Flower (Tulip, Daisy, Rose) – Nature in Your Hand

A whittled wooden flower (tulip, daisy, rose) is easier than you think. Start with a tulip – it’s just a cup shape on a stem. Once you master that, try a daisy (many small petals) or a rose (layered overlapping curves).
Tulip in 5 steps:
- Start with a 1×1×3-inch basswood block.
- Carve the top into a rounded cup (the flower head).
- Carve a shallow groove around the middle to separate petals.
- Taper the bottom into a stem.
- Add a tiny leaf halfway down the stem.
Time: 30–40 minutes.
Finish: Sand to 400 grit, then rub with mineral oil. The petals will glow.
Worthy tip: “Carve a bouquet of three tulips – one tall, one medium, one short. Place them in a tiny vase for a forever flower arrangement.”
For more inspiring projects, check out our related article: Simple Whittling Ideas That Create Beautiful Results (Mid to High Net Worth)
2. Simple Bird Whittling (Chickadee, Robin, Owl) – Feathers Made Easy
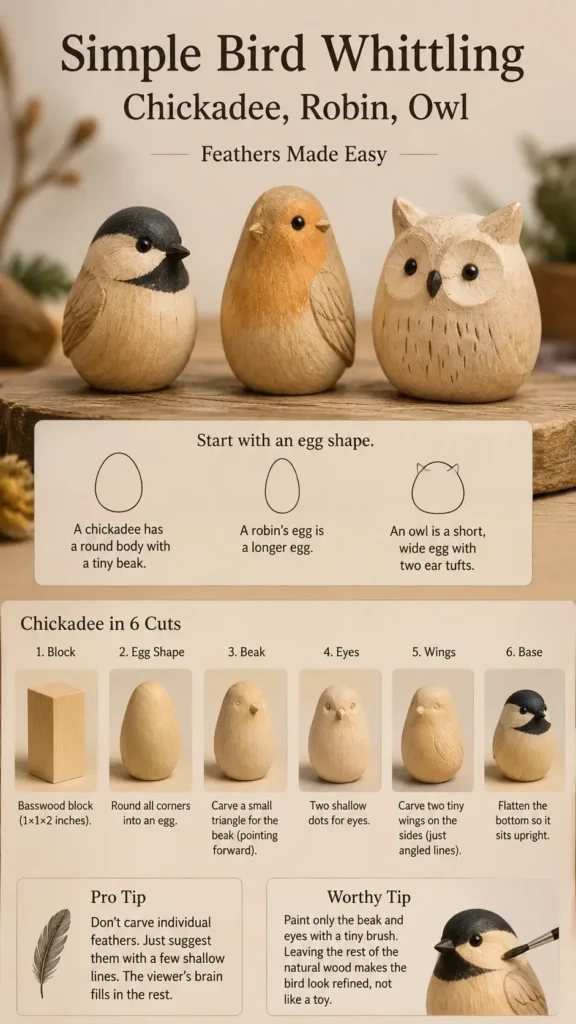
Simple bird whittling (chickadee, robin, owl) starts with an egg shape. A chickadee has a round body with a tiny beak. A robin’s egg is a longer egg. An owl is a short, wide egg with two ear tufts.
Chickadee in 6 cuts:
- Basswood block (1×1×2 inches).
- Round all corners into an egg.
- Carve a small triangle for the beak (pointing forward).
- Two shallow dots for eyes.
- Carve two tiny wings on the sides (just angled lines).
- Flatten the bottom so it sits upright.
Pro tip:
Don’t carve individual feathers. Just suggest them with a few shallow lines. The viewer’s brain fills in the rest.
Worthy tip: “Paint only the beak and eyes with a tiny brush. Leaving the rest of the natural wood makes the bird look refined, not like a toy.”
You Might Like : 15 Stunning Wooden Necklace and Ring Ideas That Bring Natural Beauty to Your Style
3. Wooden Ring from a Branch – Wearable Whittling

A wooden ring from a branch sounds advanced, but it’s surprisingly simple. You need a branch about 1 inch thick and a sharp knife.
Steps:
- Cut a ½‑inch thick slice from the branch (a “cookie”).
- Carve a hole in the center (use the tip of your knife to remove wood little by little).
- Widen the hole until it fits your finger.
- Round the outer edges.
- Sand from 220 to 600 grit until it feels like silk.
- Apply a drop of walnut oil.
Best wood:
Cherry or birch (hard enough to hold shape but carves cleanly).
Worthy tip: “Carve the ring slightly smaller than your finger. Wood will expand slightly with body heat and moisture for a perfect fit.”
4. Smooth Rounding for Organic Feel – The Secret to Professional Touch

Smooth rounding for an organic feel transforms a blocky carving into something that begs to be touched. Instead of leaving flat planes, you round every edge and corner until the piece feels soft in your hand.
How to practice rounding:
- Carve a simple shape – a mushroom, a bird, or a pebble.
- Run your thumb over every surface. If you feel a sharp edge, round it.
- Use the flat of your knife blade to “peel” thin curls off edges.
- Sand progressively (220, 400, 600 grit).
Why it matters:
Organic curves catch light softly and invite handling. A well‑rounded piece feels expensive.
Worthy tip: “Test your rounding by closing your eyes and running your fingers over the carving. If you can’t feel any corners, you’re done.”
5. Minimalist Animal Silhouettes (Cat, Whale, Rabbit) – Instant Impact

Minimalist animal silhouettes (cat, whale, rabbit) are the ultimate high‑impact, low‑effort project. You carve only the outline – no face, no details. The shape alone tells the story.
How to carve a cat silhouette:
- Trace a simple cat profile on a ¼‑inch thick basswood plaque.
- Cut around the outline with your knife.
- Round the edges slightly.
- Sand smooth.
- Leave natural or paint black.
Other silhouettes:
- Whale – a curved teardrop with a tiny tail fin
- Rabbit – an oval with two long ears
- Bird in flight – a shallow V with wide wings
Time: 15–20 minutes each.
Worthy tip: “Mount your silhouette on a contrasting background – dark walnut silhouette on a light maple plaque (or vice versa). The contrast doubles the visual impact.”
6. Sanding to a Silky Finish (220 to 600 Grit) – The Magic Step

Sanding to a silky finish (220 to 600 grit) is what separates beginner work from heirloom pieces. Most hobbyists stop at 220. Professionals go further.
The full progression:
- 120 grit – Removes knife marks.
- 220 grit – Smooths the surface.
- 320 grit – Prepares for finishing.
- 400 grit – Feels like velvet.
- 600 grit – A mirror‑like glow (on dense woods like cherry).
Pro trick – wet sanding:
After 400 grit, dampen the wood slightly. Sand again with 600 grit. The water raises the grain, and the final sanding knocks it down for a glassy feel.
Worthy tip: “Wrap sandpaper around a popsicle stick for getting into tight crevices – between petals, under bird wings, inside the ring.”
7. Cherry (Warm Reddish Tone, Easy to Carve) – Your New Favorite Wood
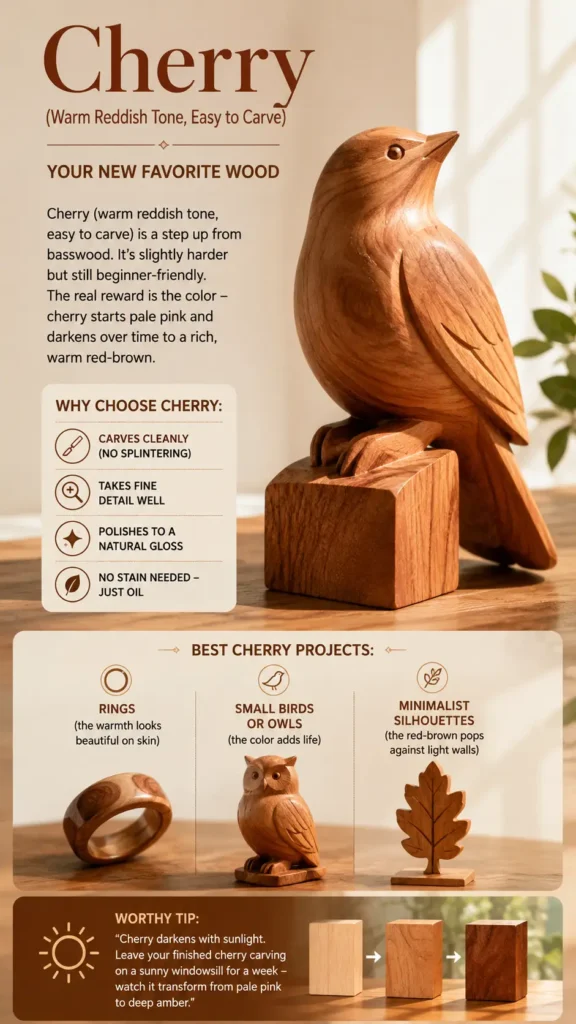
Cherry (warm reddish tone, easy to carve) is a step up from basswood. It’s slightly harder but still beginner‑friendly. The real reward is the color – cherry starts pale pink and darkens over time to a rich, warm red‑brown.
Why choose cherry:
- Carves cleanly (no splintering)
- Takes fine detail well
- Polishes to a natural gloss
- No stain needed – just oil
Best cherry projects:
- Rings (the warmth looks beautiful on skin)
- Small birds or owls (the color adds life)
- Minimalist silhouettes (the red‑brown pops against light walls)
Worthy tip: “Cherry darkens with sunlight. Leave your finished cherry carving on a sunny windowsill for a week – watch it transform from pale pink to deep amber.”
8. Whittled Leaf with Vein Details – A Study in Texture

A whittled leaf with vein details teaches you more about texture than any other project. The leaf shape is simple, but the veins require control and patience.
Step‑by‑step:
- Start with a ¼‑inch thick basswood or cherry plaque (leaf outline, about 3 inches long).
- Cut out the leaf shape.
- Carve the central vein (a shallow groove from stem to tip).
- Carve side veins (angled lines branching from the center).
- Round the leaf edges slightly.
- Sand carefully (don’t sand away the veins).
Time: 45 minutes.
Display ideas:
- Glue to a carved stem for a 3D flower
- Mount several leaves on a board as wall art
- String as a mobile
Worthy tip: “Use the tip of your knife (not the edge) to scratch the veins. It gives a finer line than cutting.”
9. Your First Weekend Project: A Whittled Tulip and Leaf Set
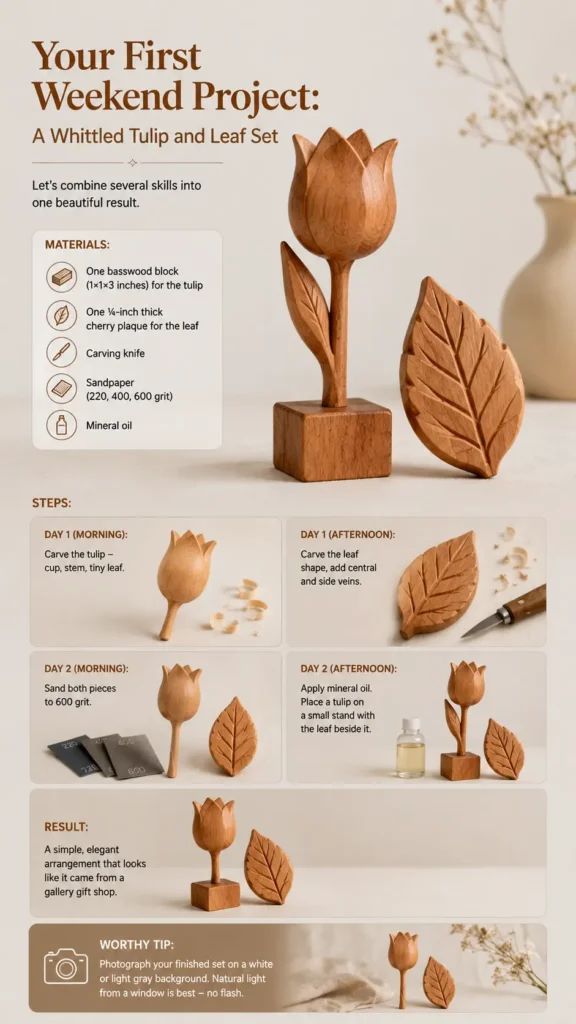
Let’s combine several skills into one beautiful result.
Materials:
- One basswood block (1×1×3 inches) for the tulip
- One ¼‑inch thick cherry plaque for the leaf
- Carving knife
- Sandpaper (220, 400, 600 grit)
- Mineral oil
Steps:
Day 1 (morning): Carve the tulip – cup, stem, tiny leaf.
Day 1 (afternoon): Carve the leaf shape, add central and side veins.
Day 2 (morning): Sand both pieces to 600 grit.
Day 2 (afternoon): Apply mineral oil. Place a tulip on a small stand with the leaf beside it.
Result: A simple, elegant arrangement that looks like it came from a gallery gift shop.
Worthy tip: “Photograph your finished set on a white or light gray background. Natural light from a window is best – no flash.”
From Simple Cuts to Stunning Results
You now have simple whittling ideas that create beautiful results – from a whittled wooden flower (tulip, daisy, rose) and simple bird whittling (chickadee, robin, owl) to a wooden ring from a branch, smooth rounding for organic feel, minimalist animal silhouettes (cat, whale, rabbit), sanding to a silky finish (220 to 600 grit), working with cherry (warm reddish tone, easy to carve), and a whittled leaf with vein details.
These projects prove that you don’t need years of experience to create wood art that brings joy. Just a knife, a little time, and the willingness to start.
Table of Contents
Call to Action (CTA)
Ready to create something beautiful this weekend? Email me at admin@woodzaa.com with “Simple Whittling” in the subject line. I’ll send you a free printable PDF of 12 leaf and flower patterns – trace them directly onto your wood.
And when you finish your first tulip or chickadee, send a photo. I’d love to feature it on my Pinterest page.
– Sheila


Pingback: Wood Carving for Beginners: Tips, Tools & Stunning Results – The Complete Starter's Guide - Woodzaa