
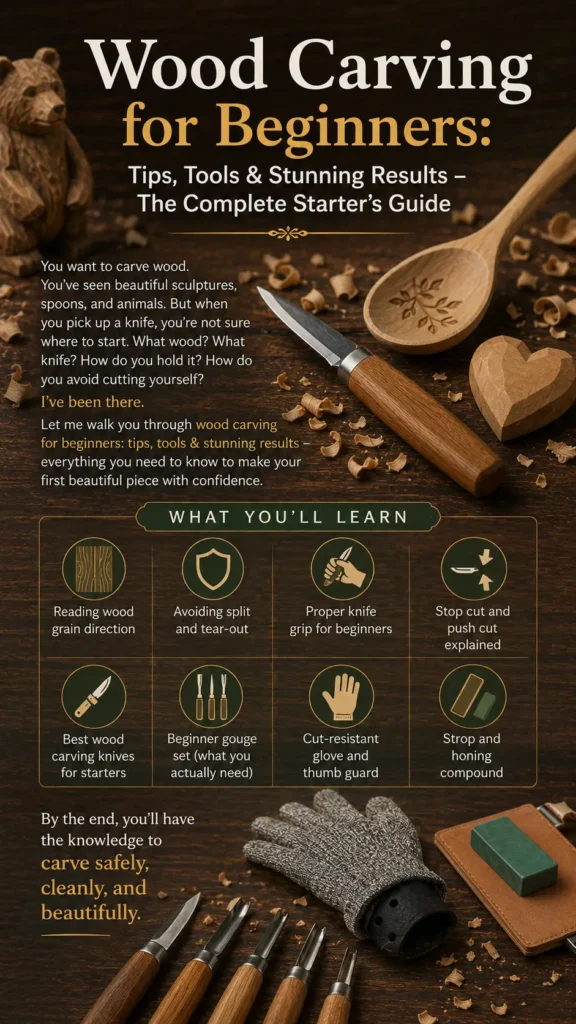
You want to carve wood. You’ve seen beautiful sculptures, spoons, and animals. But when you pick up a knife, you’re not sure where to start. What wood? What knife? How do you hold it? How do you avoid cutting yourself?
I’ve been there. Let me walk you through wood carving for beginners: tips, tools & stunning results – everything you need to know to make your first beautiful piece with confidence. You’ll learn wood carving tips for clean cuts, master reading wood grain direction, avoid avoiding split and tear-out, understand proper knife grip for beginners, practice stop cut and push cut explained, choose the best wood carving knives for starters, pick a beginner gouge set (what you actually need), and gear up with a cut-resistant glove and thumb guard and a strop and honing compound.
By the end, you’ll have the knowledge to carve safely, cleanly, and beautifully.
1. Wood Carving Tips for Clean Cuts – Start With the Right Mindset
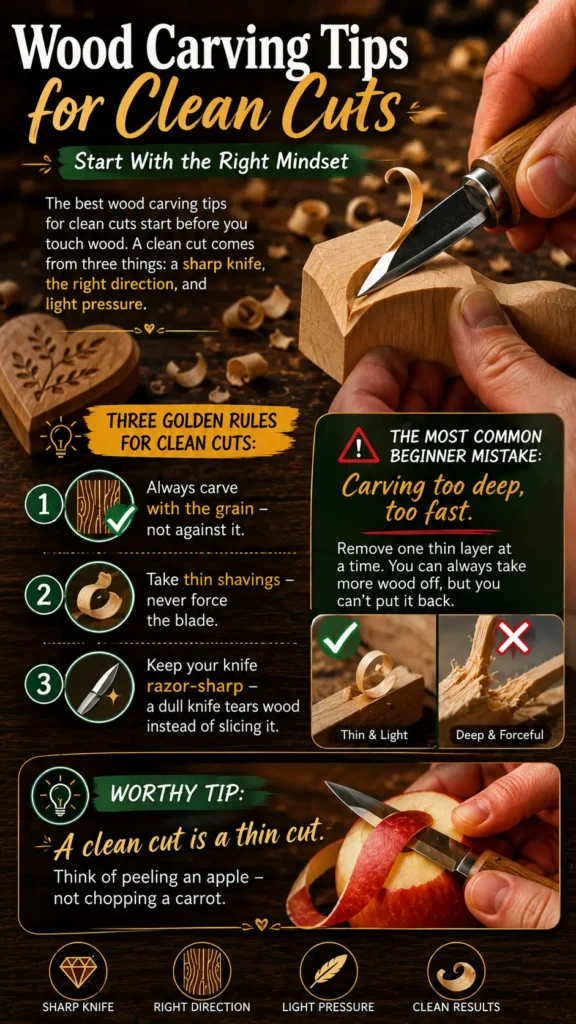
The best wood carving tips for clean cuts start before you touch wood. A clean cut comes from three things: a sharp knife, the right direction, and light pressure.
Three golden rules for clean cuts:
- Always carve with the grain – not against it.
- Take thin shavings – never force the blade.
- Keep your knife razor-sharp – a dull knife tears wood instead of slicing it.
The most common beginner mistake:
Carving too deep, too fast. Remove one thin layer at a time. You can always take more wood off, but you can’t put it back.
Worthy tip: “A clean cut is a thin cut. Think of peeling an apple – not chopping a carrot.”
For more on tools and techniques, check out our related article: Wood Carving for Beginners: Tips, Tools & Stunning Results (Mid to High Net Worth)
2. Reading Wood Grain Direction – The Most Important Skill

Reading wood grain direction is the single most important skill in wood carving. If you carve against the grain, your knife will catch, tear, and splinter the wood. Carve with the grain, and your knife glides through.
How to read grain:
Look at the side of your wood block. You’ll see long, parallel lines (the grain). Run your finger along the block. One direction feels smooth. The opposite direction feels rough or bumpy.
Quick test:
Make a light practice cut on a scrap piece. If the wood splits or tears, turn the block around and try the other direction.
The rule:
Always carve in the smooth direction – with the grain, not against it.
Worthy tip: “Draw an arrow on your wood pointing in the direction of the grain. Refer to it every time you reposition the block.”
You Might Like : Do You Want Custom Wood Sculpture Click This…
3. Avoiding Split and Tear-Out – Prevent Frustration
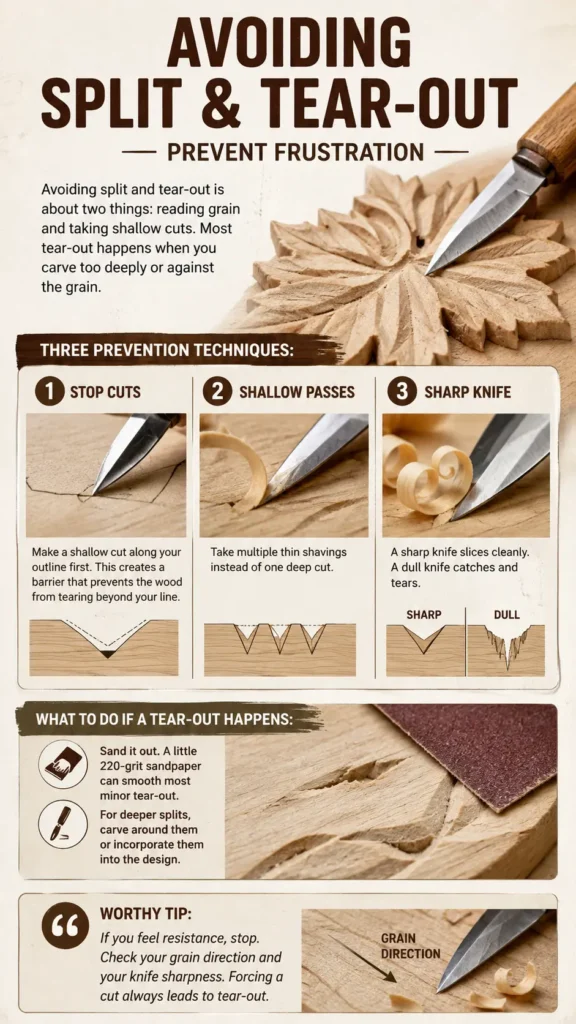
Avoiding split and tear-out is about two things: reading grain and taking shallow cuts. Most tear-out happens when you carve too deeply or against the grain.
Three prevention techniques:
- Stop cuts – Make a shallow cut along your outline first. This creates a barrier that prevents the wood from tearing beyond your line.
- Shallow passes – Take multiple thin shavings instead of one deep cut.
- Sharp knife – A sharp knife slices cleanly. A dull knife catches and tears.
What to do if a tear-out happens:
Sand it out. A little 220-grit sandpaper can smooth most minor tear-out. For deeper splits, carve around them or incorporate them into the design.
Worthy tip: “If you feel resistance, stop. Check your grain direction and your knife sharpness. Forcing a cut always leads to tear-out.”
4. Proper Knife Grip for Beginners – Comfort and Control

Proper knife grip for beginners is about comfort and safety. You want a grip that feels natural and gives you precise control.
The three basic grips:
| Grip | How To | Best For |
|---|---|---|
| Pencil grip | Hold the knife like a pencil | Fine details, small cuts |
| Fist grip | Wrap all fingers around the handle | Heavy material removal |
| Thumb push | Place your thumb on the back of the blade (not the edge) | Controlled, precise cuts |
Safety rule:
Never choke up on the blade. Always hold the handle. Your hand should never be in front of the blade.
Worthy tip: “Start with the thumb push grip. It gives you the most control and keeps your thumb away from the cutting edge.”
5. Stop Cut and Push Cut Explained – Two Essential Cuts
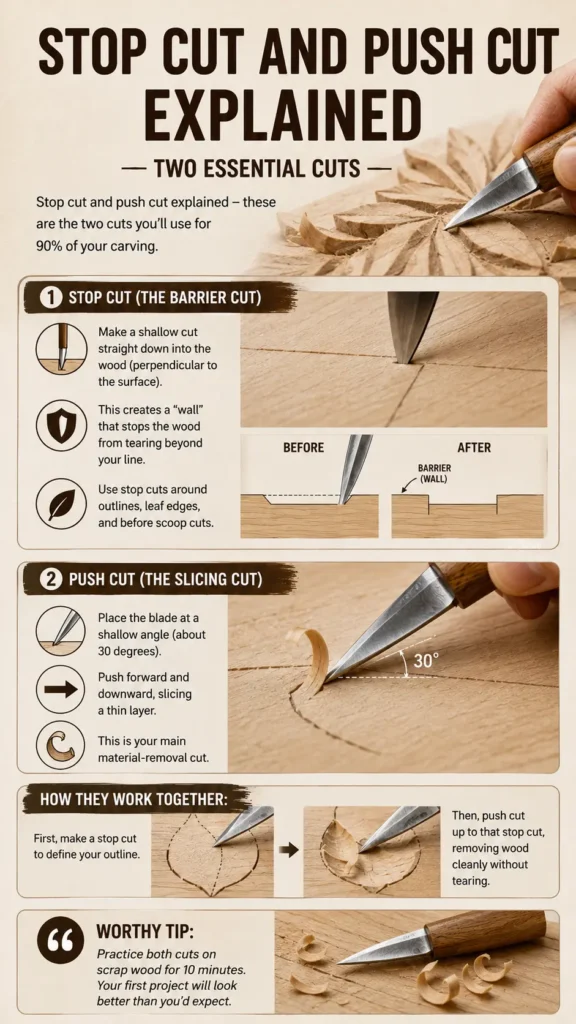
Stop cut and push cut explained – these are the two cuts you’ll use for 90% of your carving.
Stop cut (the barrier cut):
- Make a shallow cut straight down into the wood (perpendicular to the surface).
- This creates a “wall” that stops the wood from tearing beyond your line.
- Use stop cuts around outlines, leaf edges, and before scoop cuts.
Push cut (the slicing cut):
- Place the blade at a shallow angle (about 30 degrees).
- Push forward and downward, slicing a thin layer.
- This is your main material-removal cut.
How they work together:
First, make a stop cut to define your outline. Then, push cut up to that stop cut, removing wood cleanly without tearing.
Worthy tip: “Practice both cuts on scrap wood for 10 minutes. Your first project will look better than you’d expect.”
6. Best Wood Carving Knives for Starters – What to Buy

The best wood carving knives for starters are simple, sharp, and safe. Here are my top recommendations.
| Knife | Why It’s Great | Price |
|---|---|---|
| Mora 120 | Fixed blade, comfortable handle, razor-sharp out of the box | $25–30 |
| Opinel No. 8 | Folding knife, very sharp, classic design | $15–20 |
| Flexcut KN12 | Interchangeable blades, great for detail work | $35–40 |
| X-Acto #11 | Cheap, readily available, good for soft wood | $5–10 |
My pick for total beginners:
Mora 120. It’s a fixed blade (no risk of folding on your fingers), fits small hands well, and holds an edge beautifully.
Worthy tip: “Don’t buy a cheap set of 12 knives. Buy one good knife and learn to keep it sharp. You’ll carve better with one sharp blade than twelve dull ones.”
7. Beginner Gouge Set (What You Actually Need)

A beginner gouge set (what you actually need) – don’t buy a big set. You only need a few gouges to start.
The essential gouges:
- #3 (6mm) – Shallow gouge – For general shaping, scooping, and concave surfaces.
- #7 (6mm) – Deep gouge – For deeper scoops, bowls, and hollows.
- #5 (6mm) – Medium gouge – A good all-purpose middle ground.
- V‑tool (3mm) – For sharp lines, veins, and lettering.
Brands to trust:
Pfeil (Swiss), Two Cherries (German), and Ramelson (good budget option).
Worthy tip: “Start with a single #5 gouge. You can carve 80% of beginner projects with just a knife and this one gouge.”
8. Cut-Resistant Glove and Thumb Guard – Non-Negotiable

I can’t say this strongly enough: wear a cut-resistant glove and thumb guard every time you carve.
The glove:
- Level 5 cut-resistant (Kevlar or similar material)
- Worn on the hand that holds the wood (your non-dominant hand)
- Tight enough that it won’t slip off, but not so tight it restricts movement
The thumb guard:
- A leather or metal protector for the thumb on your pushing hand
- Prevents cuts when you push the knife with your thumb
What they protect against:
When your knife slips (and it will slip), the glove stops the blade. A thumb guard keeps your pushing thumb safe from the edge.
Worthy tip: “A $10 glove is cheaper than a trip to urgent care. Buy one before your first cut.”
9. Strop and Honing Compound – Keep Your Knife Razor-Sharp
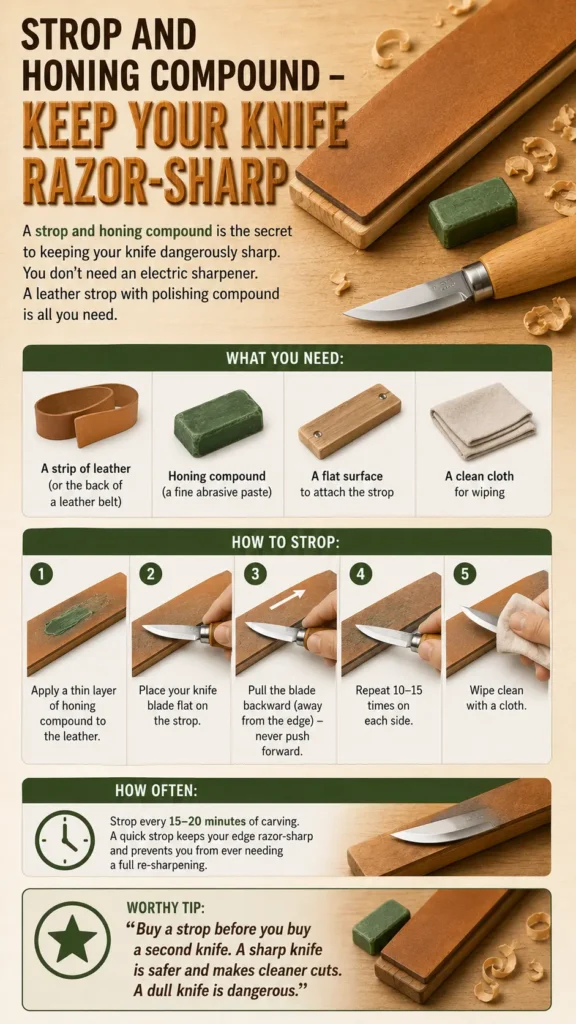
A strop and honing compound are the secret to keeping your knife dangerously sharp. You don’t need an electric sharpener. A leather strop with polishing compound is all you need.
What you need:
- A strip of leather (or the back of a leather belt)
- Honing compound (a fine abrasive paste)
- A flat surface to attach the strop
How to strop:
- Apply a thin layer of honing compound to the leather.
- Place your knife blade flat on the strop.
- Pull the blade backward (away from the edge) – never push forward.
- Repeat 10-15 times on each side.
- Wipe clean with a cloth.
How often:
Strop every 15-20 minutes of carving. A quick strop keeps your edge razor-sharp and prevents you from ever needing a full re-sharpening.
Worthy tip: “Buy a strop before you buy a second knife. A sharp knife is safer and makes cleaner cuts. A dull knife is dangerous.”
Your Beginner Toolkit Summary
Here’s everything you need to start carving with confidence:
Essential tools (under $60 total):
- One good carving knife (Mora 120 or Flexcut KN12)
- One #5 gouge (6mm)
- Cut-resistant glove (Level 5)
- Thumb guard (optional but recommended)
- Strop with honing compound
- Sandpaper (220, 400 grit)
- Basswood blocks (1x1x3 inches, pack of 5)
That’s it. No power tools. No workshop. No expensive gouge sets.
From Overwhelmed to Overjoyed
You now have a complete guide to wood carving for beginners: tips, tools & stunning results. You’ve learned wood carving tips for clean cuts, how to read wood grain direction, avoiding split and tear-out, proper knife grip for beginners, stop cut, and push cut explained, the best wood carving knives for starters, a beginner gouge set (what you actually need), and how to use a cut-resistant glove and thumb guard with a strop and honing compound.
The knowledge is yours. The tools are affordable. The only thing left is to make that first cut.
Table of Contents
Call to Action (CTA)
Ready to carve something beautiful? Email me at admin@woodzaa.com with “Beginner Tools” in the subject line. I’ll send you a free printable PDF tool checklist and three simple patterns to start with.
When you finish your first carving, send a photo. I’d love to share it on my Pinterest and celebrate your first “I made this” moment.
– Sheila


Pingback: 10 Abstract Wood Sculpture Designs That Are Wildly Creative – Gallery‑Worthy Ideas for the Bold Designer - Woodzaa