
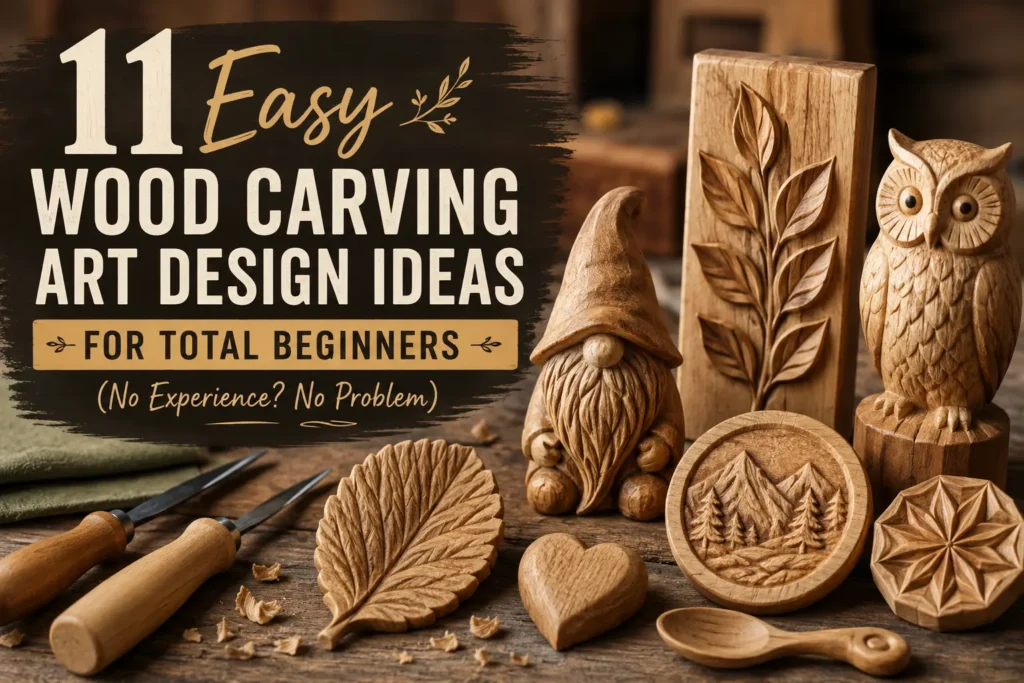
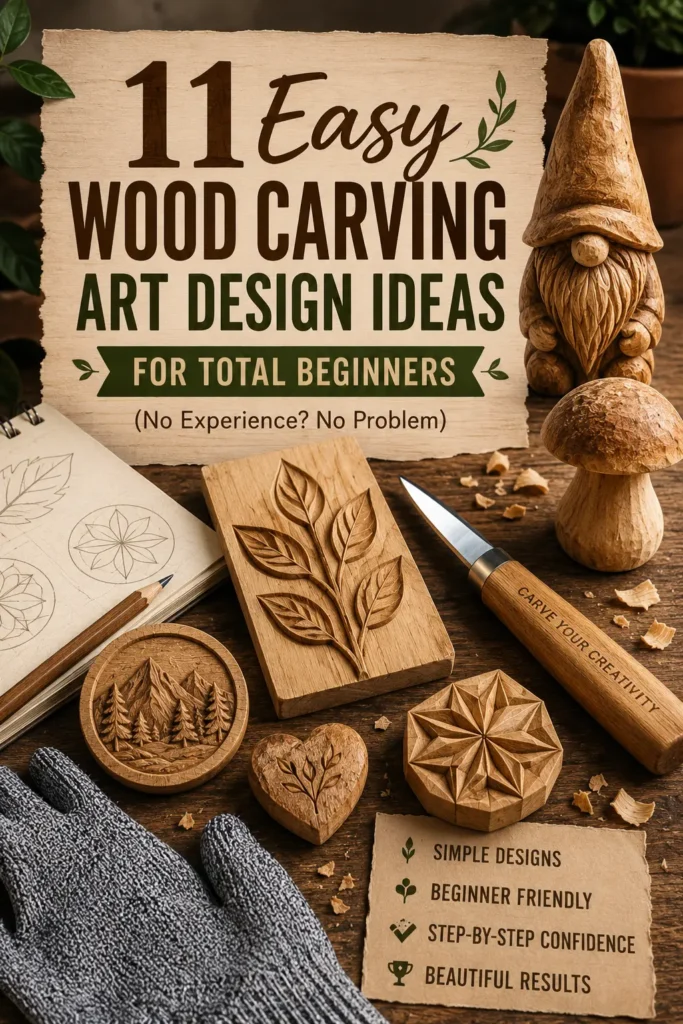
You want to create something beautiful from wood. But every tutorial you find assumes you already own a workshop full of tools and have been carving since childhood. Sound familiar? I’ve been there. The good news: you don’t need expensive tools or years of practice. You just need the right starting point.
Let me share easy wood carving art design ideas for total beginners – projects that actually look good and won’t frustrate you. You’ll discover simple wood carving patterns free to download, chip carving basics (single chip) that feel like magic, how to whittle a simple mushroom in under an hour, the secret of using a stencil on wood, tips for using a craft knife (X‑Acto) for soft wood, why a safety glove for first‑timers is non‑negotiable, the joy of balsa wood carving (extremely easy), and why symmetrical designs (forgiving) are your new best friend.
No fear. No fancy tools. Just wood, a knife, and a weekend.
1. Simple Wood Carving Patterns Free (And Where to Find Them)

Before you cut, you need a plan. The easiest way to start is with simple wood carving patterns available free online. These are ready‑to‑trace designs that remove the “what do I carve?” anxiety.
Best places to find free patterns:
- Pinterest (search “beginner wood carving patterns”)
- YouTube tutorials (many include downloadable templates)
- Wood carving forums (LumberJocks, Reddit’s r/Woodcarving)
What to look for:
- Bold outlines (no tiny details)
- Simple shapes (hearts, stars, leaves, basic animals)
- Symmetrical designs (easier to balance)
How to transfer:
Print the pattern, tape it to your wood, and trace with carbon paper or a soft pencil. Remove the paper. You’ll see a faint guide.
Worthy tip: “Start with a pattern that fits inside a 2×2 inch square. Small projects build confidence faster than large, intimidating ones.”
For more beginner resources, check out our related article: Easy Wood Carving Art Design Ideas for Total Beginners (Mid to High Net Worth)
2. Chip Carving Basics (Single Chip) – One Cut, Big Reward

Chip carving basics (single chip) are the perfect introduction. You remove a tiny pyramid of wood with one knife stroke. Repeat it in patterns, and suddenly you’ve made something intricate and professional‑looking.
How to carve a single chip:
- Draw a small equilateral triangle (sides ¼ inch).
- Hold your knife at a 45° angle, point touching one corner.
- Push down and forward to the opposite corner.
- Repeat for all three sides.
- The centerpiece pops out – a perfect little pyramid hole.
Practice project:
Carve rows of single chips along a wooden bookmark or a coaster. The repetition is meditative, and the result looks like fine latticework.
Worthy tip: “Use basswood for chip carving. It’s tight, straight grain won’t tear when you lift the chip.”
You Might Like : Do You Want Custom Wood Sculpture Click This…
3. Whittle a Simple Mushroom – Your First 3D Object
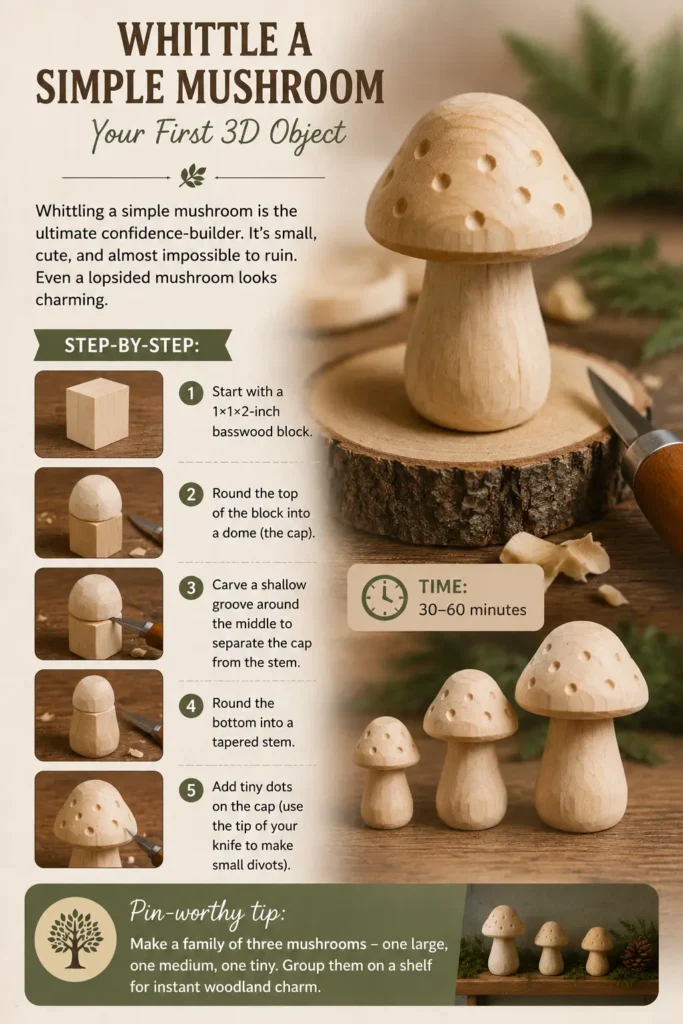
Whittling a simple mushroom is the ultimate confidence‑builder. It’s small, cute, and almost impossible to ruin. Even a lopsided mushroom looks charming.
Step‑by‑step:
- Start with a 1×1×2-inch basswood block.
- Round the top of the block into a dome (the cap).
- Carve a shallow groove around the middle to separate the cap from the stem.
- Round the bottom into a tapered stem.
- Add tiny dots on the cap (use the tip of your knife to make small divots).
Time: 30–60 minutes.
Worthy tip: “Make a family of three mushrooms – one large, one medium, one tiny. Group them on a shelf for instant woodland charm.”
4. Using a Stencil on Wood – Perfect Lines Without Drawing Skills

Can’t draw? No problem. Using a stencil on wood gives you clean, professional outlines in seconds. Stencils are especially helpful for symmetrical designs or lettering.
Where to get stencils:
- Craft stores (plastic or reusable adhesive stencils)
- Print your own on cardstock (use a craft knife to cut out the shapes)
- Use vinyl decals as stencils (peel and stick)
How to carve with a stencil:
- Tape the stencil firmly to your wood.
- Trace the inner edges with a pencil.
- Remove stencil.
- Carve just inside the pencil lines.
Bonus trick:
For shallow relief carving, leave the stencil on and carve directly through it. The stencil protects the surrounding wood from accidental cuts.
Worthy tip: “Make reusable stencils from clear plastic sheets (like old folder dividers). You’ll use them for years.”
5. Using a Craft Knife (X‑Acto) for Soft Wood – Your First Tool
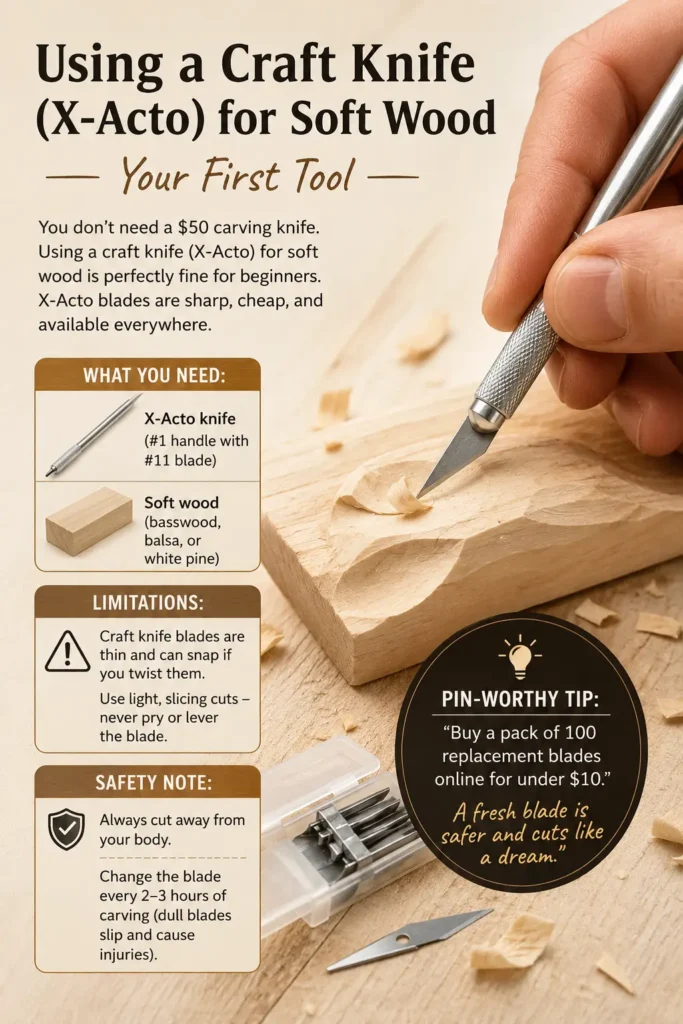
You don’t need a $50 carving knife. Using a craft knife (X‑Acto) for soft wood is perfectly fine for beginners. X‑Acto blades are sharp, cheap, and available everywhere.
What you need:
- X‑Acto knife (#1 handle with #11 blade)
- Soft wood (basswood, balsa, or white pine)
Limitations:
Craft knife blades are thin and can snap if you twist them. Use light, slicing cuts – never pry or lever the blade.
Safety note:
Always cut away from your body. Change the blade every 2–3 hours of carving (dull blades slip and cause injuries).
Worthy tip: “Buy a pack of 100 replacement blades online for under $10. A fresh blade is safer and cuts like a dream.”
6. Safety Glove for First‑Timers – Non‑Negotiable
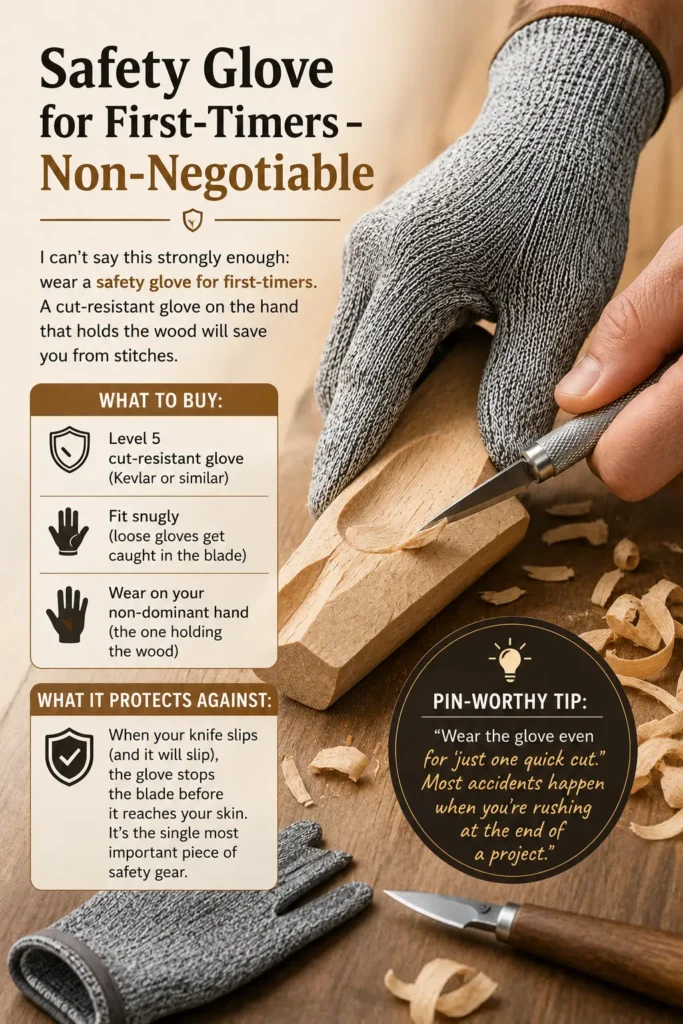
I can’t say this strongly enough: wear a safety glove for first‑timers. A cut‑resistant glove on the hand that holds the wood will save you from stitches.
What to buy:
- Level 5 cut‑resistant glove (Kevlar or similar)
- Fit snugly (loose gloves get caught in the blade)
- Wear on your non‑dominant hand (the one holding the wood)
What it protects against:
When your knife slips (and it will slip), the glove stops the blade before it reaches your skin. It’s the single most important piece of safety gear.
Worthy tip: “Wear the glove even for ‘just one quick cut.’ Most accidents happen when you’re rushing at the end of a project.”
7. Balsa Wood Carving (Extremely Easy) – Like Carving Butter
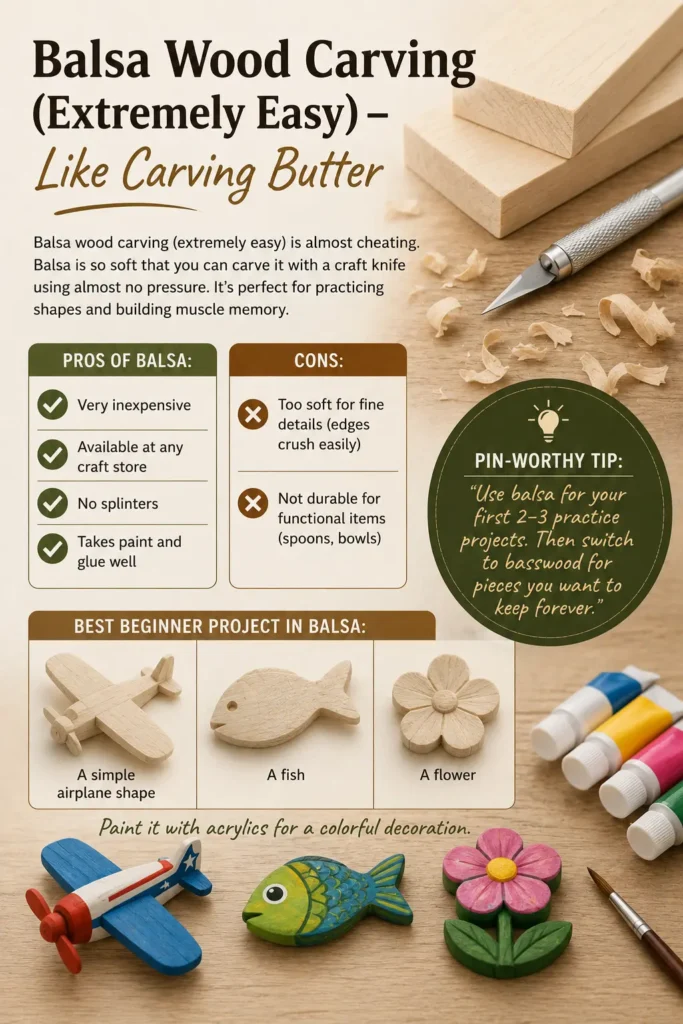
Balsa wood carving (extremely easy) is almost cheating. Balsa is so soft that you can carve it with a craft knife using almost no pressure. It’s perfect for practicing shapes and building muscle memory.
Pros of balsa:
- Very inexpensive
- Available at any craft store
- No splinters
- Takes paint and glue well
Cons:
- Too soft for fine details (edges crush easily)
- Not durable for functional items (spoons, bowls)
Best beginner project in balsa:
A simple airplane shape, a fish, or a flower. Paint it with acrylics for a colorful decoration.
Worthy tip: “Use balsa for your first 2–3 practice projects. Then switch to basswood for pieces you want to keep forever.”
8. Symmetrical Designs (Forgiving) – Your Secret Weapon

Symmetrical designs (forgiving) hide small mistakes. If one side of a heart is slightly wider than the other, no one notices. If a star has one crooked point, the symmetry still reads as “intentional.”
Best symmetrical shapes for beginners:
- Hearts
- Circles (mandalas, suns)
- Diamonds
- Crosses
- Four‑leaf clovers
How to carve symmetry:
Draw the centerline first. Mirror your design across it. Carve both sides at the same time (a little on the left, then the same on the right).
Worthy tip: “Fold your paper pattern in half to check symmetry. Adjust before transferring to wood.”
9. Your First Weekend Project: A Carved Coaster Set
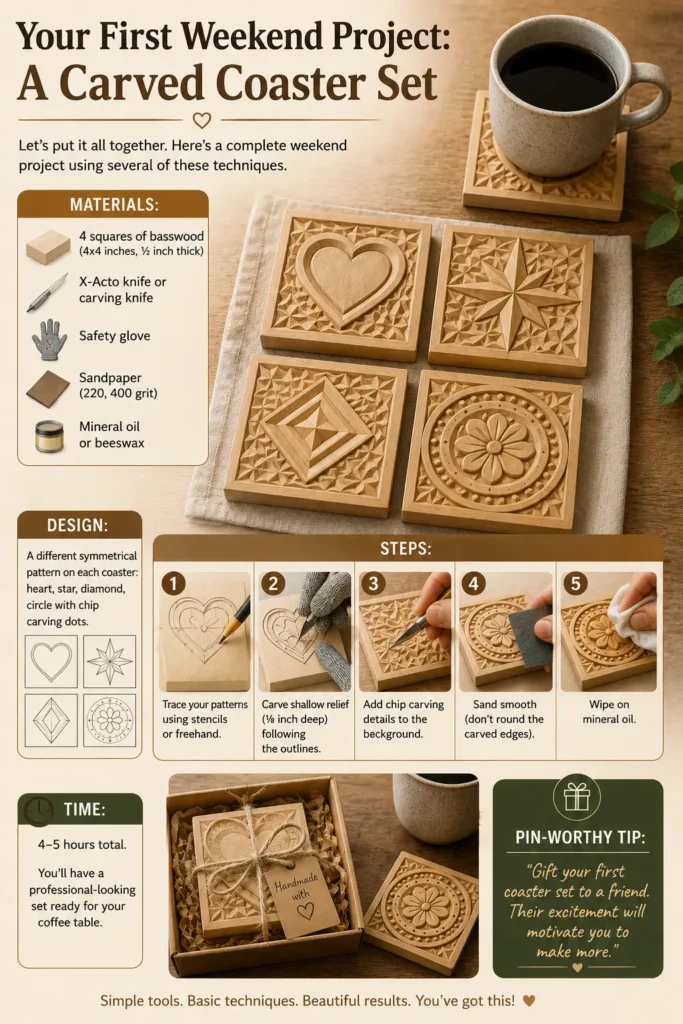
Let’s put it all together. Here’s a complete weekend project using several of these techniques.
Materials:
- 4 squares of basswood (4×4 inches, ½ inch thick)
- X‑Acto knife or carving knife
- Safety glove
- Sandpaper (220, 400 grit)
- Mineral oil or beeswax
Design:
A different symmetrical pattern on each coaster: heart, star, diamond, circle with chip carving dots.
Steps:
- Trace your patterns using stencils or freehand.
- Carve shallow relief (⅛ inch deep) following the outlines.
- Add chip carving details to the background.
- Sand smooth (don’t round the carved edges).
- Wipe on mineral oil.
Time: 4–5 hours total. You’ll have a professional‑looking set ready for your coffee table.
Worthy tip: “Gift your first coaster set to a friend. Their excitement will motivate you to make more.”
From Total Beginner to Proud Carver
You now have easy wood carving art design ideas for total beginners – from simple wood carving patterns free and chip carving basics (single chip) to whittle a simple mushroom, using a stencil on wood, using a craft knife (X‑Acto) for soft wood, safety gloves for first‑timers, balsa wood carving (extremely easy), and symmetrical designs (forgiving).
You have no more excuses. Pick one idea. Get a block of basswood. Put on your glove. Make that first cut. You’ll be amazed at what you can do.
Table of Contents
Call to Action (CTA)
Carved your first piece? I’d love to see it. Email a photo to admin@woodzaa.com with “My first carve” in the subject line. I’ll send you a free PDF guide to carving your second project – and I might feature your work on my Pinterest page.
Let’s turn a block of wood into a memory.
– Sheila


Pingback: 10 Wood Carving Projects That Are Shockingly Simple to Make (30 Minutes or Less) - Woodzaa