
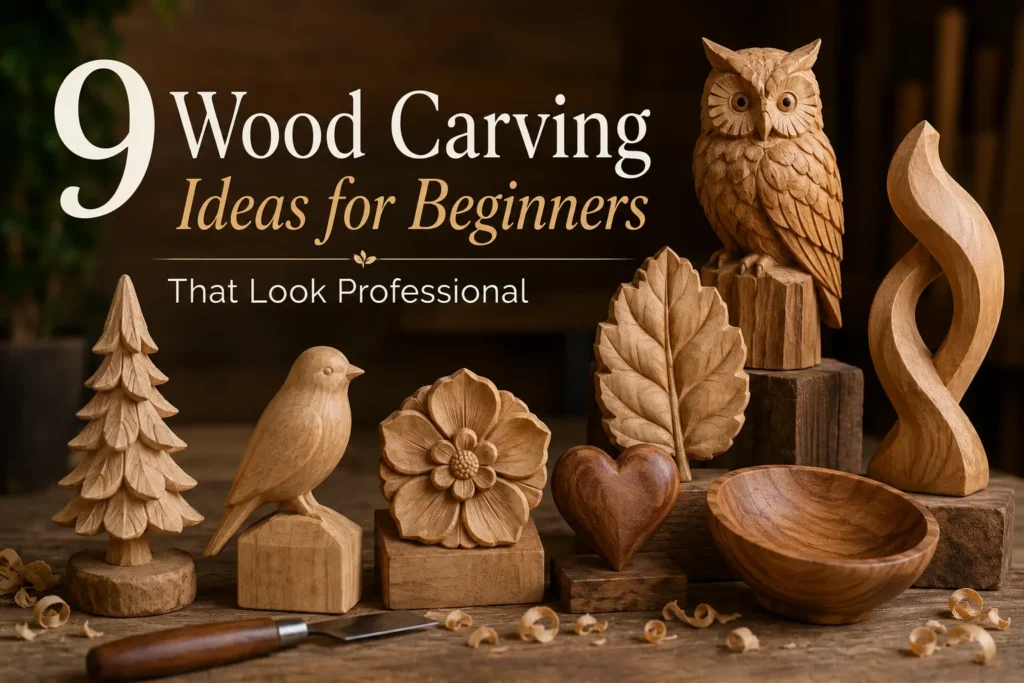
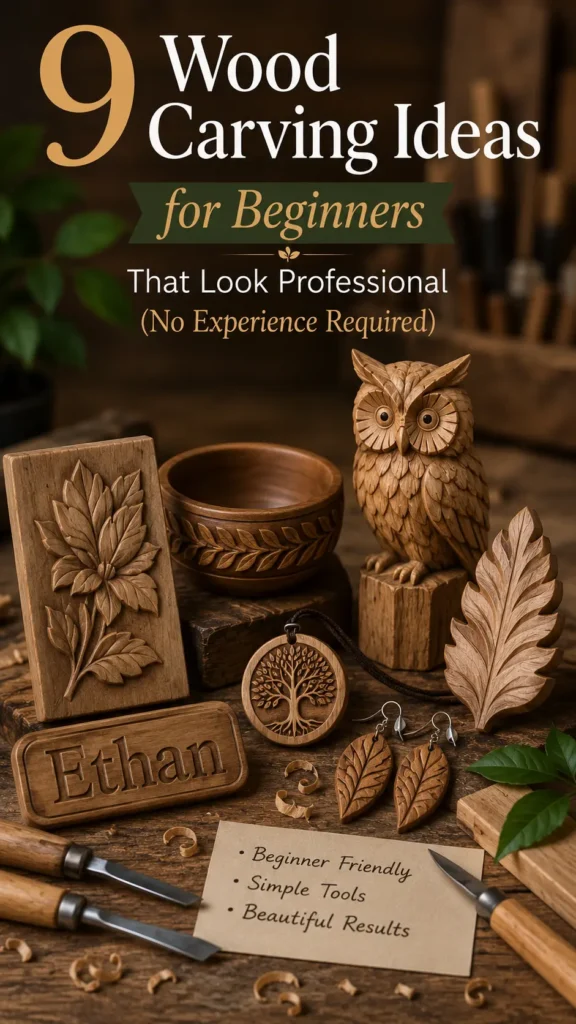
You want to make something beautiful from wood. But every time you look at a master carving, you think, “I could never do that.” Here’s a secret: professional‑looking wood carving isn’t about years of training. It’s about choosing the right projects, woods, and finishing tricks.
In this guide, I’m sharing wood carving ideas for beginners that look professional – even if you’ve never held a chisel. You’ll learn simple wood carving patterns you can finish in an afternoon, how to make carved wooden jewelry (pendants, earrings), basic letter carving in wood for personalized gifts, the magic of using wood conditioner before staining, and why butternut for a warm, walnut‑like look is your new best friend.
Grab a basswood block and let’s make something you’ll be proud to display.
1. Simple Wood Carving Patterns That Always Impress
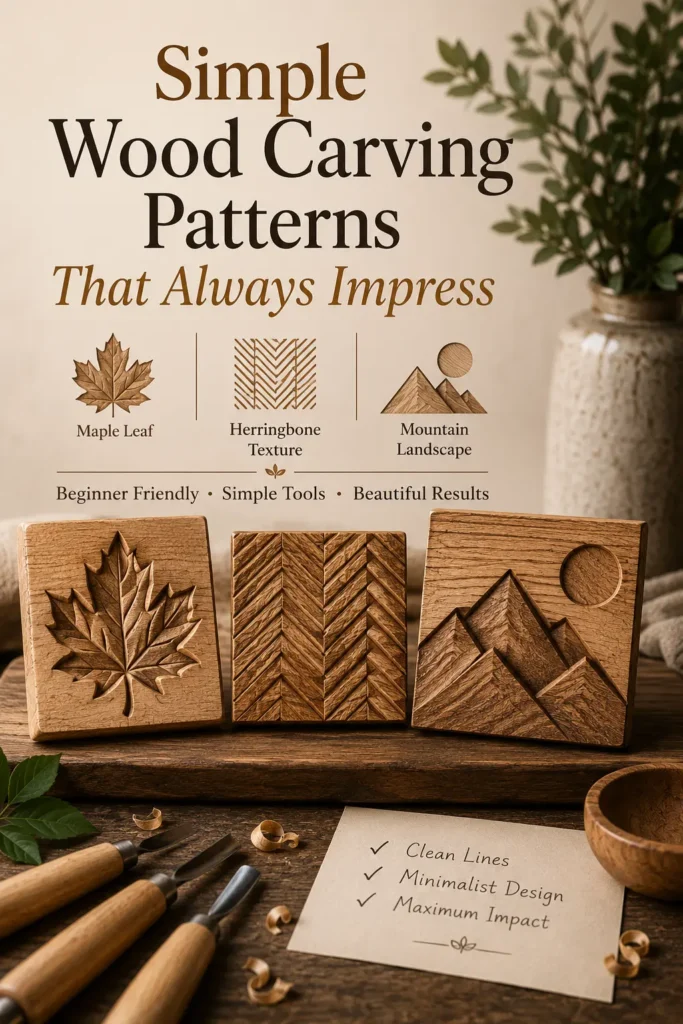
The fastest way to look like a pro is to start with simple wood carving patterns. Forget intricate faces or animals. Geometric shapes, leaves, and hearts are forgiving and read as “minimalist modern” – not “beginner.”
Three foolproof patterns:
- A single maple leaf – Carve the outline, then shallow scoop the veins.
- A herringbone texture – Parallel zigzag lines across a flat coaster.
- A mountain landscape – Three stacked triangles, with a carved sun.
Why they work:
These patterns rely on clean lines, not deep detail. Sand well, and they look like Scandinavian design.
Worthy tip: “Trace your pattern onto the wood with carbon paper. Then carve just inside the lines. Sanding will remove any pencil marks.”
For more beginner‑friendly techniques, check out our related article: Wood Carving Ideas for Beginners That Look Professional (Mid to High Net Worth)
2. Carved Wooden Jewelry (Pendants, Earrings) – Wearable Art
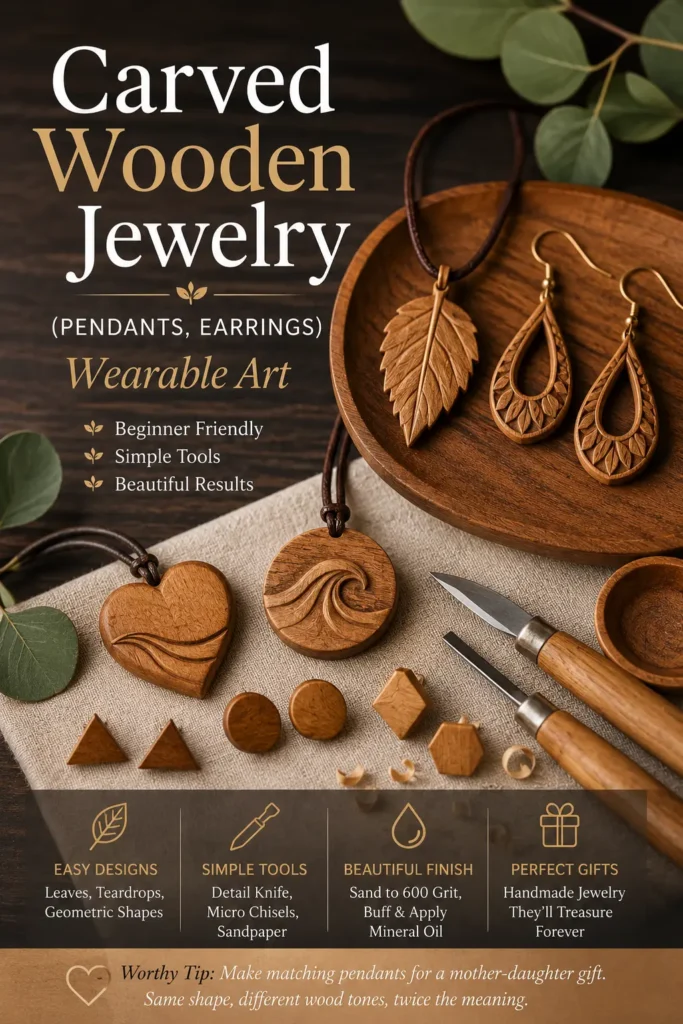
Want to make gifts that feel expensive? Try carved wooden jewelry (pendants, earrings). Small scale means small mistakes are invisible. Plus, people love receiving handmade wood jewelry.
What you’ll need:
- Thin basswood or butternut (¼ to ½ inch thick)
- A small detail knife or micro chisels
- Sandpaper (220 to 600 grit)
- Jewelry findings (jump rings, earring hooks, leather cord)
Beginner‑friendly designs:
- Tiny leaf pendants
- Abstract teardrop earrings
- Small geometric studs (triangles, circles, hexagons)
Pro finishing trick:
Sand up to 600 grit, then buff with a soft cloth. Apply a drop of mineral oil. The wood will glow like amber.
Worthy tip: “Make matching pendants for a mother‑daughter gift. Carve the same simple shape – a heart, a wave, a star – on slightly different wood tones.”
3. Basic Letter Carving in Wood for Personalised Gifts
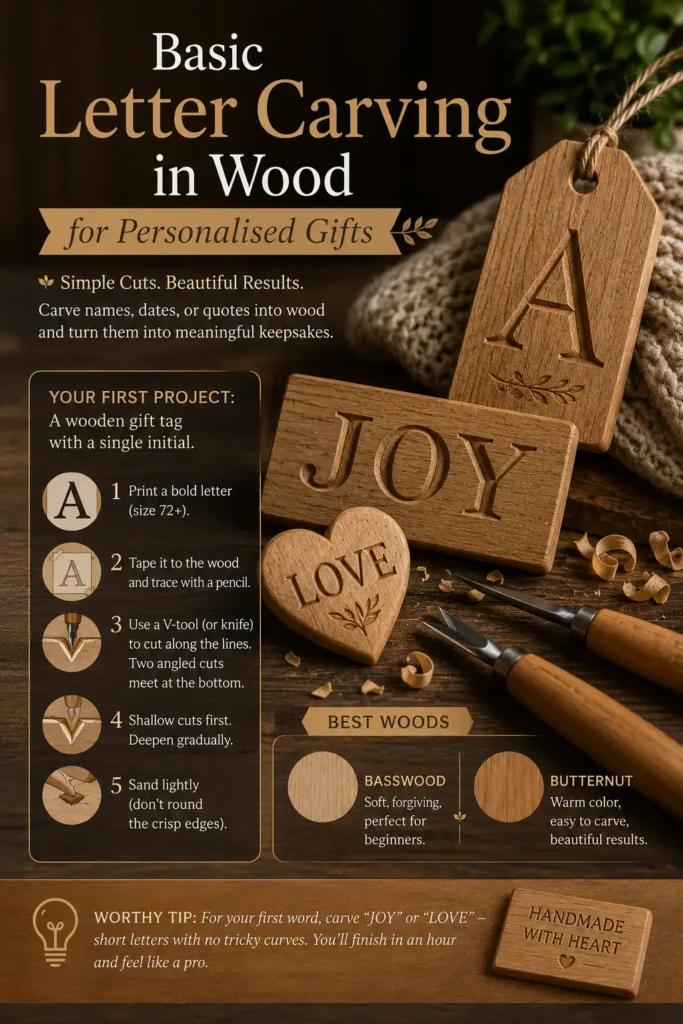
Basic letter carving in wood sounds intimidating, but it’s just a series of V‑cuts. Once you learn to carve a straight line and a curve, you can write names, dates, or short quotes.
Your first letter‑carving project:
A wooden gift tag with a single initial.
Steps:
- Print a bold serif or sans‑serif letter (size 72+).
- Tape it to the wood and trace with a pencil.
- Use a V‑tool (or a sharp knife) to cut along the lines – two angled cuts meeting at the bottom.
- Shallow cuts first. Deepen gradually.
- Sand lightly (don’t round the crisp edges).
Best woods for letter carving:
Basswood (soft, forgiving) or butternut (warm color, still easy).
Worthy tip: “For your first word, carve ‘JOY’ or ‘LOVE’ – short letters with no tricky curves. You’ll finish in an hour and feel like a pro.”
4. Using Wood Conditioner Before Staining (Game Changer)
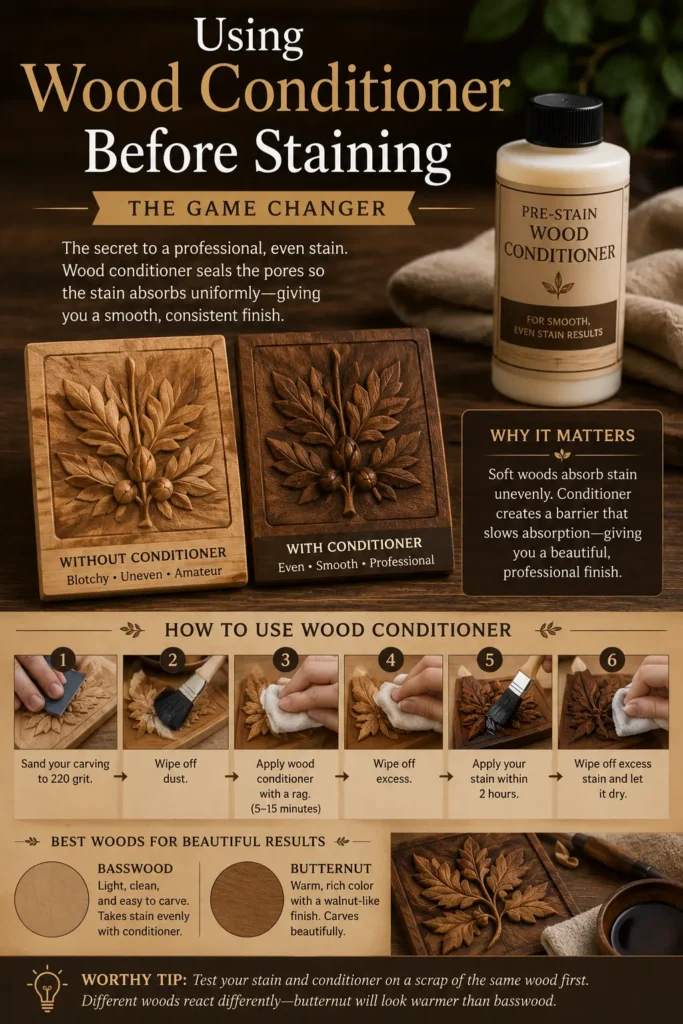
Nothing screams “beginner” like a blotchy, uneven stain. The secret to a professional, even color is using wood conditioner before staining. This pre‑stain treatment seals the wood’s pores so the stain absorbs uniformly.
Why it matters:
Soft woods (pine, basswood, butternut) absorb stain unevenly – darker in some spots, lighter in others. Conditioner creates a barrier that slows absorption, giving you a smooth, consistent color.
How to use it:
- Sand your carving to 220 grit.
- Wipe off dust.
- Apply wood conditioner with a rag (follow the directions – usually leave for 5–15 minutes).
- Wipe off excess.
- Apply your stain within 2 hours.
- Wipe off excess stain and let it dry.
Worthy tip: “Test your stain and conditioner on a scrap of the same wood first. Different woods react differently – butternut will look warmer than basswood.”
5. Butternut for Warm, Walnut‑Like Look (Without the Cost)
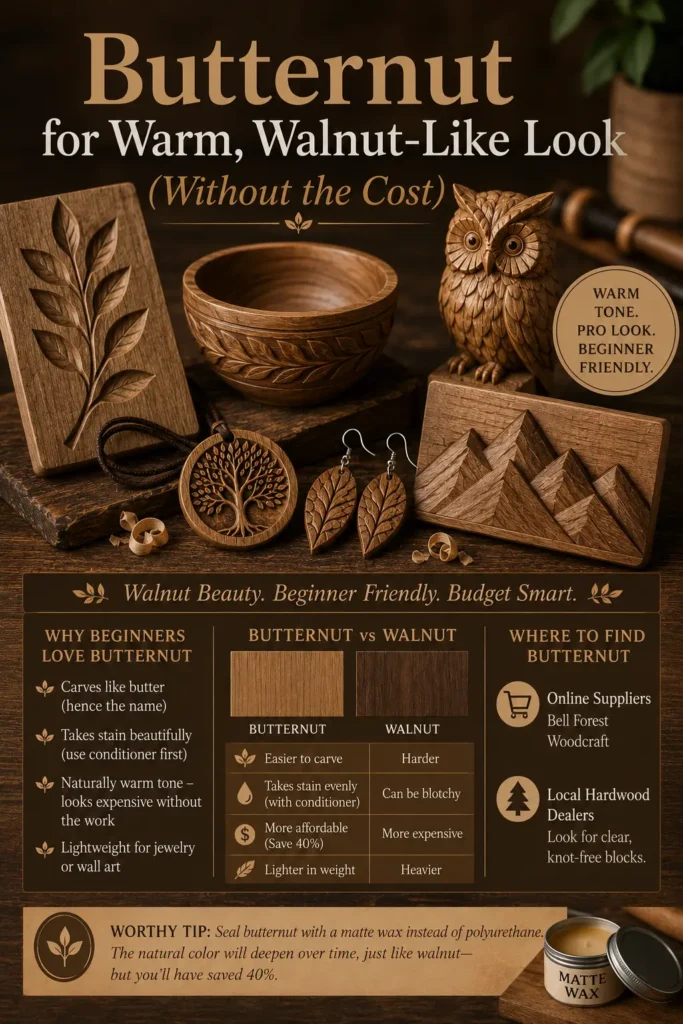
Walnut is gorgeous – dark, rich, elegant. But it’s also expensive and hard to carve for beginners. Enter butternut for a warm, walnut‑like look. Butternut (also called white walnut) has a similar chocolate‑brown hue but is softer, lighter, and half the price.
Why beginners love butternut:
- Carves like butter (hence the name)
- Takes stain beautifully (use conditioner first)
- Naturally warm tone – looks expensive without the work
- Lightweight for jewelry or wall art
Where to find butternut:
Online wood suppliers (Bell Forest, Woodcraft) or local hardwood dealers. Look for clear, knot‑free blocks.
Worthy tip: “Seal butternut with a matte wax instead of polyurethane. The natural color will deepen over time, just like walnut – but you’ll have saved 40%.”
You Might Like : Do You Want Custom Wood Sculpture Click This…
6. Finishing Tricks That Make Beginners Look Like Pros
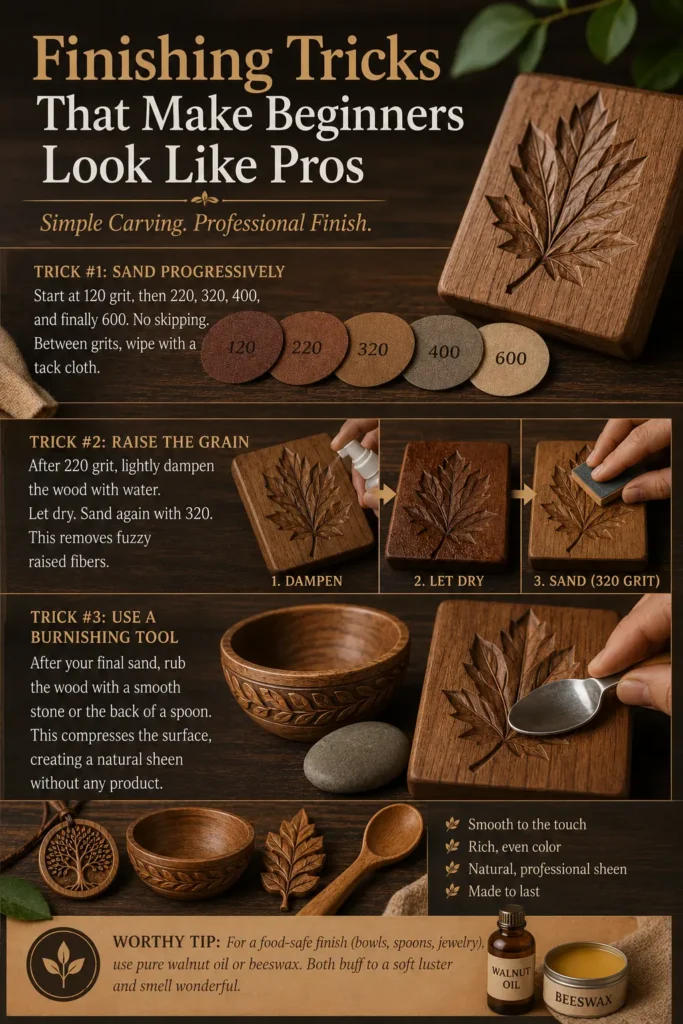
Your carving might be simple, but the finish is what sells “professional.” Here are three finishing tricks that add instant polish.
Trick #1: Sand progressively
Start at 120 grit, then 220, 320, 400, and finally 600. No skipping. Between grits, wipe with a tack cloth.
Trick #2: Raise the grain
After 220 grit, lightly dampen the wood with water. Let dry. Sand again with 320. This removes fuzzy raised fibers.
Trick #3: Use a burnishing tool
After your final sand, rub the wood with a smooth stone or the back of a spoon. This compresses the surface, creating a natural sheen without any product.
Worthy tip: “For a food‑safe finish (bowls, spoons, jewelry), use pure walnut oil or beeswax. Both buff to a soft luster and smell wonderful.”
7. Three Weekend Projects That Look Expensive
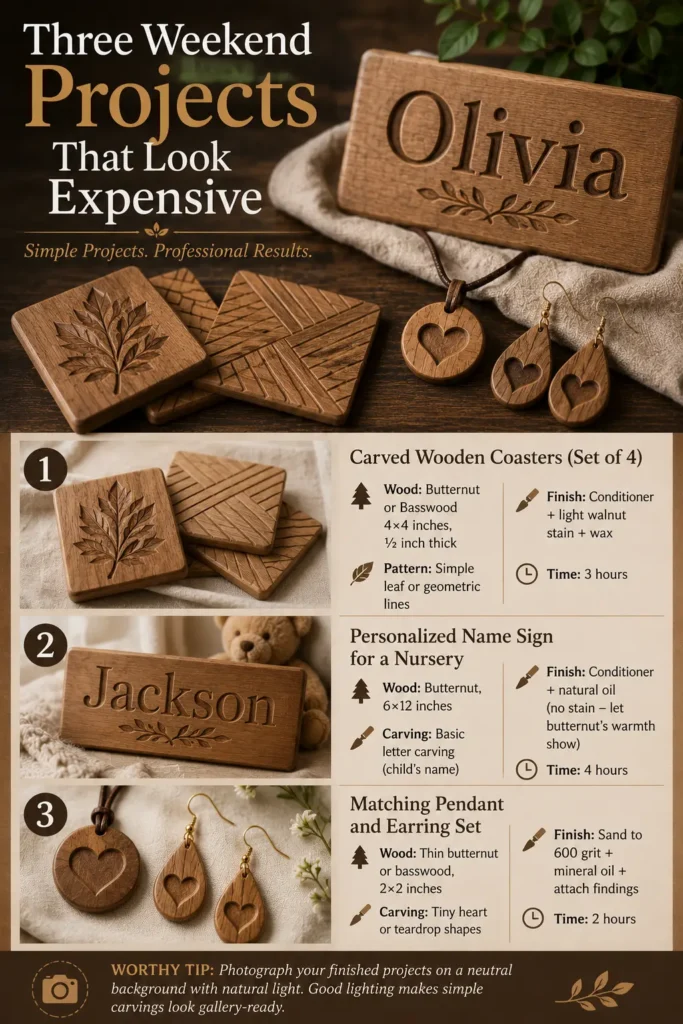
Let’s put it all together. Here are three complete beginner projects using the ideas above.
Project 1: Carved wooden coasters (set of 4)
- Wood: Butternut or basswood, 4×4 inches, ½ inch thick
- Pattern: Simple leaf or geometric lines
- Finish: Conditioner + light walnut stain + wax
- Time: 3 hours
Project 2: Personalized name sign for a nursery
- Wood: Butternut, 6×12 inches
- Carving: Basic letter carving (child’s name)
- Finish: Conditioner + natural oil (no stain – let butternut’s warmth show)
- Time: 4 hours
Project 3: Matching pendant and earring set
- Wood: Thin butternut or basswood, 2×2 inches
- Carving: Tiny heart or teardrop shapes
- Finish: Sand to 600 grit + mineral oil + attach findings
- Time: 2 hours
Worthy tip: “Photograph your finished projects on a neutral background with natural light. Good lighting makes simple carvings look gallery‑ready.”
From Beginner to Believer
You now have wood carving ideas for beginners that look professional – from simple wood carving patterns and carved wooden jewelry to basic letter carving, using wood conditioner before staining, and butternut for a warm, walnut‑like look.
The only thing standing between you and a beautiful finished piece is the first cut. Start small. Sand well. Finish with care. I promise – your first project will surprise you.
Table of Contents
Call to Action (CTA)
Carved something you’re proud of? I’d love to see it. Email a photo to admin@woodzaa.com with “My first carving” in the subject line. I’ll share my favorite beginner pieces on my Pinterest board – and send you a free finishing guide as a thank‑you.
Now go make some shavings.
– Sheila


Pingback: 11 Easy Wood Carving Art Design Ideas for Total Beginners (No Experience? No Problem) - Woodzaa