
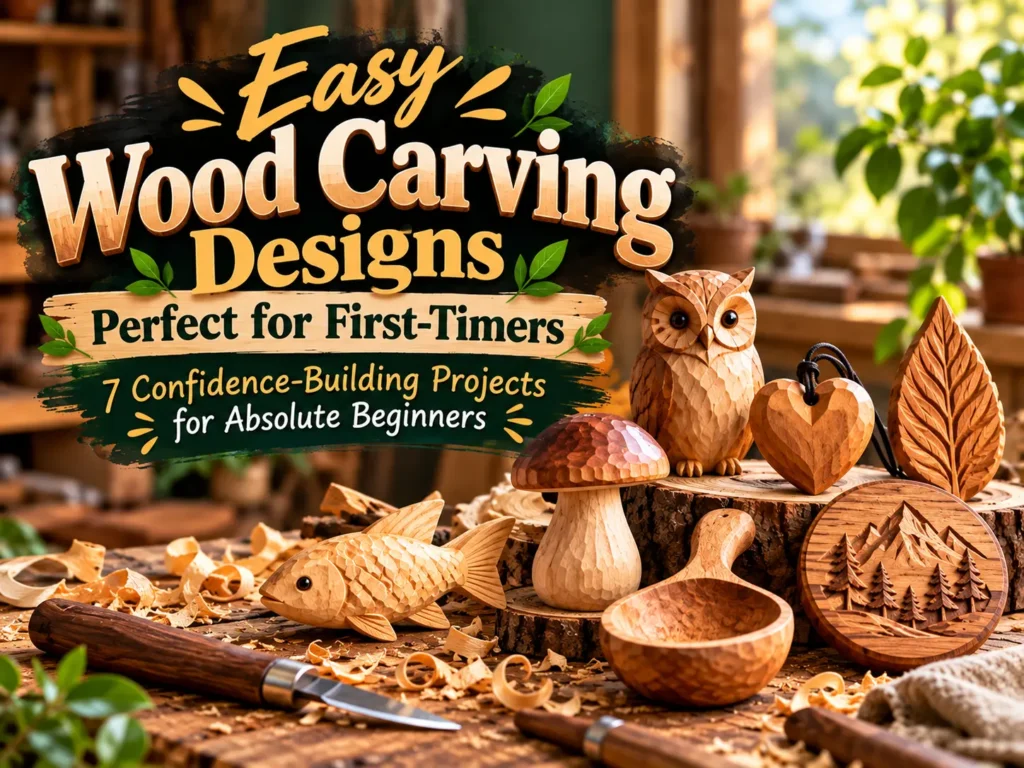
You’ve never carved wood before. Maybe you’ve watched a few videos, admired finished pieces online, and felt that quiet pull of curiosity — but you’ve also felt the doubt. What if I ruin it? What if I cut myself? What if my first piece looks terrible?
Here’s the truth: easy wood carving designs perfect for first-timers exist specifically to remove those fears. They’re simple enough that mistakes are invisible, small enough to finish in an afternoon, and satisfying enough that you’ll immediately want to carve another. This guide is for absolute beginner wood carving — for people who have never held a carving knife, who don’t own a single chisel, and who need to know exactly where to start.
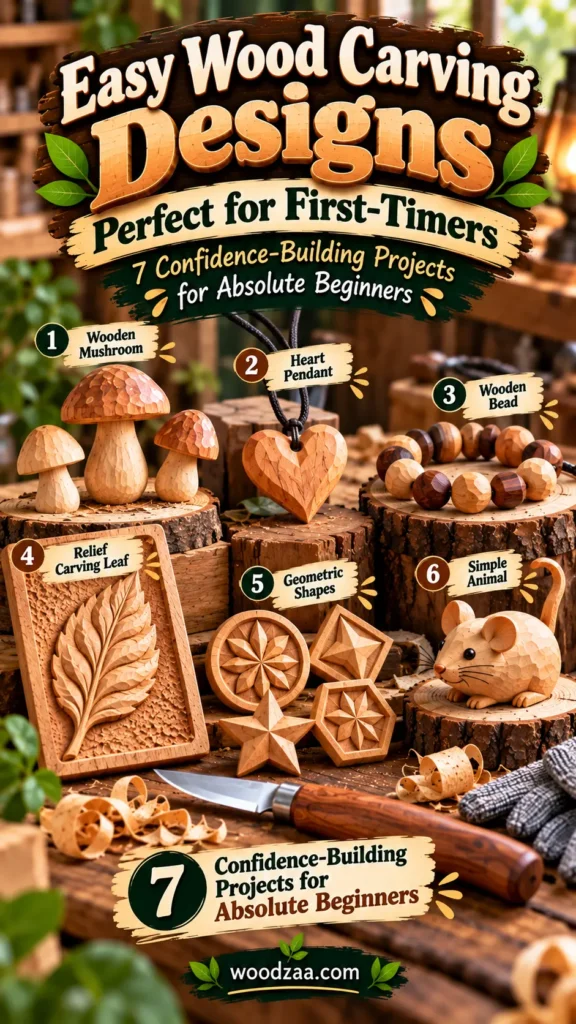
We’ll cover seven projects, from the simplest possible first carve to slightly more ambitious designs. By the end, you’ll know exactly which project to try first — and you’ll have the confidence to actually begin.
1. Before You Carve Anything: The Absolute Beginner Setup
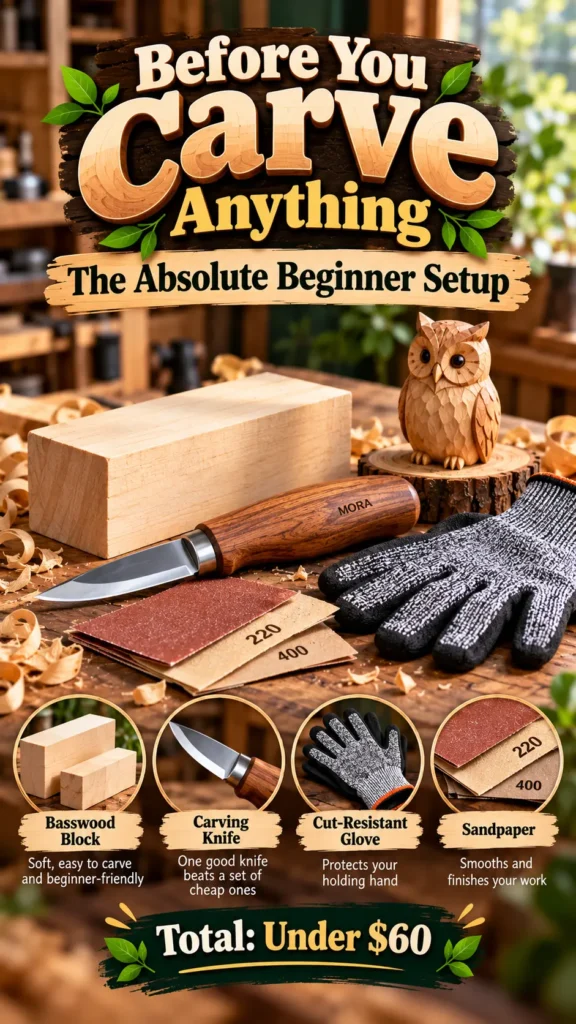
Wood carving for complete novices starts with three things: the right wood, the right knife, and the right safety gear. Nothing else matters yet.
Your first-timer toolkit:
| Item | Why It Matters | Approx. Cost |
|---|---|---|
| Basswood block (1×1×3 inches) | Soft, straight grain, no splinters — the friendliest wood on earth | $3 |
| Carving knife (Mora 120 or Flexcut KN12) | One good knife beats a set of cheap ones | $25–35 |
| Cut-resistant glove (Level 5) | Protects your holding hand — non-negotiable | $10–15 |
| Sandpaper (220 and 400 grit) | Smooths and finishes your work | $5 |
Total: Under $60. That’s the entire barrier to entry.
What to avoid on day one:
- Don’t buy a 20-piece gouge set. You won’t use most of them yet.
- Don’t start with hardwoods. Oak and maple will frustrate you and dull your knife.
- Don’t skip the glove. It costs $10 and saves you from stitches.
The only rule you need to memorize: Always cut away from your body. No exceptions, no matter how small the cut.
Worthy tip: “Your first carving knife and your first basswood block cost less than dinner out. The only real barrier to starting is deciding to start.”
For more beginner guidance, explore our related article: Professional-Looking Wood Carving Ideas for Beginners (Mid to High Net Worth)
2. Your Very First Carve: The Wooden Mushroom

If you’ve never carved anything, the wooden mushroom is the single best place to begin. It teaches push cuts, rounding, and grooving — and it’s almost impossible to ruin.
Why it’s perfect for first-timers:
- Simple form: A dome on a stem, nothing more
- Fast: 20 to 30 minutes start to finish
- Forgiving: Even a lopsided mushroom looks charming
- Confidence-building: You’ll finish something on day one
Step-by-step:
- Start with a basswood block or a straight twig, about 3 inches long
- Round one end into a dome — this becomes the cap
- Cut a shallow groove around the middle to separate the cap from the stem
- Taper the bottom slightly to form the stem
- Use the tip of your knife to add tiny dots on the cap
- Sand with 220 then 400 grit, and finish with a drop of mineral oil
The moment it clicks: Somewhere around step 3, you’ll feel the knife moving smoothly through the wood. That sensation — the knife gliding rather than forcing — is the beginning of everything.
Worthy tip: “Make three mushrooms in graduated sizes. Grouped on a shelf, they look like a curated woodland vignette — and they prove you can finish what you start.”
You Might Like : Clay and Wood Sculpture Combos That Are Surprisingly Beautiful
3. First Wood Carving Project Ideas: The Simple Heart Pendant
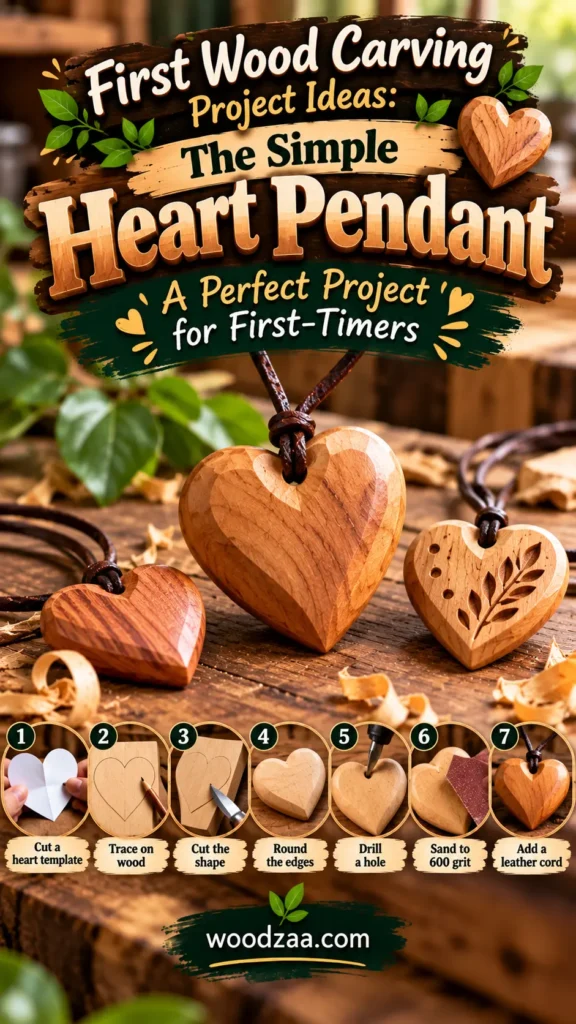
The simple heart pendant is the perfect second project. It’s small, it’s fast, and it produces something you can actually wear or give away.
Materials:
- Thin basswood or butternut, ¼ inch thick, 2×2 inches
- Carving knife
- Sandpaper (220, 400, 600 grit)
- Leather cord or chain
Step-by-step:
- Fold a piece of paper in half and cut a half-heart — unfold it and you have a perfectly symmetrical template
- Trace the heart onto your wood
- Cut around the outline with your knife, taking thin shavings
- Round the edges slightly — sharp edges are uncomfortable against skin
- Twist the tip of your knife gently to drill a small hole near the top
- Sand progressively to 600 grit until it feels like silk
- Thread with a leather cord
Why this works so well: Hearts are symmetrical, which means small imperfections on one side are matched on the other — the eye reads it as intentional.
Time: 20 minutes.
Worthy tip: “Sand your pendant to 600 grit and buff it with a soft cloth. The wood will glow like amber — and no one will believe it’s your first carving.”
4. Confidence-Building Carving Projects: The Wooden Bead
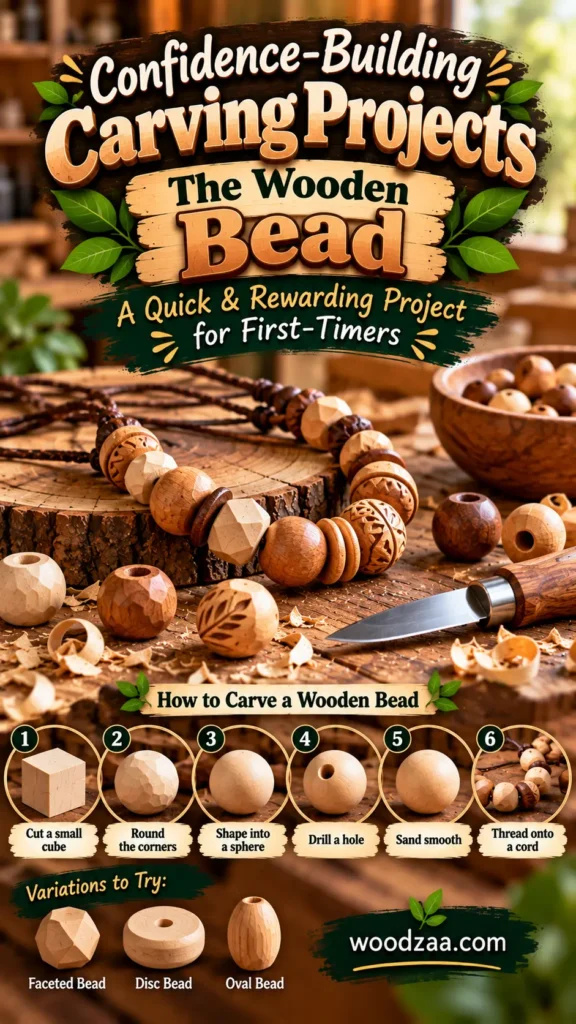
If you want confidence-building carving projects that take almost no time, the wooden bead is ideal. You can make a dozen in an hour, and each one teaches you something about symmetry and control.
How to carve a wooden bead:
- Cut a small cube from a basswood block — about ½ inch
- Round all eight corners with your knife
- Keep turning and shaving until it’s roughly spherical
- Don’t worry about perfect roundness — organic beads look better
- Sand smooth and drill a hole through the centre
- Thread onto a cord or leather strip
Variations to try:
- Faceted bead — stop rounding early and leave flat planes (looks intentionally modern)
- Disc bead — a thin slice with rounded edges
- Oval bead — elongated rather than round
What you’re learning: Muscle memory. Each bead teaches your hands how much pressure to apply and how to maintain symmetry while turning the piece.
Worthy tip: “String your first ten beads onto a leather cord. You’ve just made a necklace — and every bead contains a lesson you’ll never forget.”
5. Simple Projects for First-Timers: The Relief Carving Leaf
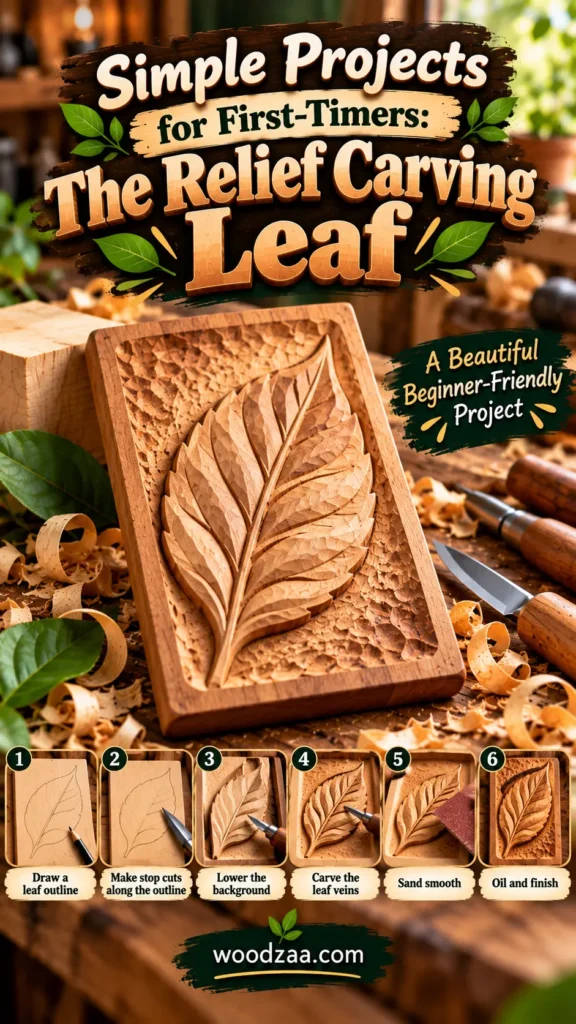
A simple project for first-timers that looks genuinely impressive is the relief-carved leaf. This introduces you to stop cuts and background lowering — two techniques you’ll use forever.
Materials:
- Basswood plaque, 4×6 inches, ½ inch thick
- Carving knife or V-tool
- Sandpaper (220 and 400 grit)
Step-by-step:
- Draw a simple leaf outline on the wood — an elongated oval with a pointed tip
- Cut along the outline with a V-tool or the tip of your knife (this is a stop cut)
- Lower the background around the leaf with shallow scooping cuts
- Carve a central vein and a few side veins into the raised leaf
- Round the leaf’s edges slightly
- Sand the background smooth — leave the leaf crisp
- Oil and buff
Why relief carving is beginner-friendly: You’re carving a flat surface, so the piece stays stable. The design never leaves the wood. And the shadows created by the raised leaf make even a simple carving look dimensional and complex.
Time: 2 hours.
Worthy tip: “Relief carving is the beginner’s shortcut to gallery-worthy results. The shadows do the heavy lifting — you just need clean outlines and patience.”
6. Beginner-Friendly Carving Patterns: Symmetrical Geometric Shapes
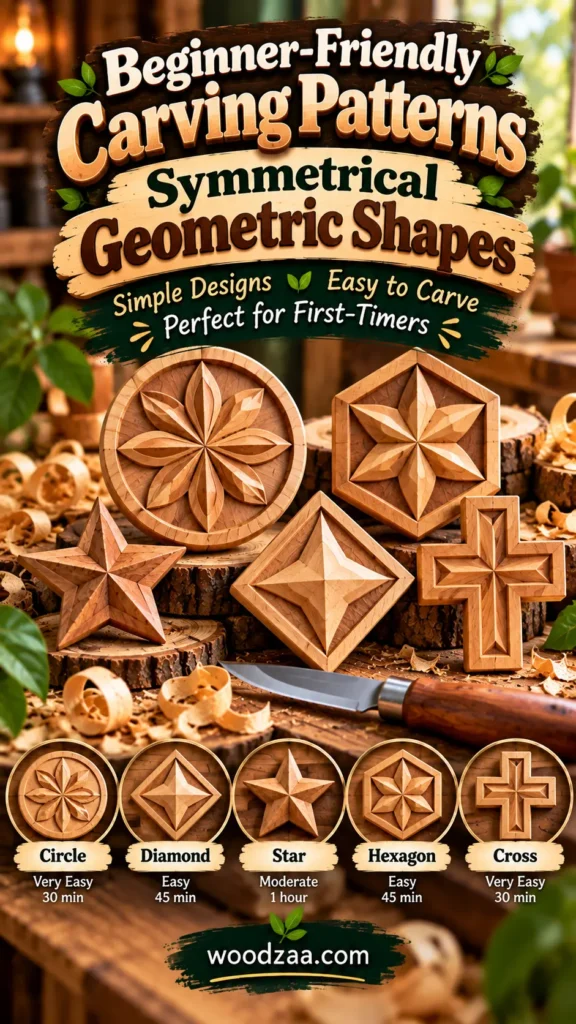
Beginner-friendly carving patterns work best when they’re symmetrical. Symmetry hides uneven cuts because the eye reads the whole shape as intentional.
Patterns that forgive everything:
| Shape | Difficulty | Time |
|---|---|---|
| Circle | Very easy | 30 min |
| Diamond | Easy | 45 min |
| Star | Moderate | 1 hour |
| Hexagon | Easy | 45 min |
| Cross | Very easy | 30 min |
Where to carve them: Coasters, plaques, keychains, and pendants are all ideal surfaces.
The technique: Draw the shape with a template or compass. Cut along the outline with a stop cut. Lower the background if you want relief, or simply carve a groove along the outline for a subtler effect.
The rule of symmetry: Work both sides at the same time — a little on the left, then a matching amount on the right. This keeps the shape balanced as you go.
Worthy tip: “Start with a circle. It’s the most forgiving shape in carving — there are no corners to get wrong, and any wobble reads as organic.”
7. Entry-Level Wood Sculpture: The Simple Animal
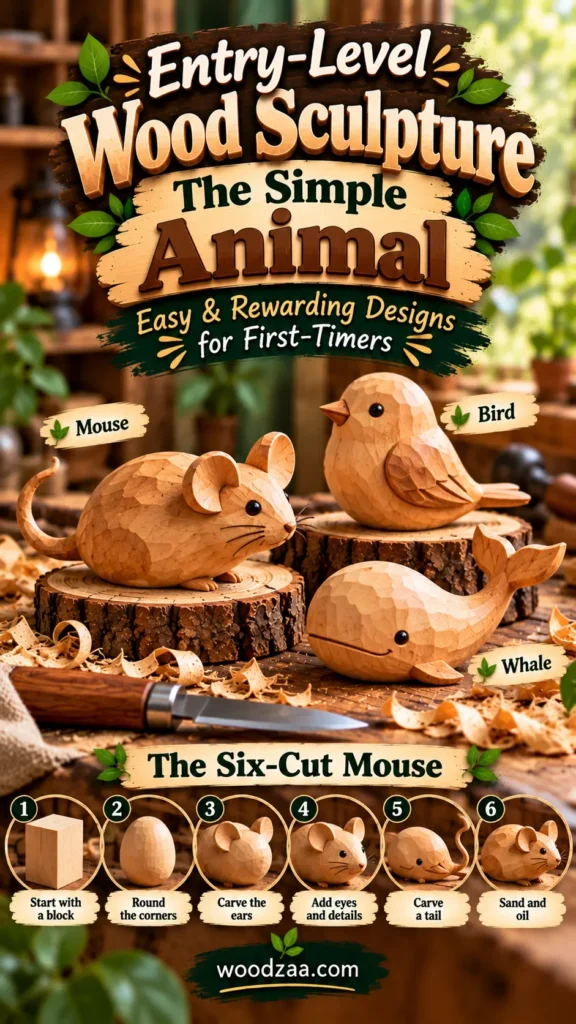
An entry-level wood sculpture that feels genuinely rewarding is the simple animal. These carvings teach you to see a form inside a block — the most important skill in all of carving.
The best animals for a first attempt:
- Mouse — oval body, triangle ears, curling tail
- Whale — a teardrop with a tail fin
- Bird — an egg with a beak and two dot eyes
The six-cut mouse:
- Start with a 1×1×2 inch basswood block
- Round all corners — now you have an egg
- Carve two small triangles for ears on the narrow end
- Cut a shallow line for the mouth and two dots for eyes
- Carve a thin tail curling behind
- Sand smooth and oil
Why this works: Your brain — and everyone else’s — will fill in the gaps. A rounded shape with ears and a tail becomes a mouse. This is the secret that makes animal carving the most satisfying beginner project.
Time: 45 minutes.
Worthy tip: “Look at children’s drawings of animals — they simplify shapes perfectly. Copy those proportions and your carvings will read instantly.”
8. Wood Carving 101: The Mistakes Every First-Timer Makes
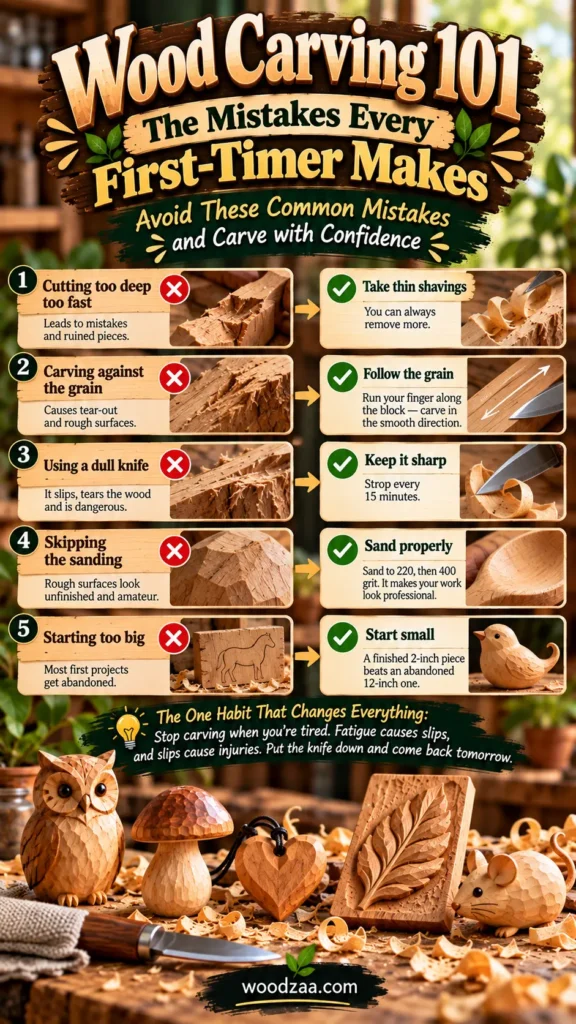
Wood carving 101 for beginners isn’t just about what to do — it’s about what to avoid. Here are the mistakes that frustrate new carvers, and how to sidestep them.
The five most common beginner mistakes:
| Mistake | The Fix |
|---|---|
| Cutting too deep too fast | Take thin shavings — you can always remove more |
| Carving against the grain | Run your finger along the block — carve in the smooth direction |
| Using a dull knife | Strop every 15 minutes — a dull knife slips and tears |
| Skipping the sanding | Sanding is what makes work look professional |
| Starting too big | A finished 2-inch piece beats an abandoned 12-inch one |
The one habit that changes everything: Stop carving when you’re tired. Fatigue causes slips, and slips cause injuries. Put the knife down and come back tomorrow.
Worthy tip: “The difference between a first-timer and a carver is about three finished projects. Complete three simple pieces, and you’ll never think of yourself as a beginner again.”
9. Your First Carving Made Easy: The Confidence Checklist
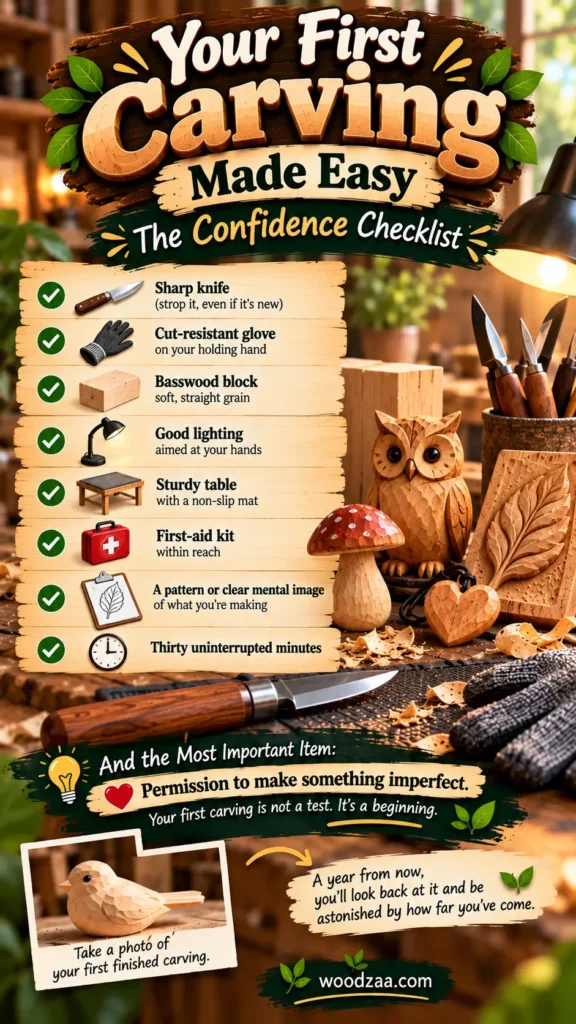
Before you pick up your knife, run through this short checklist. It takes two minutes and prevents most beginner frustration.
The pre-carve checklist:
- ✅ Sharp knife (strop it, even if it’s new)
- ✅ Cut-resistant glove on your holding hand
- ✅ Basswood block — soft, straight grain
- ✅ Good lighting aimed at your hands
- ✅ Sturdy table with a non-slip mat
- ✅ First-aid kit within reach
- ✅ A pattern or clear mental image of what you’re making
- ✅ Thirty uninterrupted minutes
And the most important item: Permission to make something imperfect. Your first carving is not a test. It’s a beginning.
Worthy tip: “Take a photo of your first finished carving. A year from now, you’ll look back at it and be astonished by how far you’ve come.”
From Nervous First-Timer to Confident Carver
You now have seven easy wood carving designs perfect for first-timers — from the wooden mushroom and simple heart pendant to wooden beads, relief-carved leaves, geometric shapes, and simple animals. You’ve learned the first wood carving project ideas that build skill fastest, the beginner-friendly carving patterns that forgive mistakes, and the wood carving 101 habits that keep you safe and productive.
Key takeaways:
- Start with basswood — it’s the friendliest wood on earth
- One good knife beats a set of cheap tools
- Wear the glove — always, no exceptions
- Cut away from your body — the only rule that really matters
- Finish what you start — a completed simple piece teaches more than an abandoned ambitious one
- Sand and oil — finishing is what makes beginner work look professional
Every carver you admire started exactly where you are now — holding a knife for the first time, unsure of what would happen. The only difference between them and you is that they made the first cut.
Table of Contents
Call to Action (CTA)
Are you ready to make your very first cut? I’d love to hear what you’re planning to carve. Email me at admin@woodzaa.com with “First Timer” in the subject line. Tell me which project caught your eye — a mushroom, a heart pendant, or a simple animal — and I’ll send you a free printable pattern to get you started.
And when you finish your first piece, send a photo. I feature first-time carvings on my Pinterest page because those first pieces are the ones that matter most — they’re where every carver’s story begins.
Now go make some shavings.
— Sheila

