
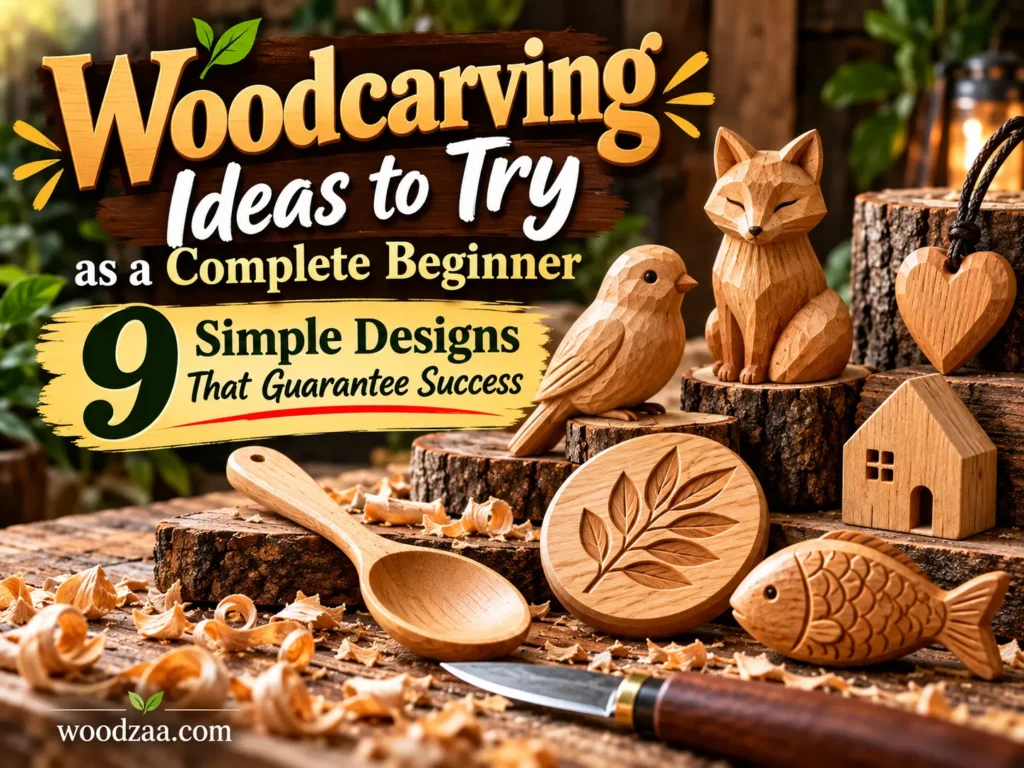
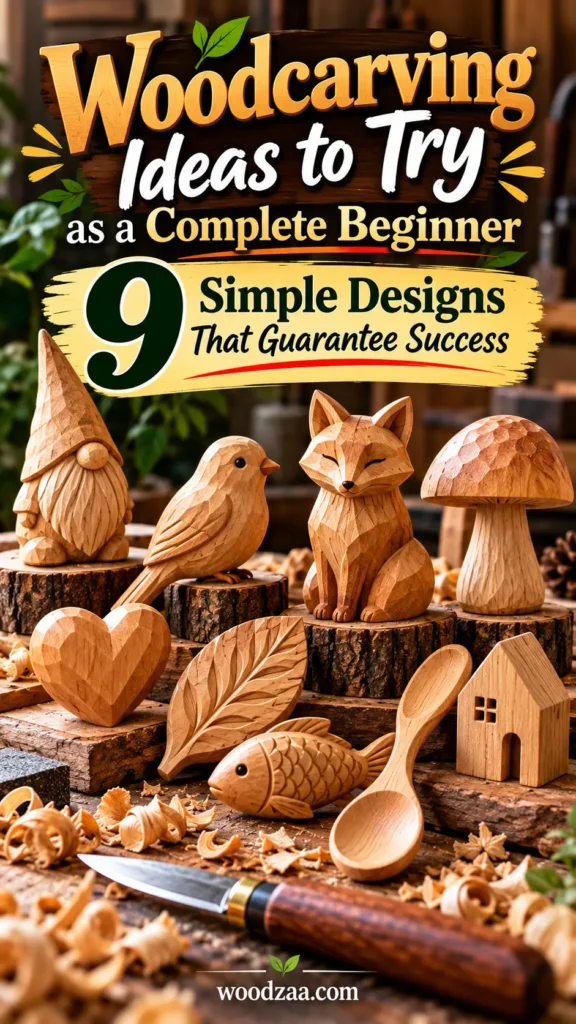
You’ve never held a carving knife. You’ve never bought a block of basswood. You’ve never made a single cut. And yet, you’ve been drawn to woodcarving for months — maybe years — without ever knowing where to begin. The problem isn’t lack of interest. It’s lack of a starting point. Most guides assume you already know the basics, or they jump straight into ambitious projects that would frustrate anyone on day one.
This guide is different. These are woodcarving ideas to try as a complete beginner — nine simple designs chosen specifically for people who have never carved before. Every pattern here relies on basic shapes, forgiving forms, and techniques you can master in a single afternoon. No prior experience. No expensive tools. No pressure. Just you, a knife, a block of soft wood, and the quiet satisfaction of making something with your own hands.
1. What “Absolute Beginner Woodcarving” Actually Requires
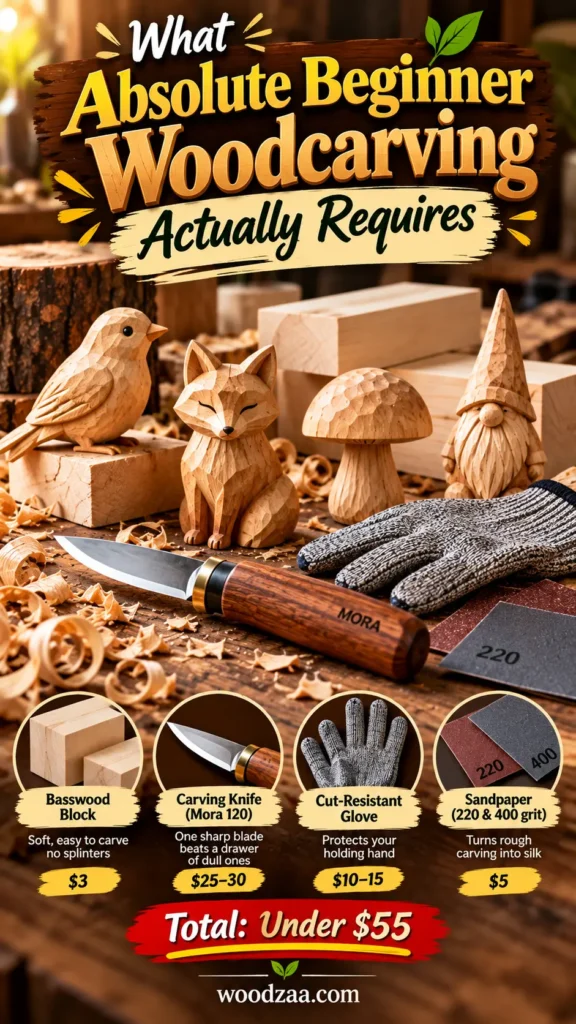
Absolute beginner woodcarving starts with three things and nothing else: soft wood, one good knife, and a glove.
Your complete starter kit:
| Item | Why It Matters | Cost |
|---|---|---|
| Basswood block (1×1×3 inches) | Softest, straightest beginner wood — no splinters | $3 |
| Carving knife (Mora 120) | One sharp blade beats a drawer of dull ones | $25–30 |
| Cut-resistant glove | Protects your holding hand — never skip this | $10–15 |
| Sandpaper (220 and 400 grit) | Turns rough carving into silk | $5 |
Total: Under $55.
The three rules that matter:
- Cut away from your body — always, no exceptions
- Wear the glove — even for “just one quick cut”
- Take thin shavings — you can always remove more wood, but you can’t put it back
That’s it. You now know everything required to make your first cut.
Worthy tip: “The only real barrier to starting woodcarving is deciding to start. Everything else costs less than a night out.”
For more beginner project inspiration, explore our related article: Weekend Wood Carving Projects Anyone Can Start (Mid to High Net Worth)
2. Never Carved Before? Start With the Leaf Pattern
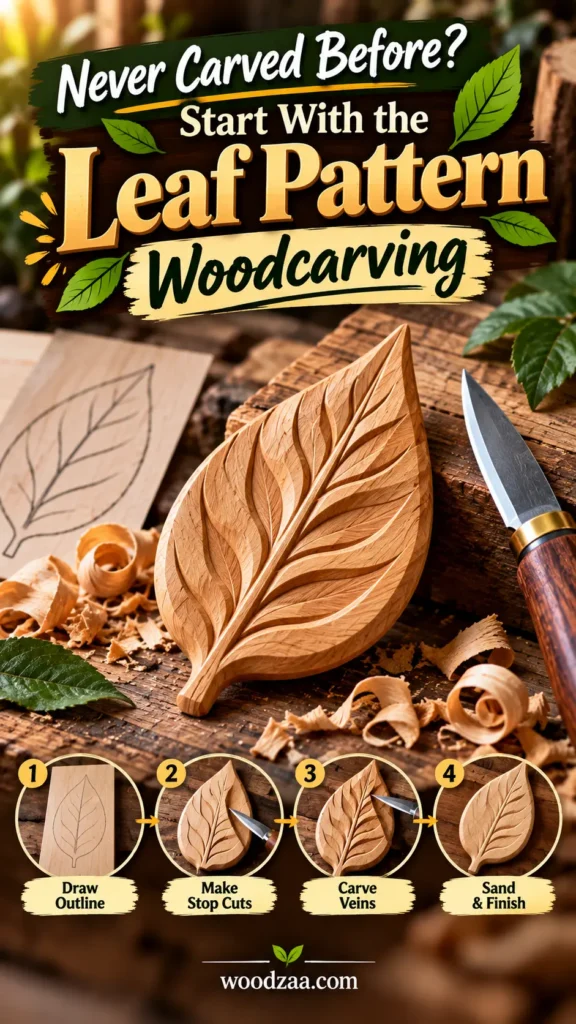
If you’ve never carved before, the easy leaf pattern woodcarving is the perfect first project. It’s simple, elegant, and teaches you the fundamental skill of outlining a shape.
Why leaves work so well for beginners:
- No symmetry required — every leaf is unique, so wobbles look natural
- Simple outline — an elongated oval with a pointed tip
- Teaches stop cuts — the first real carving skill
- Finishes fast — 45 minutes to an hour
How to carve your first leaf:
- Draw an elongated oval with a pointed tip on a 4×6 inch basswood plaque
- Cut along the outline with your knife — this creates a stop cut
- Carve a single central vein from base to tip
- Add three or four angled side veins branching outward
- Round the leaf edges slightly with light shaving cuts
- Sand with 220, then 400 grit
- Finish with a drop of mineral oil
What you’re learning: Stop cuts, grain direction, and controlled pressure — the three skills every other carving depends on.
Worthy tip: “Every leaf looks different in nature, so your first carving is automatically authentic. Nobody will know it’s your first attempt.”
You Might Like : Weekend Wood Carving Projects Anyone Can Start
3. Simple Heart Design Carving — The Most Forgiving Shape
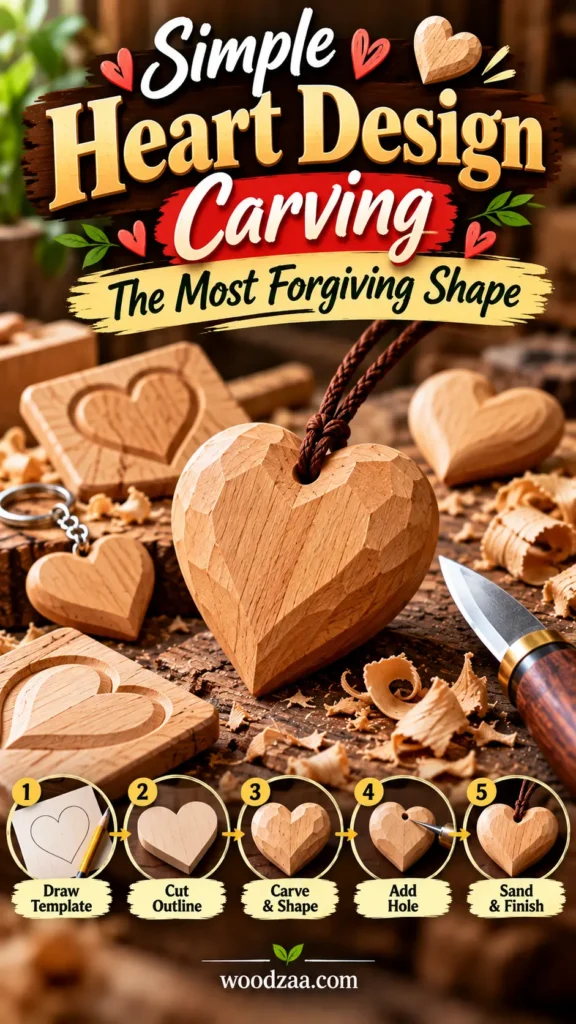
The simple heart design carving is arguably the easiest shape in all of woodcarving. Hearts are symmetrical, recognisable, and forgiving — a slightly lopsided heart still reads instantly as a heart.
Where to carve hearts:
- Pendants — thin basswood, ¼ inch thick, 2×2 inches
- Coasters — 4×4 inch squares with a carved heart centre
- Plaques — larger panels for wall display
- Keychains — tiny hearts from scrap wood
The heart pendant in 20 minutes:
- Fold paper in half, cut a half-heart, unfold for a perfect template
- Trace onto thin basswood
- Cut around the outline with thin shavings
- Round the edges so they feel smooth against skin
- Twist your knife tip to drill a small hole at the top
- Sand to 600 grit and oil
The symmetry trick: Work both lobes of the heart at the same time — a little on the left, then the same on the right. This keeps the shape balanced as you carve.
Worthy tip: “A heart is the most forgiving shape in woodcarving. Even a beginner’s first attempt reads as intentional and beautiful.”
4. Basic Star Woodcarving Pattern — Five Points, One Lesson
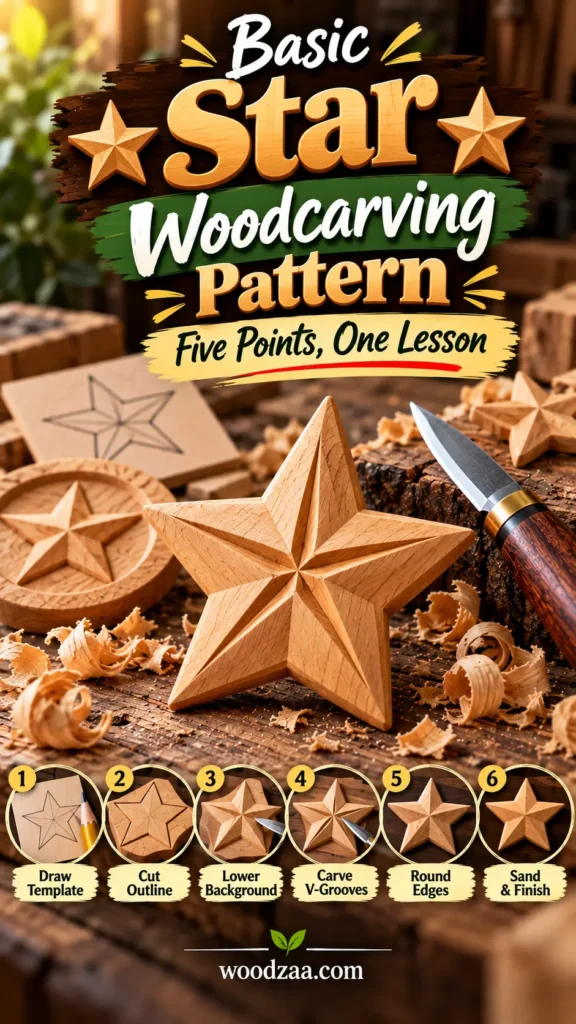
The basic star woodcarving pattern teaches you precision without demanding perfection. Stars are geometric, symmetrical, and instantly recognisable — which means small imperfections disappear into the overall shape.
The five-point star:
- Draw a five-point star on a basswood plaque using a template or stencil
- Cut along the outline with a stop cut
- Lower the background around the star with shallow scooping cuts
- Carve a shallow V-groove down the centre of each point
- Round the star’s edges slightly
- Sand and finish with tung oil or wax
Why stars work for beginners: The five points create natural balance. If one point is slightly shorter, the eye compensates — the shape still reads as a star.
Time: 1 hour.
Worthy tip: “Carve a star on a coaster set. Four matching stars look like a designer collection — and each one teaches you something new.”
5. Easy Flower Design for Beginners — Petals Made Simple
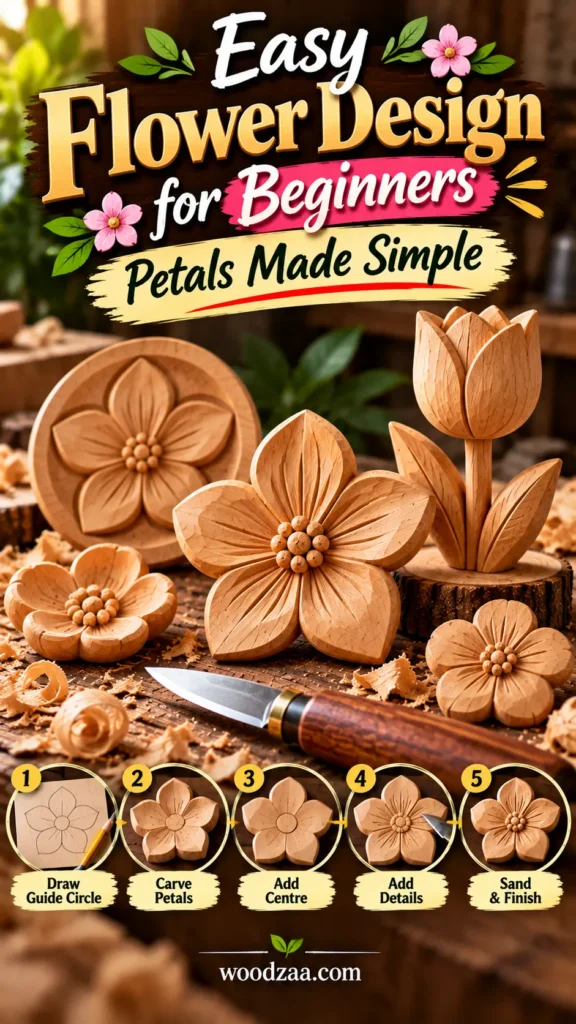
An easy flower design for beginners looks far more impressive than it actually is. The secret is repetition — one cut, repeated five or six times, becomes a flower.
The five-petal blossom:
- Draw a circle on your basswood — about 2 inches across
- Mark five evenly spaced points around the circle’s edge
- Carve shallow domes between each point — these become petals
- Cut a small circle in the centre for the stamen
- Use a V-tool or knife tip to add radiating lines from centre outward
- Sand gently and oil
Alternative: the simple tulip
- Carve the top of a 1×1×3 inch block into a rounded cup
- Cut a shallow groove around the middle to suggest petals
- Taper the bottom into a stem
- Add a tiny leaf halfway down
Time: 1 to 1.5 hours.
Worthy tip: “Carve a bouquet of three flowers in graduated sizes. Grouped in a small vase, they create a forever arrangement that never needs water.”
6. Simple Geometric Woodcarving — Circles, Ovals, and Waves
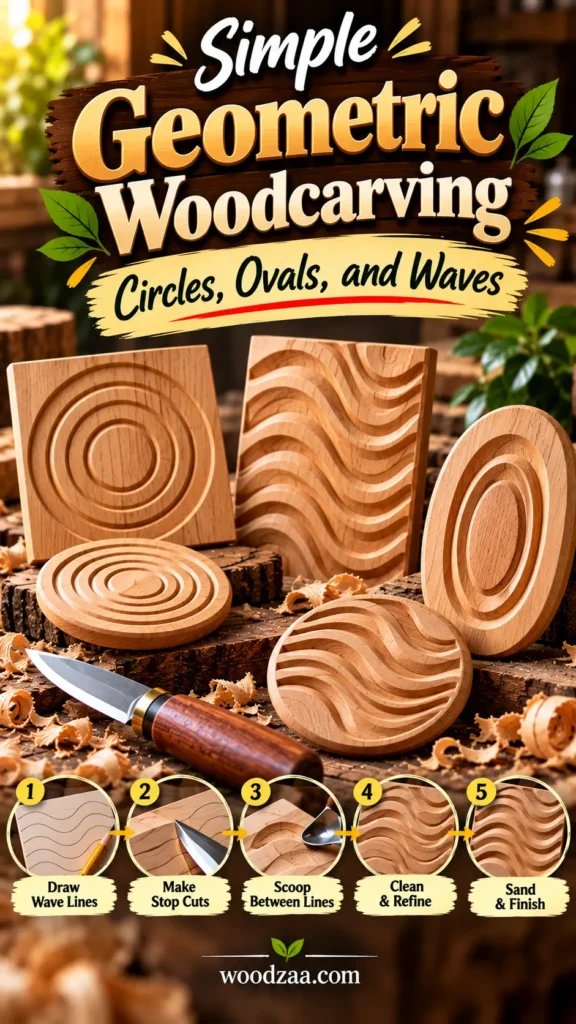
Simple geometric woodcarving is the beginner’s secret weapon. Geometry hides mistakes because symmetry reads as intentional design.
Circle and oval carving:
- Circles — the most forgiving shape; no corners to get wrong
- Ovals — elongated circles that look elegant and modern
- Nested ovals — three ovals inside each other, like ripples on water
The simple wave pattern:
- Draw a series of parallel wavy lines across a basswood panel
- Cut along each line with a stop cut
- Scoop the space between lines with a shallow gouge
- Sand the surface smooth — leave the wave edges crisp
- Finish with a matte oil
Where to use geometry: Coasters, wall panels, box lids, and picture frames. Geometric designs read as modern minimalist decor — exactly the aesthetic that dominates contemporary interiors.
Worthy tip: “A simple wave pattern on a wooden panel looks like contemporary art. Nobody will believe it took you an afternoon.”
7. Beginner Spiral Wood Design and Feather Carving
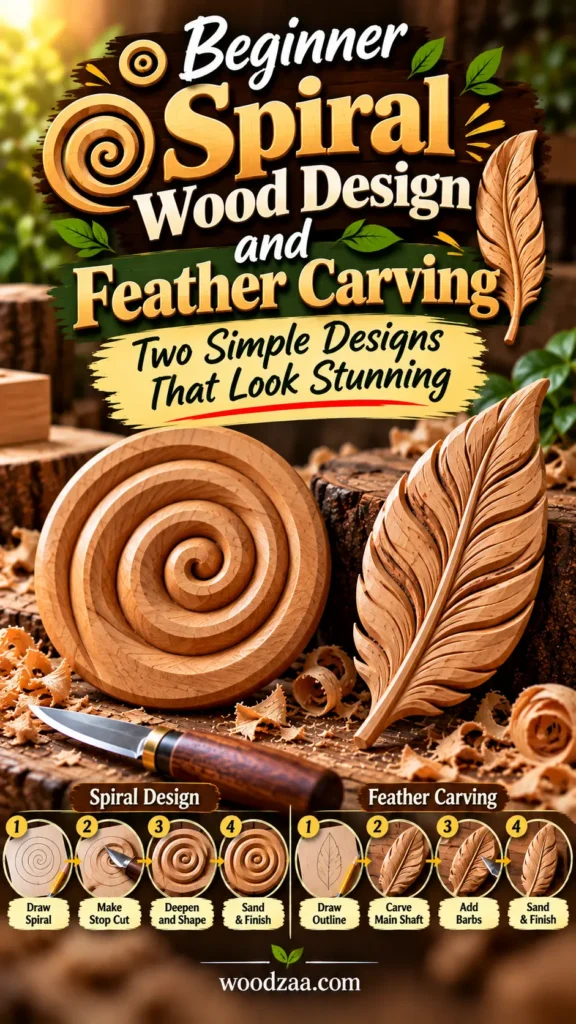
Two designs sit at the perfect intersection of simple and stunning: the beginner spiral wood design and the basic feather design carving.
The simple spiral:
- Draw a spiral on a basswood plaque — start at the centre, wind outward
- Cut along the spiral line with a stop cut
- Deepen the cut slightly as you go — this creates visual depth
- Sand lightly, keeping the spiral line crisp
- Oil and buff
The basic feather:
- Draw a feather shape — an elongated teardrop with a pointed tip
- Cut along the outline
- Carve a central shaft down the middle
- Add angled barb lines on both sides of the shaft
- Round the edges gently
- Sand and finish
Why these two work so well: Both rely on a single repeated element — the spiral’s curve, the feather’s barbs. Repetition creates the illusion of complexity while remaining genuinely simple to carve.
Time: 1 to 1.5 hours each.
Worthy tip: “A carved feather pendant or a spiral wall plaque makes a beautiful handmade gift. Both look like they took days — but they don’t.”
8. Your First Carving Session: A Practical Plan
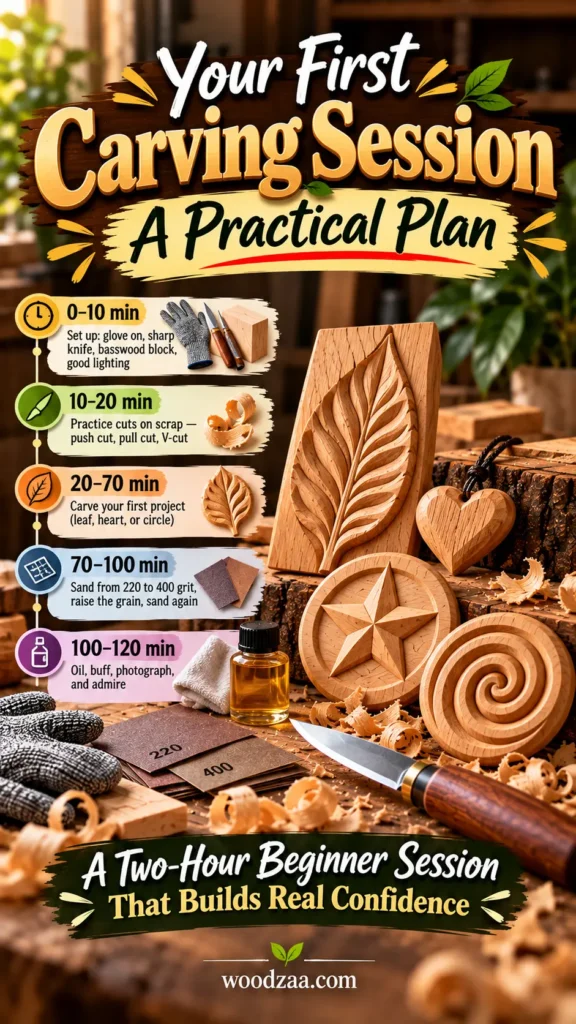
Here’s exactly how to spend your first afternoon as a woodcarver.
The two-hour beginner session:
| Time | Activity |
|---|---|
| 0–10 min | Set up: glove on, sharp knife, basswood block, good lighting |
| 10–20 min | Practice cuts on scrap — push cut, pull cut, V-cut |
| 20–70 min | Carve your first project (leaf, heart, or circle) |
| 70–100 min | Sand from 220 to 400 grit, raise the grain, sand again |
| 100–120 min | Oil, buff, photograph, and admire |
The finishing step nobody skips twice: Sanding and oiling. That’s what makes a beginner’s carving look professional. A rough carving that’s been sanded to 400 grit and oiled with beeswax looks better than a complex carving left rough.
The momentum rule: Finish your first project completely — even if it’s imperfect — before starting a second. Completion builds confidence. Abandonment builds doubt.
Worthy tip: “Take a photo of your first finished carving. A year from now, you’ll be astonished at how far you’ve come.”
9. Common Beginner Mistakes and How to Avoid Them
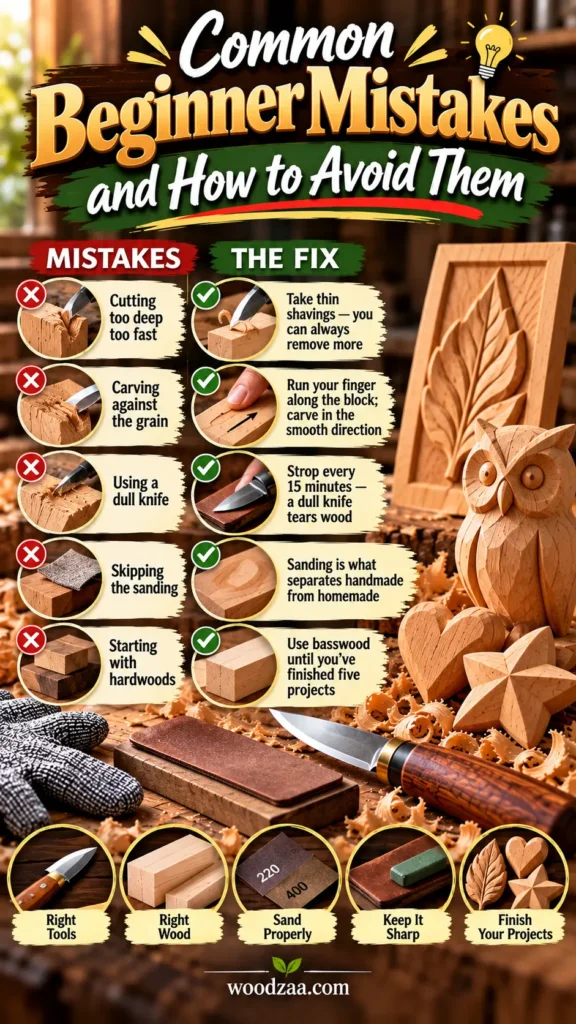
Every beginner makes the same handful of mistakes. Here’s how to sidestep them.
The five mistakes that frustrate new carvers:
| Mistake | The Fix |
|---|---|
| Cutting too deep too fast | Take thin shavings — you can always remove more |
| Carving against the grain | Run your finger along the block; carve in the smooth direction |
| Using a dull knife | Strop every 15 minutes — a dull knife tears wood |
| Skipping the sanding | Sanding is what separates handmade from homemade |
| Starting with hardwoods | Use basswood until you’ve finished five projects |
What to avoid on day one:
- Don’t buy a 20-piece tool set — one knife is enough
- Don’t start with oak or maple — they’ll frustrate you and dull your blade
- Don’t carve when you’re tired — fatigue causes slips
The one habit that changes everything: Stop every 15 minutes and strop your knife. It takes 30 seconds and keeps your cuts clean and safe.
Worthy tip: “The difference between a beginner and a carver is about five finished projects. Complete them, and you’ll never think of yourself as a beginner again.”
From First Cut to Finished Piece — Your Journey Starts Now
You now have nine woodcarving ideas to try as a complete beginner — from the easy leaf pattern woodcarving and simple heart design carving to the basic star woodcarving pattern, the easy flower design for beginners, and simple geometric woodcarving. You’ve also discovered the beginner spiral wood design, easy circle and oval carving, the simple wave pattern wood art, and the basic feather design carving.
Key takeaways:
- Start with basswood — soft, forgiving, and beautiful
- Learn three cuts — push, pull, and V-cut
- Choose forgiving shapes — leaves, hearts, and circles hide mistakes
- Sand and oil every piece — finishing makes work look professional
- Finish what you start — completed projects build confidence
- Keep your knife sharp — strop every 15 minutes
Every carver you’ve ever admired started exactly where you are now — holding a knife for the first time, unsure of what would happen. The only difference between them and you is that they made the first cut.
Table of Contents
Call to Action (CTA)
Are you ready to make your first cut? I’d love to hear which design caught your eye. Email me at admin@woodzaa.com with “Complete Beginner” in the subject line. Tell me which pattern you’re planning to try — a leaf, a heart, a star, or a feather — and I’ll send you a free printable template to get you started.
And when you finish your first carving, send a photo. I feature beginner work on my Pinterest page because those first pieces are the ones that matter most — they’re where every carver’s story begins.
Now go make some shavings.
— Sheila

