
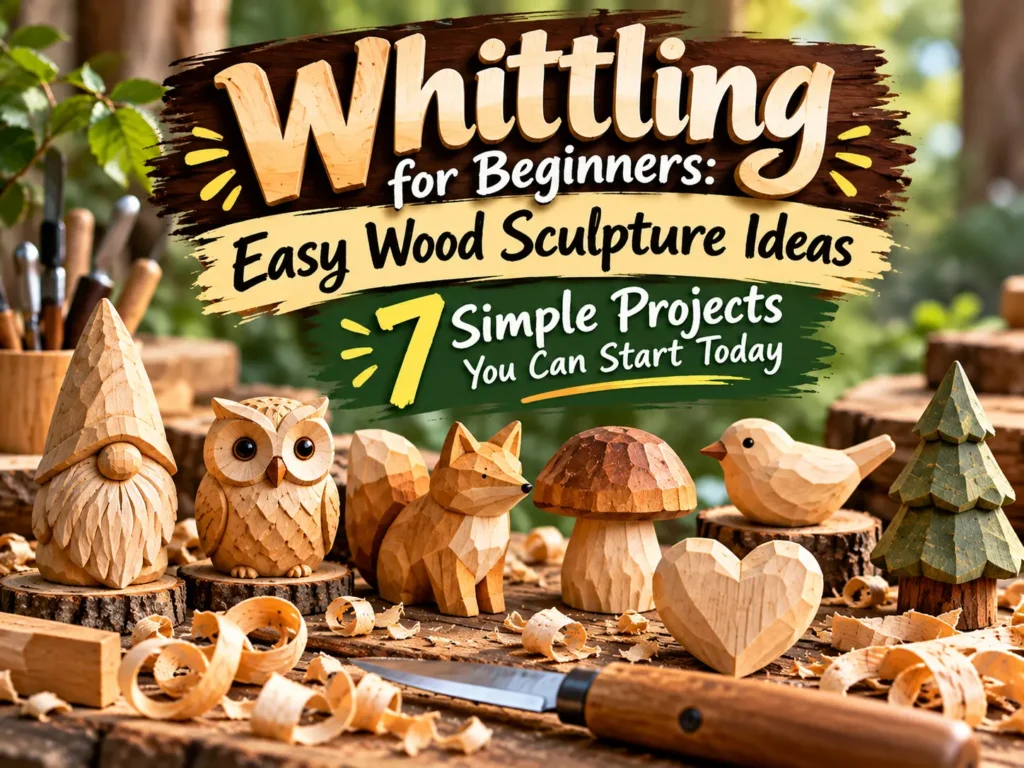
You’ve seen whittling in films and old photographs — someone on a porch, a pocketknife in hand, a curl of wood shaving drifting to the ground. It looks peaceful, timeless, and effortless. And here’s the thing: it actually is. Whittling is the most accessible form of wood sculpture in the world. No workshop. No power tools. No expensive equipment. Just you, a sharp knife, and a piece of soft wood.
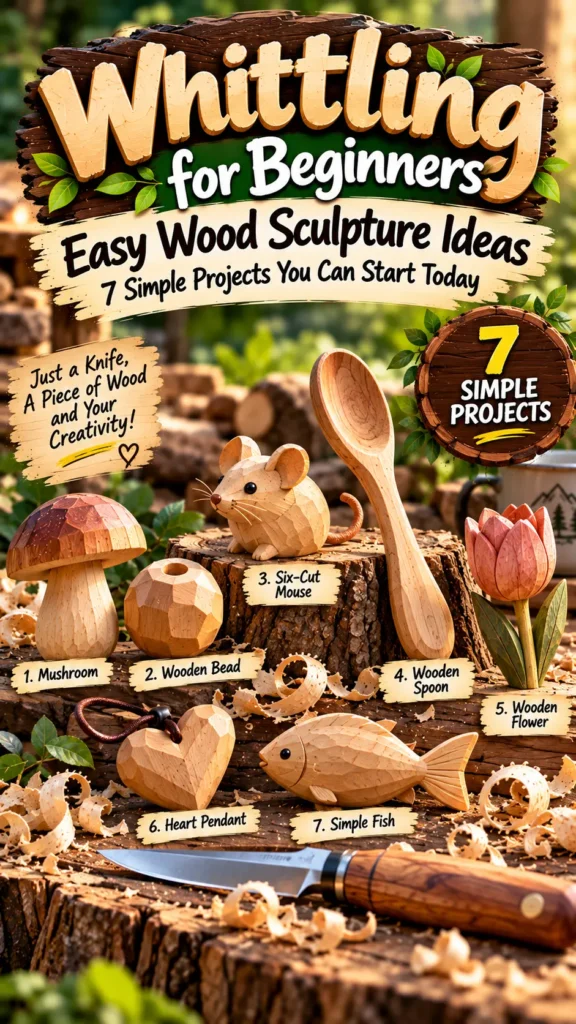
This guide to whittling for beginners: easy wood sculpture ideas is designed for people who have never made a single cut. You’ll learn the whittling basics — how to hold the knife, how to keep your fingers safe, and which woods to choose. Then you’ll work through seven easy whittling projects, from a simple mushroom to a hand-carved spoon. By the end, you’ll be able to start whittling today with nothing more than a pocketknife and a stick from the garden.
1. Whittling Basics: What You Actually Need to Start
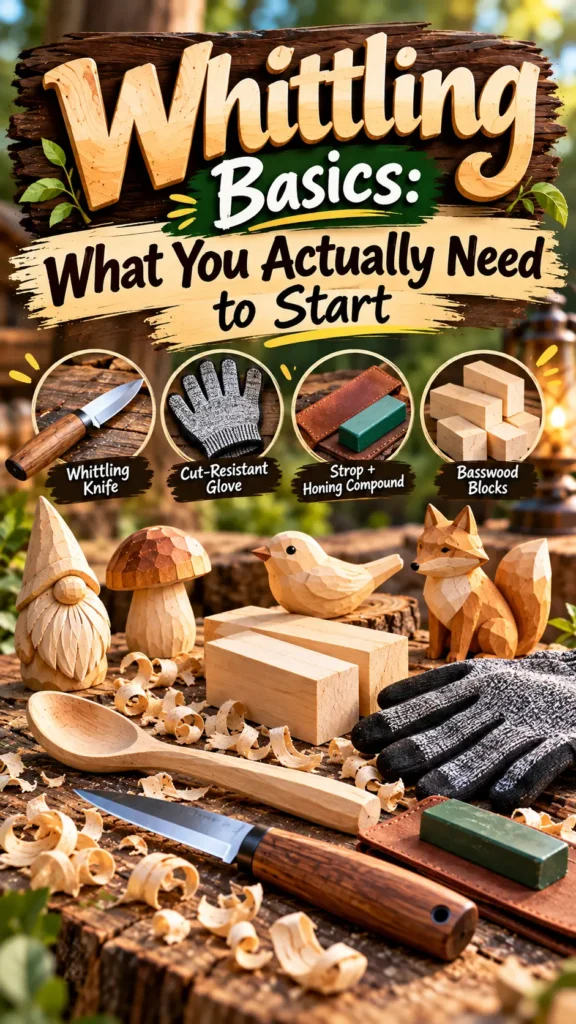
Whittling for absolute beginners requires almost nothing. This is genuinely the cheapest entry point into any creative hobby — and that low barrier is exactly why so many people fall in love with it.
Your complete whittling starter kit:
| Item | Why You Need It | Cost |
|---|---|---|
| Whittling knife (Mora 120, Opinel No. 8, or Flexcut KN12) | A fixed blade is safest for beginners; Opinel is a classic folding option | $15–35 |
| Cut-resistant glove (Level 5) | Protects your holding hand — never skip this | $10–15 |
| Strop + honing compound | Keeps your blade razor-sharp | $15–20 |
| Basswood blocks (1×1×3 inches, 5-pack) | Soft, straight-grained, forgiving | $10–15 |
**Total: Under $70.** And if you already own a pocketknife, you can start for under $25.
Best woods for whittling:
- Basswood — the gold standard: soft, pale, nearly splinter-free
- Butternut — slightly harder, warm brown, carves cleanly
- White pine — cheap and widely available; choose knot-free pieces
- Balsa — extremely soft, good for practice only
What to avoid: Oak, maple, and cherry are too hard for beginners. Construction lumber is treated with chemicals. Green wood cracks as it dries.
Where to whittle: Anywhere. A porch, a kitchen table, a park bench, a campsite. Whittling is the most portable craft there is.
Worthy tip: “Whittling is the only art form where a stick from your garden is a legitimate art supply. You can literally start today.”
For a complete beginner’s walkthrough, explore our related article: Beginner Wood Carving: 5 Steps to Your First Beautiful Piece (Mid to High Net Worth)
2. How to Whittle for Beginners: Grip, Direction, and the Golden Rule
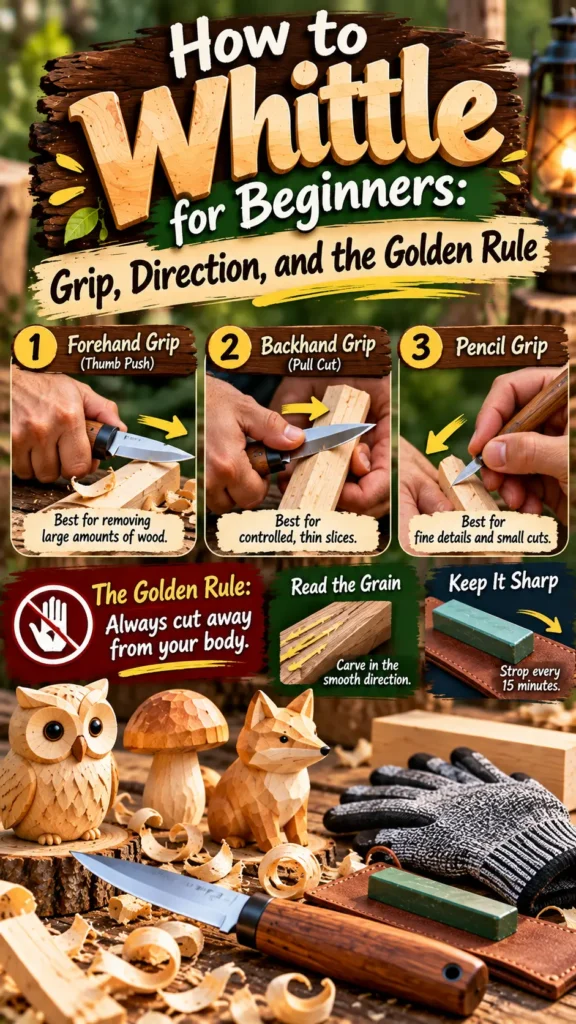
How to whittle for beginners comes down to three things: how you hold the knife, which direction you cut, and one rule you must never break.
The three grips:
1. The Forehand Grip (thumb push)
- Hold the knife like a hammer, blade pointing away from you
- Push the blade forward with your thumb
- Best for: removing large amounts of wood, rough shaping
2. The Backhand Grip (pull cut)
- Hold the knife with the blade facing toward you, but pull away from your body
- Use your thumb as a lever on the wood
- Best for: controlled, thin slices
3. The Pencil Grip
- Hold the knife like a pencil
- Best for: fine details and small cuts
The golden rule of whittling:
Always cut away from your body. Always. Every single time. If you can imagine the blade slipping and hitting you, change your grip or reposition the wood. This rule prevents 95% of whittling injuries.
Reading the grain:
Look at the side of your wood block. You’ll see long parallel lines — the grain. Run your finger along them. One direction feels smooth; the other feels rough. Always whittle in the smooth direction. Cutting against the grain causes tear-out and frustration.
The sharpness secret:
A sharp knife is a safe knife. Dull blades require force, and force leads to slips. Strop your knife every 15 minutes of whittling — it takes 30 seconds and makes an enormous difference.
Worthy tip: “The most common beginner injury isn’t a deep cut — it’s a dull knife that slips. Strop often, and your fingers will thank you.”
you Might Like : Surprisingly Simple Wood Carving Projects for New Carvers
3. Easy Whittling Project #1: The Simple Mushroom
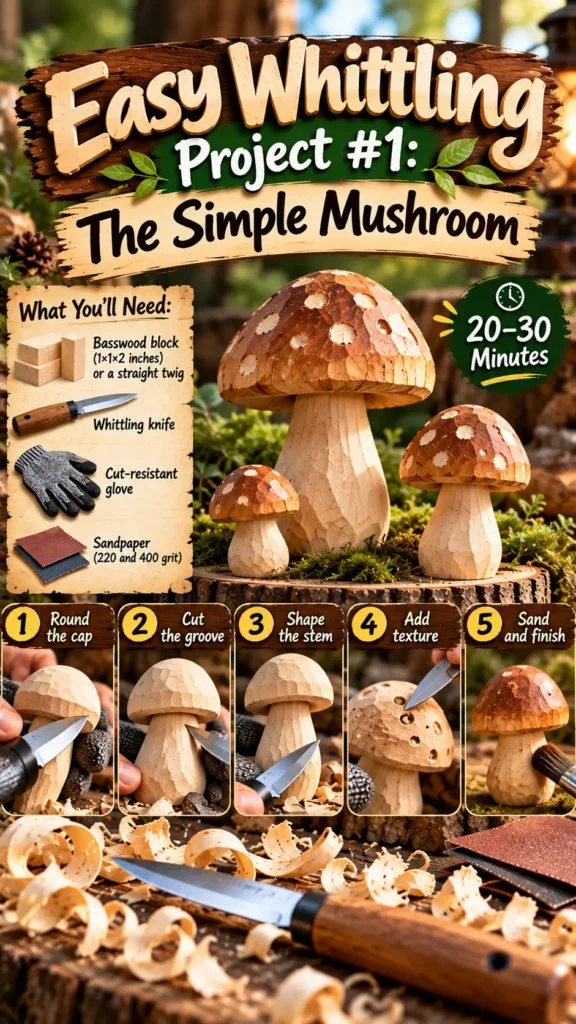
This is the classic first whittling project — and it’s genuinely almost impossible to ruin. Every mushroom you carve will look charming, even the lumpy ones.
What you’ll need:
- Basswood block (1×1×2 inches) or a straight twig from the garden
- Whittling knife
- Cut-resistant glove
- Sandpaper (220 and 400 grit)
Step-by-step:
- Round the cap. Working from one end, use push cuts to shape a smooth dome. Turn the wood constantly so the cap stays symmetrical.
- Cut the groove. Make a shallow cut around the middle to separate the cap from the stem. This defines the mushroom’s silhouette.
- Shape the stem. Taper the bottom slightly and round the edges. The stem should be noticeably narrower than the cap.
- Add texture. Use the tip of your knife to press tiny dots or shallow lines into the cap. This suggests the natural texture of a real mushroom.
- Sand and finish. Sand with 220 grit, then 400. Dampen the wood, let it dry, sand once more. Apply a drop of mineral oil and buff.
Time: 20–30 minutes. Result: A charming mushroom you’ll want to display immediately.
The family trick: Carve three mushrooms in graduated sizes and group them on a shelf. Together they create a woodland vignette that looks curated rather than beginner-made.
Worthy tip: “Even a lopsided mushroom looks intentional. That’s the magic of whittling — the material forgives you, and the results still charm.”
4. Easy Whittling Project #2: The Wooden Bead
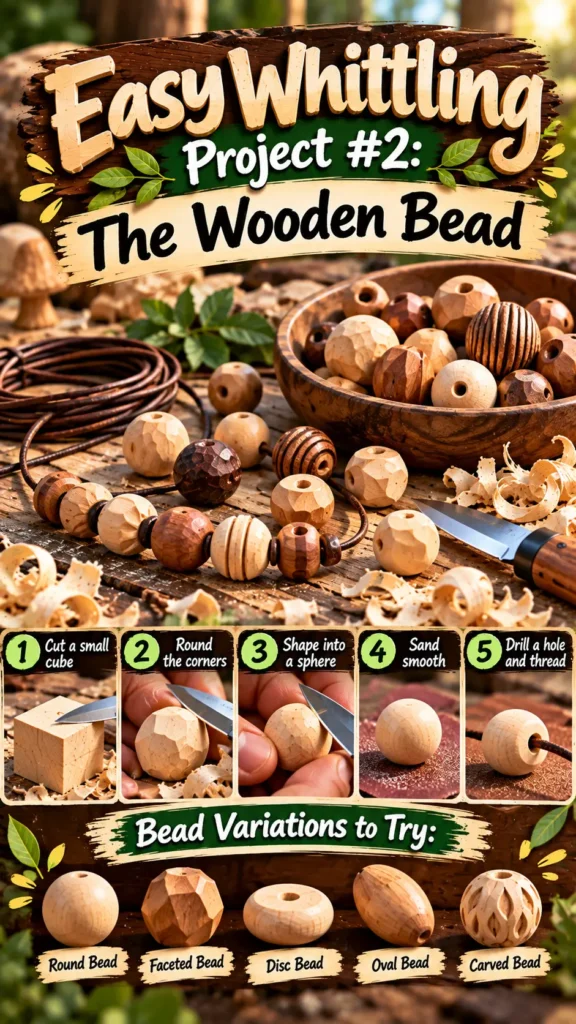
Easy whittling projects don’t get more repeatable than wooden beads. You can make a dozen in an hour, and each one builds muscle memory and control.
How to whittle a bead:
- Cut a small cube from a basswood block — about ½ inch
- Round all eight corners with your knife
- Keep turning and shaving until the shape is roughly spherical
- Don’t obsess over perfection — organic beads look better than machined ones
- Sand smooth and drill a small hole through the centre
- Thread onto a leather cord or cotton string
Variations worth trying:
- Faceted bead — stop rounding early and leave flat planes (reads as intentionally modern)
- Disc bead — a thin slice with rounded edges
- Oval bead — elongated rather than perfectly round
What you’re really learning: Muscle memory. Each bead trains your hands in pressure control and symmetry. By the time you’ve whittled ten, your knife will feel like an extension of your hand.
Worthy tip: “String your first ten beads onto a leather cord. You’ve just made a necklace — and every bead contains a lesson you’ll never forget.”
5. Easy Whittling Project #3: The Six-Cut Mouse
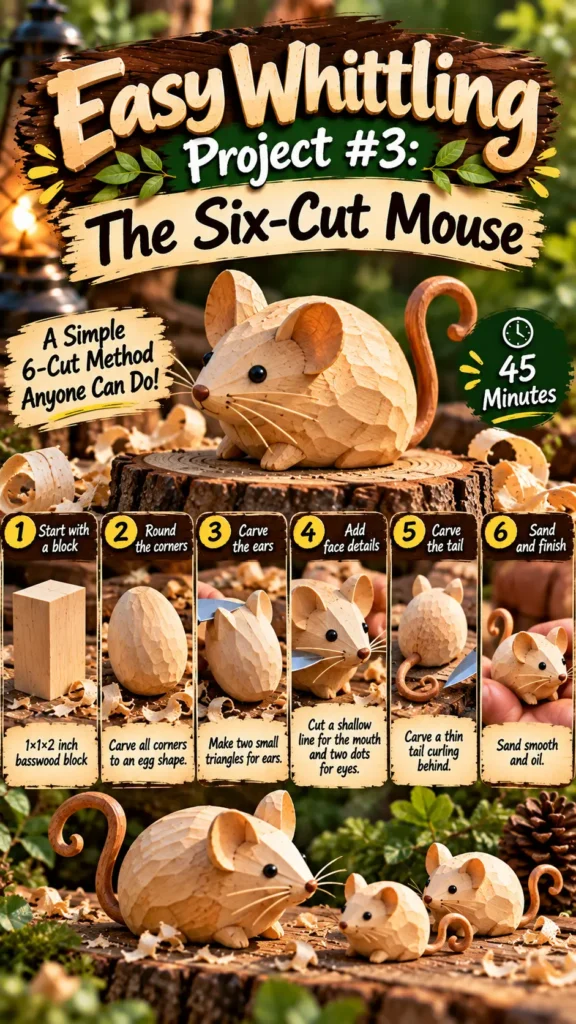
Simple whittling ideas that produce recognisable results are the most satisfying — and the six-cut mouse is the perfect example. Your brain fills in the gaps, so a rounded shape with ears and a tail instantly becomes a mouse.
The six-cut method:
- Start with a 1×1×2 inch basswood block
- Round all corners — you now have an egg shape
- Carve two small triangles for ears on the narrow end
- Cut a shallow line for the mouth and two dots for eyes
- Carve a thin tail curling behind
- Sand smooth and oil
Time: 45 minutes.
Why this works for beginners: You never carve a single whisker, yet the result is unmistakably a mouse. The human eye completes the form — and that’s a lesson you’ll use in every carving project from now on.
Other animals that work equally well: whales, birds, rabbits, and simple bears.
Worthy tip: “Look at children’s drawings of animals — they simplify shapes perfectly. Copy those proportions and your whittling will read instantly.”
6. Easy Whittling Project #4: Whittle a Wooden Spoon
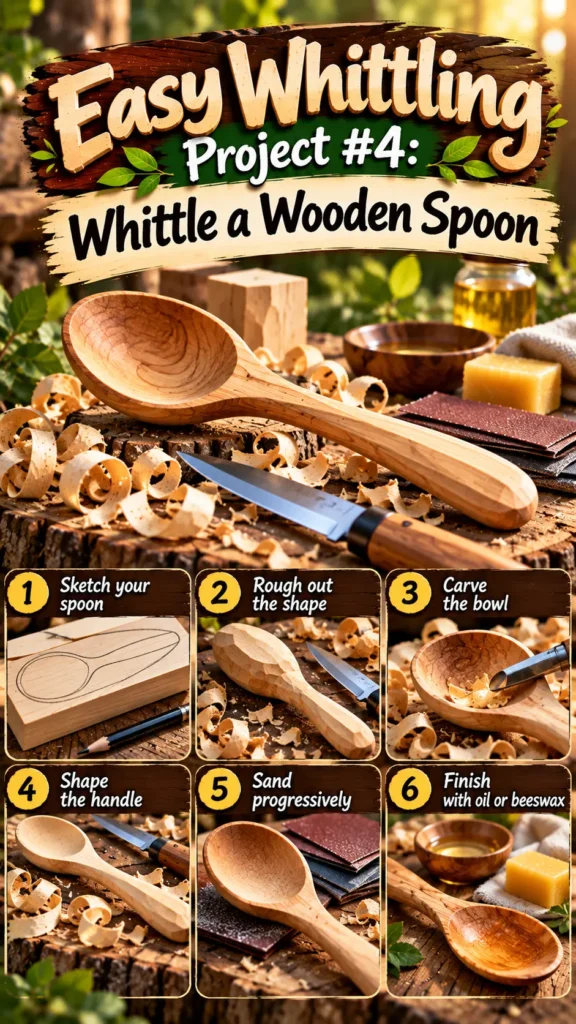
To whittle a wooden spoon is the classic beginner’s milestone. It teaches you hollowing, shaping, and finishing — and you end up with something you’ll actually use in your kitchen.
Materials:
- Basswood or butternut block, 2×2×6 inches
- Whittling knife
- Spoon gouge (optional — you can use the knife tip)
- Sandpaper (120, 220, 400 grit)
- Food-safe mineral oil or beeswax
Step-by-step:
- Sketch your spoon. Draw the side profile and the top view on paper first. Then trace both views onto your wood block.
- Rough out the silhouette. Use push cuts to remove everything outside the spoon outline.
- Carve the bowl. If you have a gouge, scoop out the concave area. If not, use the tip of your knife to remove wood in very small shavings.
- Shape the handle. Taper it toward the end and round the edges until it feels comfortable in your hand.
- Sand progressively. Start with 120 grit, then 220, then 400. Dampen the wood and sand again.
- Finish with oil. Rub on food-safe mineral oil or melted beeswax. Let it soak, then buff with a soft cloth.
Time: 3–4 hours across a couple of sittings.
The finishing secret: That silky, professional feel comes entirely from sanding to 400 grit and finishing with beeswax. It takes 30 extra minutes and makes all the difference between homemade and handmade.
Worthy tip: “Your first spoon will be lumpy. Keep it anyway. It’ll become the most-used object in your kitchen — and a reminder of where you started.”
7. Easy Whittling Project #5: The Wooden Flower
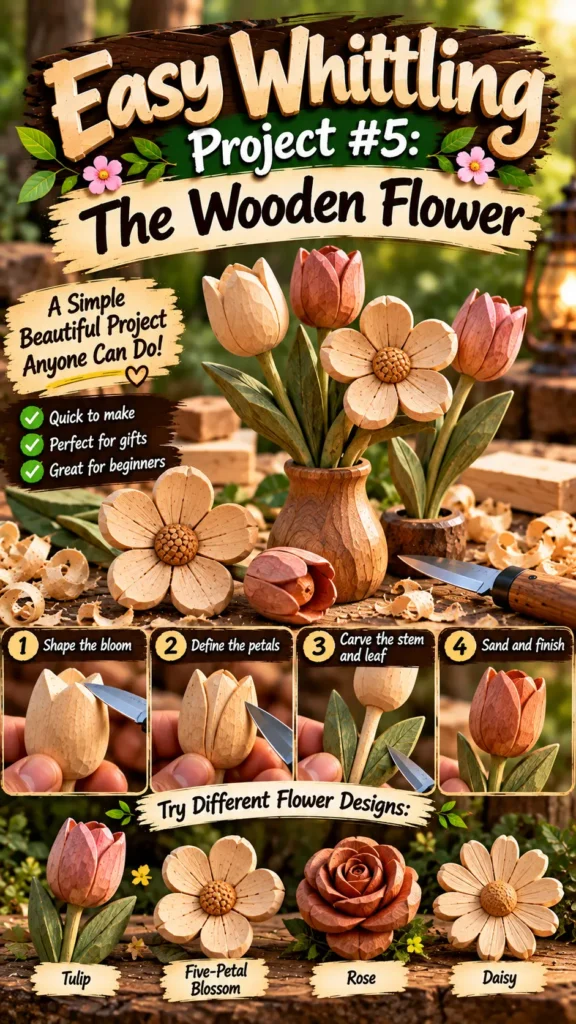
Beginner-friendly whittling projects don’t have to be practical to be beautiful. A simple carved flower is charming, quick, and makes a lovely gift.
The simple tulip:
- Start with a 1×1×3 inch basswood block
- Carve the top into a rounded cup shape
- Cut a shallow groove around the middle to suggest petals
- Taper the bottom into a stem
- Add a tiny leaf halfway down the stem
- Sand and oil
The five-petal blossom:
- Draw a 2-inch circle on your basswood
- Mark five evenly spaced points around the edge
- Carve shallow domes between the points — these become petals
- Cut a small circle in the centre for the stamen
- Add radiating lines from the centre outward
Display idea: Whittle three flowers in graduated heights and place them in a small vase. Grouped, they create a forever arrangement that never needs water.
Worthy tip: “Carve a bouquet for someone who struggles to keep plants alive. It’s a gift that says ‘I love you’ and ‘I know you’ at the same time.”
8. Start Whittling Today: Your First Session Plan
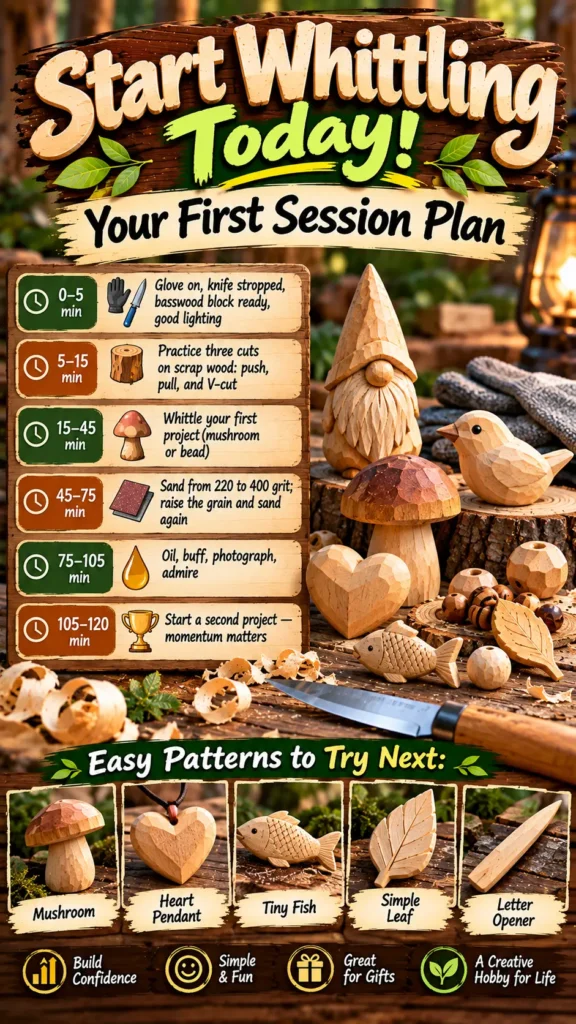
Start whittling today with this simple two-hour plan. It takes you from setup to finished piece in a single sitting.
| Time | Activity |
|---|---|
| 0–5 min | Glove on, knife stropped, basswood block ready, good lighting |
| 5–15 min | Practice three cuts on scrap wood: push, pull, and V-cut |
| 15–45 min | Whittle your first project (mushroom or bead) |
| 45–75 min | Sand from 220 to 400 grit; raise the grain and sand again |
| 75–105 min | Oil, buff, photograph, admire |
| 105–120 min | Start a second project — momentum matters |
Easy whittling patterns to try next:
- Wooden heart pendant — symmetrical and forgiving
- Tiny fish — a simple teardrop with a tail fin
- Letter opener — flat, functional, and quick
- Simple leaf — teaches stop cuts and veins
The rule that changes everything: Finish one project before starting another. A completed simple piece builds more confidence than an unfinished ambitious one.
Common beginner mistakes to avoid:
- Cutting toward your body — the single most dangerous habit
- Whittling with a dull knife — forces the blade and causes slips
- Using hardwoods before you’ve mastered basswood
- Skipping the sanding — finishing is what makes work look professional
- Whittling while tired — fatigue causes mistakes
Worthy tip: “Take a photo of your first finished whittling project. A year from now, you’ll look back at it and be astonished at how far you’ve come.”
From First Cut to Finished Piece — Your Whittling Journey Begins
You now have a complete beginner whittling guide — from the whittling basics of grip, direction, and the golden rule, to seven easy whittling projects including mushrooms, beads, mice, spoons, and flowers.
Key takeaways:
- Start with basswood — soft, forgiving, and inexpensive
- One good knife — plus a strop and a glove
- Cut away from your body — the only rule that really matters
- Read the grain — whittle in the smooth direction
- Sand and oil every piece — finishing makes beginners look professional
- Finish what you start — completed pieces build momentum
Whittling is the most democratic art form in the world. It requires almost no money, almost no space, and almost no prior skill. All it asks for is your time, your attention, and your willingness to make the first cut.
The gap between wanting to whittle and holding your first finished piece is exactly one cut. Pick up your knife. Find a stick. Start making curls.
Table of Contents
Call to Action (CTA)
Are you ready to make your first cut? I’d love to hear what you’re planning to whittle. Email me at admin@woodzaa.com with “Start Whittling” in the subject line. Tell me which project caught your eye — a mushroom, a bead, or a spoon — and I’ll send you a free printable pattern to get you started.
And when you finish your first piece, send a photo. I feature beginner work on my Pinterest page because those first carvings are the ones that matter most. They’re where every whittler’s story begins.
Now go make some shavings.
— Sheila

